Realtime environment configuration via NDEF records and RFID tags! Just scan to change the text color!
Motivation
What else can we do with NFC? We’ve laid the groundwork for keycard access systems, initiated purchases on amazon, how about realtime configuration changes?
In this write up we’ll learn how to use NDEF tag formatting to store text records containing configuration information. In this case, colors! Picture a light switch that scans RFID tags, and sets the lights in the room to the color tag you just tapped! To demonstrate this we’ll display some text on the LCD screen, each time you scan an encoded tag, the color will change! If the encoding isn’t recognized, anduino chooses a random color.
Getting Started
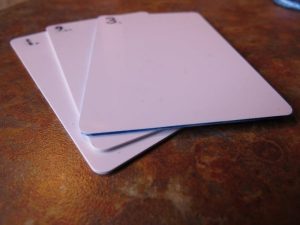
To start with this demo you’ll need an Arduino Zero or Due paired with an anduinoWiFi shield, and some RFID tags. We chose to use these Mifare Classic RFID keycards although any ISO 14443-A NTAG-203 compatible tags should work!
If you haven’t yet used NFC on the anduinoWiFi swing by our getting started guide to make sure everything is setup and working properly. Much like we do in the guide, let’s run the File>>examples>>AnduinoNFC>>readRFIDTag to grab our tags UIDs.
NDEF it!
We’re going to use the NDEF format to encode our RFID tags with a color so the first order of business will be navigating to File>>examples>>AnduinoNFC>>formateToNdef and formatting any RFID tags you’d like to use.
Flash the sketch, once the serial terminal displays:
Mifare Classic/Ultralight --> NDEF
Found chip PN532
Firmware ver. 1.6
Place an unformatted Mifare Classic tag on the reader.
You’re ready to format your tags!
Color Encode Tags
Once you’ve prepared the tag to receive NDEF formatted data you’re ready to save some configuration parameters! If you take a peek at the nfcColorSelect sketch and scroll all the way to the bottom you’ll find the colorPicker function.
Read more: Build A NFC Color Changer Using Arduino

