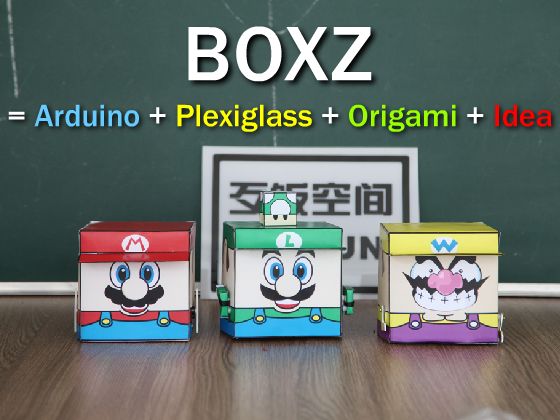
BOXZ is is an open source robot platform for interactive entertainment! We connected Arduino, Plexiglass(or cardboard) Origami and your idea together, so we can easily and quickly build a remote robot by ourself! You can assembled it like LEGO! We can use it to playing football game, racing, fighting or some other interesting things!
Follow the step, I will show you how to build a BOXZ Base
Here are the drawing, skin of Mario, Android Client and Arduino code in the Att.
Version info:
BOXZ Base: Easy and funny, made by cardboard
BOXZ Pro: Support more sensor and use plexiglass
Size info:
The Cube of BOXZ: 128x128x128MM
The Skin of BOXZ: 130x130x130MM
Some more update:
http://letsmakerobots.com/node/34221
Everything you can find it here, include the draw, Arduino code and skin…Have fun!
Github
https://github.com/leolite/BOXZ
http://www.instructables.com/id/BOXZCreeper/
Some of Skins are reference from the web:
http://www.cubeecraft.com/
Author: Leo
License: Attribution-NonCommercial-ShareAlike 3.0 Unported (CC BY-NC-SA 3.0
http://creativecommons.org/licenses/by-nc-sa/3.0/
Step 1: What we need?
We also need the following items Electronic Boards
1x Arduino (Seeeduino or Arduino 328P 2009)
1x Driver Board (ladyada.net)
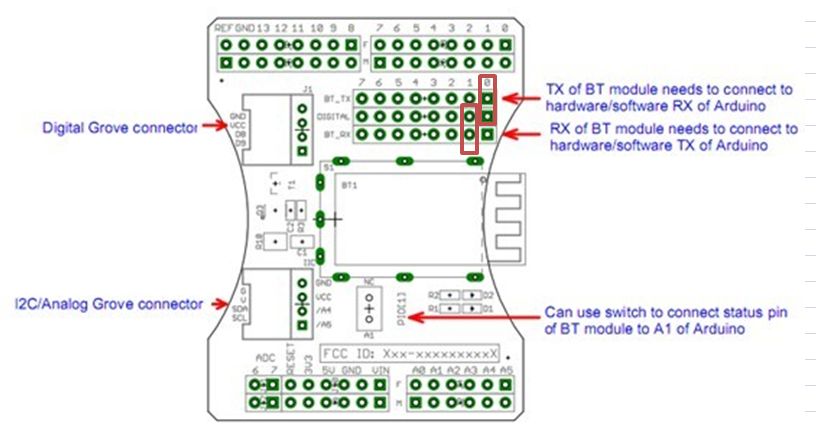
1x BT board (seeedstudio.com)Mechanical Component and some others
2x Analog Servor TowerProSG90 5V
4x bolts M2x10
8x nuts M22x bearing 623(3*10*4)
2x bolts M3x10
2x nuts M31x battery case 4 x AA(min) or 5 x AA (7.5V DC)
2x bolts M2x30
2x nuts M2
2x TT Reduction Gear 1:48 or higher
2x DC Motor 130, 6V
2x Wheel 65MM
4x bolts M3x30
4x nuts M3
4x Hexagonal pillars M3+6
4x Hexagonal pillars M3x6
4x bolts M3x6
4x Breadboard Cable 5-10CM
BTW: some words in the photo is Chinese
Step 2: Before start 1/2
1x P001 Main support board
1x P002 Front support board
2x P003 Motor support board
2x P004 Wheel side vertical board
2x P005 Wheel covers horizontal board
1x P008 Arduino pallet board
1x P020 Peripheral front board
1x P030 Peripheral back board
2x P041 Peripheral side board [+ servo slot] 1x P050 Peripheral roof board 1Notice:
the parts P006 and 007 have been deleted!
Step 3: Before start 2/2
Step 4: Preparing to Cut the cardboard
The most important things is print with 100%, measure the maximum of the length of the part is 128MM!2. Cut the drawing, left 20MM spare space is better3. Pasted the drawing to cardboard with double-sided adhesive (prefer the width is 5MM)