
Summary of Blinky Lights using Arduino and LumiGeek
The article describes an Arduino UNO project using three LumiGeek shields to control various lighting types. It details wiring 1 Watt RGB LEDs in series with a constant current shield, driving a single addressable strip, and managing up to four non-addressable strips. The author programmed color fading, random colors, and specific effects like emulating car headlights and police cars using custom logic provided by LumiGeek support.
Parts used in the Lighting Control Project:
- Arduino UNO
- LumiGeek 3XCC Shield (Constant Current)
- LumiGeek 1xAddressable Shield
- LumiGeek 4xRGB Shield
- 1 Watt RGB LEDs (2 units)
- Addressable RGB LED Strip (1 unit)
- Non-Addressable RGB LED Strips (4 units)
- 12 Volt Power Supply
I used the Arduino UNO combined with three LumiGeek shields to run lighting. LumiGeek has dedicated shields to support 1 Watt RGB LEDs that require constant current, Addressable RGB LED Strip, and Non-Addressable RGB LED Strip.
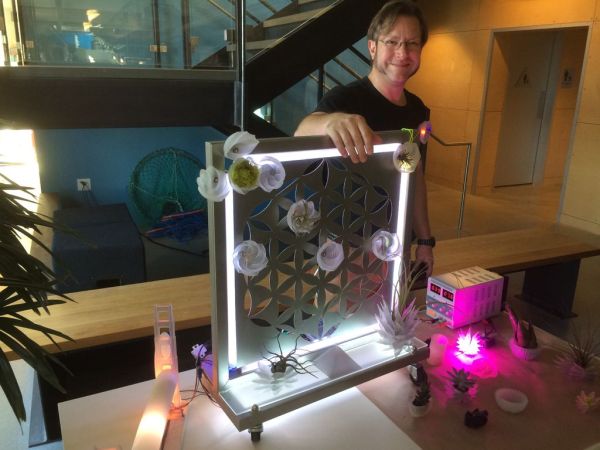
Step 1: 1 Watt RGB LEDs (2x)
I wired these in series and powered them with the 12 Volt source on the Power Supply. The LumiGeek shield that powers these is the 3XCC – it provides constant current so the LEDs don’t fry (the LEDs decrease in resistance as the heat up so the board manages this in order to provide a constant current).
Step 2: 1x Addressable RGB LED Strip
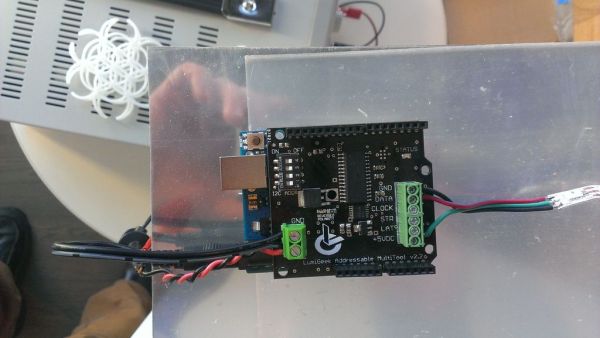
I used LumiGeek’s 1xAddressable shield to drive the Addressable RGB LED Strip; this shield can control a single addressable strip.
Step 3: 4x Non-Addressable RGB LED Strip
I used LumiGeek’s 4xRGB shield to drive the Non-Addressable RGB LED Strip; this shield can control up to four (4) different strips.
Step 4: Programming the lighting
The shields provide some basic functionality that made is super easy for me to get the 1 Watt RGB LEDs to shine GGB International Orange, and fade between random colors on the non-addressable RGB LED strip. Making the addressable RGB LED strip bend to my will of emulating cars of various headlight hues and speeds was a bit more challenging and my friend John “Parts” Taylor of LumiGeek coached me through the process of shifting pixels and assigning constrained random colors (various shades of white/yellow) and making the fastest “car” morph into a red/blue “police car” ~1 every 7 times (constrained random). I have attached the INO file that is running the Arduino UNO and three (3) LumiGeek shields.
For more detail: Blinky Lights using Arduino and LumiGeek
- How are the 1 Watt RGB LEDs powered?
They are wired in series and powered by the 12 Volt source on the Power Supply. - What is the function of the 3XCC shield?
The 3XCC shield provides constant current to prevent the LEDs from frying as they heat up. - Can one shield control multiple addressable strips?
No, the 1xAddressable shield can only control a single addressable strip. - How many non-addressable strips can the 4xRGB shield handle?
This shield can control up to four different non-addressable RGB LED strips. - What basic functionality did the shields provide out of the box?
The shields allowed for shining GGB International Orange and fading between random colors easily. - Who helped with programming the addressable strip effects?
John Parts Taylor of LumiGeek coached the author through shifting pixels and assigning constrained random colors. - What specific effect was created for the fastest car?
The fastest car was programmed to morph into a red/blue police car approximately every 7 times. - What file type is attached for the Arduino code?
An INO file running the Arduino UNO and three LumiGeek shields is attached.
