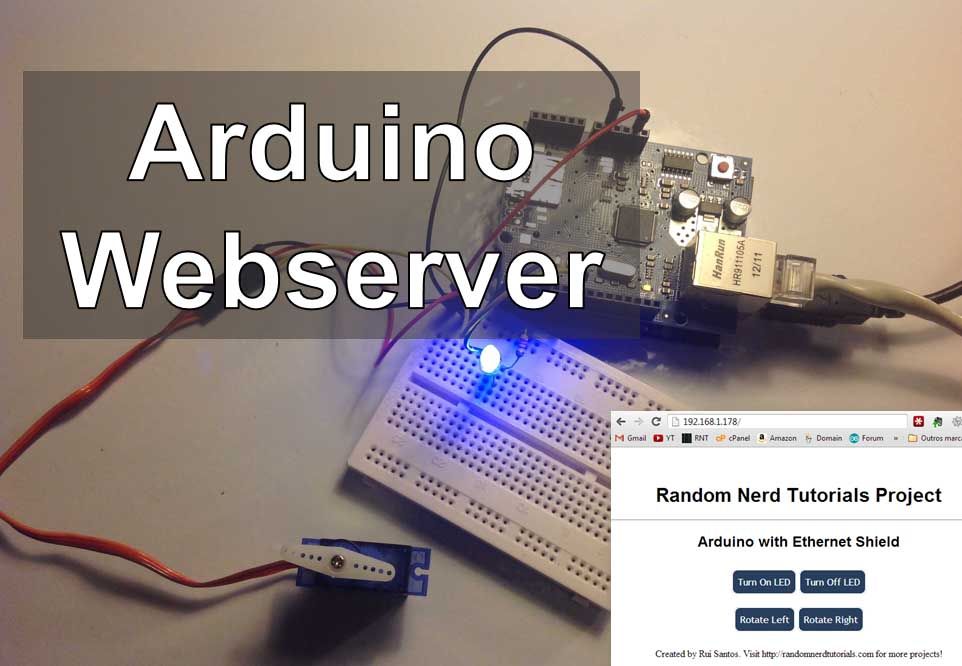
I’ll be controlling one LED and a servo, but you can apply this method to control a DC motors, buzzers, relays, stepper motors, etc..
Overview:
When you upload the the code provided in this tutorials. it creates a webserver in your LAN and you simply use the IP to access that webserver through your browser. After that it shows a webpage similar to that one below. When you press the button “Turn On LED” your url will change to: “http://192.168.1.178/?button1on” the arduino will read that information and It turns the LED On.

By default the IP is “192.168.1.178″. That also can be found on the Arduino code provided.
The Webpage will look like the image on the attachments.
Check this Video tutorial below ! (Includes demonstration)
Step 1: Parts Required
- 1x Arduino Uno
- 1x Ethernet Shield (with Wiznet W5100 chip)
- 1x 220 Ohm Resistor
- 1x LED
- 1x Micro Servo Motor
- 1x Breadboard
- Jumper Cables
