Summary of Arduino Sketch RemoteStation
This Arduino sketch demonstrates Internet-based remote communication by exchanging simple integer messages over the host serial port. A companion Python MQTT bridge running on the attached host relays these serial messages to a remote system via an MQTT server, enabling one Arduino to control another (e.g., toggling the built-in LED) and periodic state updates from a user switch.
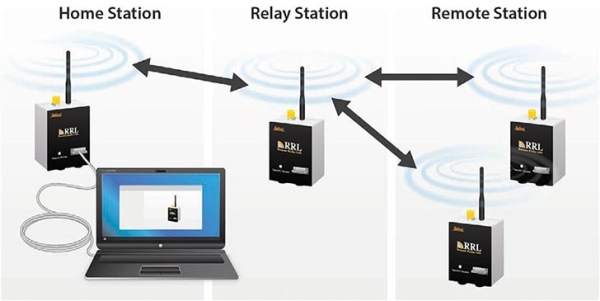
Parts used in the RemoteStation:
- Arduino board (with built-in LED)
- Pushbutton or user switch connected to pin 6
- USB cable to connect Arduino to host computer
- Host computer running Python and arduino_mqtt_bridge.py
- Internet connection and MQTT server
This sketch demonstrates Internet-based remote communication using a companion ‘bridge’ program running on the attached host which sends and receives messages via an online MQTT server. This allows connecting one Arduino to another over arbitrary distances, which we can use as a starting point for building collaborative telepresence.
Full Source Code
The full code is all in one file RemoteStation.ino.
// RemoteStation.ino : demonstrate communication across the Internet using a Python-based MQTT bridge and MQTT server

// This example sends and receives data over the host serial port representing
// I/O messages.  The arduino_mqtt_bridge.py Python application can be run on
// the attached host to relay these messages to a remote system using an MQTT
// server as a messaging hub.

//================================================================

const int switchPin = 6;       // Specify a pin for user switch input.
const long BAUD_RATE = 115200;  // The baud rate is the number of bits per second transmitted over the serial port.

//================================================================

// This function is called once after reset to initialize the program.
void setup()
{
  // Initialize the Serial port for host communication.
  Serial.begin(BAUD_RATE);

  // Initialize the digital input/output pins.
  pinMode(switchPin, INPUT);
  pinMode(LED_BUILTIN, OUTPUT);
}

//================================================================
// Polling function to process messages received over the serial port from the
// remote Arduino.  Each message is a line of text containing a single integer
// as text.

void serial_input_poll(void)
{
  while (Serial.available()) {
    // read the text and convert to an integer
    int value = Serial.parseInt();

    // drive the LED to indicate the value
    if (value) {
      digitalWrite(LED_BUILTIN, HIGH);
    } else {
      digitalWrite(LED_BUILTIN, LOW);
    }

    // flush any remaining characters until the line end
    Serial.find('\n');
  }
}
//================================================================
// Polling function to transmit data both periodically and whenever the input
// changes.

void hardware_input_poll(void)
{
  static int last_switch_input = 0;

  const unsigned long message_timeout = 2000;  // send every 2 seconds at minimum
  static unsigned long last_time = 0;

  // capture the current state
  int switch_input = digitalRead(switchPin);
  unsigned long now = millis();

  // if the state changed or the timer expired, send data
  if ((switch_input != last_switch_input) || ((now - last_time) > message_timeout)) {
    last_time = now;
    last_switch_input = switch_input;

    // send the message as a single integer on a text line
    Serial.println(switch_input);
  }
}

/****************************************************************/
/// Standard Arduino polling function to handle all I/O and periodic processing.
/// This loop should never be allowed to stall or block so that all tasks can be
/// constantly serviced.
void loop()
{
  serial_input_poll();
  hardware_input_poll();
}
/****************************************************************/
Source: Arduino Sketch RemoteStation
- What does this sketch demonstrate?
It demonstrates Internet-based remote communication by sending and receiving integer messages over the host serial port via a Python MQTT bridge and MQTT server. - How does the Arduino send messages to the remote system?
The Arduino writes integer values as text lines to the serial port using Serial.println, which the Python bridge relays to the MQTT server. - How are incoming messages processed by the Arduino?
Incoming serial lines are parsed with Serial.parseInt, used to set the built-in LED state, and remaining characters are flushed to the end of line with Serial.find('\n'). - Which pin is used for the user switch input?
Pin 6 is used for the user switch input. - How often are messages sent from the hardware input poll?
Messages are sent at least every 2 seconds or immediately when the switch state changes. - What baud rate is used for serial communication?
The sketch uses a baud rate of 115200. - What does the hardware_input_poll function do when the switch state changes?
It updates the last state, records the time, and sends the current switch state as an integer text line over Serial. - What must be running on the host computer for Internet relaying?
The host must run a Python-based MQTT bridge (arduino_mqtt_bridge.py) to relay serial messages to and from an MQTT server.