A couple of mounts ago i order a 1M long WS2801 RGB led strip, just for fun.
I took me a while to get the strip working with my Arduino.
 The next step was to figure out what to do with the strip.
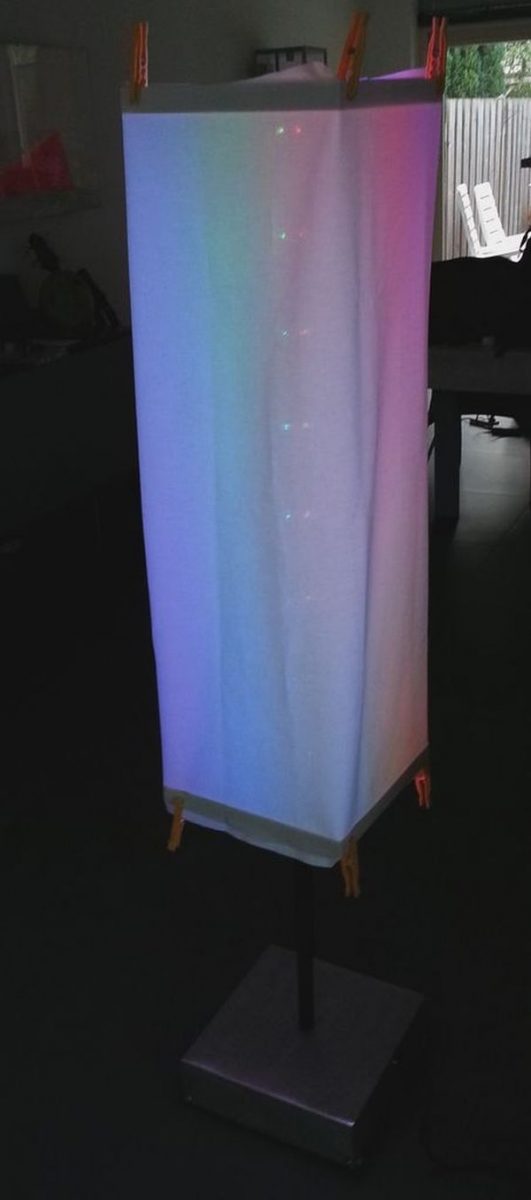
after some time the idea came to me: a Bluetooth controllable floor lamp.
I ordered 4 extra bright ‘warm’ White Led strips, in order to make the Floor lamp useable on a daily basis.
I need to say, I made this lamp a couple of months ago,
before I head the intension to put in on here.
this mean I did not take much pictures or draw sketches.
Step 1: Parts
Here a list of parts i used:
-Arduino Nano v3.
-1 meter WS2801 RGB led stip
-4x Samsung 1550lm/m 3000K 5050 LED Strip
-Bluetooth module.
-USB Bluetooth Dongle
-12v DC Power supply.
-12v DC to 5v DC converter.
-4x IRLZ34 (MOSFET).
-5x 1N4007 Diodes.
-4x 10K ohm resister.
-4x 1K ohm resister.
-4x 470 Ohm resister.
-a bread board.
-a prototype PCB.
-3x screw terminals.
-9mm x 35mm Wood beam
-25mm Carbon tube.
-25mm aluminium hollow profile Beam.
-50cmx50cm 1mm thick aluminium plate.
-2meter m8 stud.
-couple of m8 nuts
-fuse holder.
-USB connector en mounting.
-Power connector
-Shrink tube
-Cotton cloth.
-LOTS OF WIRE.
-LOTS OF SOLDER.
Step 2: Code for the Arduino
wanted to use my Android phone and windows laptop to be able to control the Lamp.
so I used Bluetooth because his is a protocol supported by both.
After some testing with a separate Arduino and Bluetooth module I was able to send a string from Android to Arduino.
SO first the code for the Arduino, on the next page I’ll talk about the Sender device (android or Win)
I wanted to make a simple program that could easily be expanded.
I know that the sender device would send a string of 4 digits.
For example “R255”
From this I know the color R= RED and the intensity = 255
The same goes with Blue =B Green = G and White = W
And make use of a X I could use Extra functions as in Blink FAST or Rainbow the RGB lights.
So in de Arduino code a splinted the received code into to parts. The first is the Letter that indicates the color of function.
and the second part exists of the 3 digets telling me the brightness of the color, OR a number of the Extra Function.
Controlling the White lights is simple. I just used the PWM signal. 0 = off, 255 is fully on.
example : “analogWrite(PWMLED1, 255); “ PWMled 1 is FULLY on.
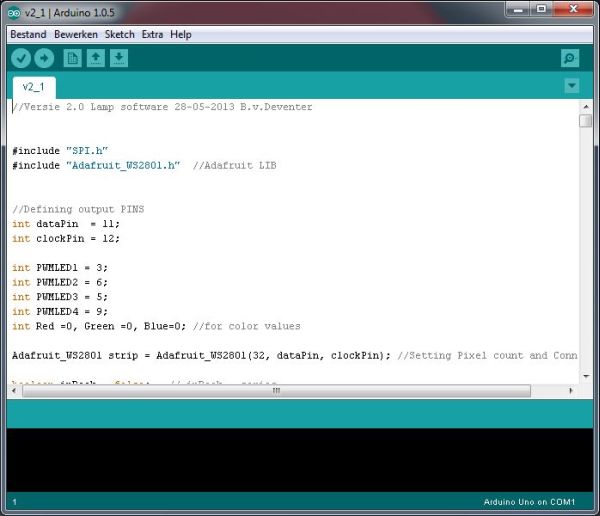
For Controlling the RGB leds I used the SPI and Adafruit_WS2801 library .
this allows me to easy control every LED on the strip.
For example the build in function. “rainbowCycle”
this shows a nice rainbow on the lamp.
And last I build in a function to stop a loop ( for example flashing).
For more INFO. Look in the ARDUINO_CODE
Step 3: Sending Code
The sending device only had to send an 4 digit code.
I Used Eclipse for the Android app
And Visual Studio for the Windows application.
For more INFO
Download the projects an read the comments.
(cannot find Android Project, if I find it, I will upload it here)
Step 4: Hardware. The Lamp itself
I made the lamp out of 5 martials
-Wood
-Cotton
-Aluminium
-Carbon
-Steel
Wood for the base structure,
the frame on which the Cotton cloth would be stretched and mounted on.
the aluminium and Steel for the frame to hold the wooden frame in place
and a aluminium foot outer sill.
And Carbon for the Lamp Foot
First the Frame:
(PIC1)
Consist of 3 squares of 30cm wooden slat.
which are held by 2 steal threaded bars connected to another by an aluminium square tube.
The first 2 wooden squares are connected by the same aluminium square tube.
The last one, the foot. Has a Carbon tube mounted in between
(PIC2)
After this was done. In gluid the RGB an Bright White LEDs onto the aluminium square tube.
an covered the foot with an aluminium sheet.
For more detail: Arduino Powerd, RGB + White LED, Bluetooth controllable, Floor lamp

