This Instructable is about how to create an Arduino PIR motion sensor for your room or office, using parts available from your local Radio Shack! Whether you’re looking for a cool and easy-to-build security sensor, or an awesome first project to dive into the world of Arduino, Microcontrollers, and electronics, this project is for you. (This project really is easy. Take it from me, I’m 12, and I’ve only had my Arduino for a week and a half.)
If you guys really like my project, please vote for it in the home technology contest! (To vote, click the ribbon in the top right hand corner.) I would use the grand prize to build robots, automate and upgrade my workshop (to make bigger and better projects and products), and bring more AWESOME Instructables to this AWESOME site, with all the AWESOME people on it. (I won’t just use it all for my self.) I may also use some of it as a prize for a drawing for my Kickstarter that I’ll have up soon for my company, and maybe some of it for a drawing for Instructables!! So, without further ado, let’s get on with the project!
Step 1: Parts Needed
- An Arduino UNO or later (this may work on earlier models)
- A Breadboard
- A PIR Sensor
- A 330 Ohm Resistor
- A LED
- A Piezo Buzzer (Optional)
- A Computer Running the Arduino IDE
- Jumper Wires
- An Arduino Maker Shield (also optional)
Instead of getting all of this, you could also just purchase the Arduino Ultimate Microcontroller Pack, which includes everything that you need for this project, plus TONS more stuff that you can do pretty much anything with. It’s available from RadioShack too.
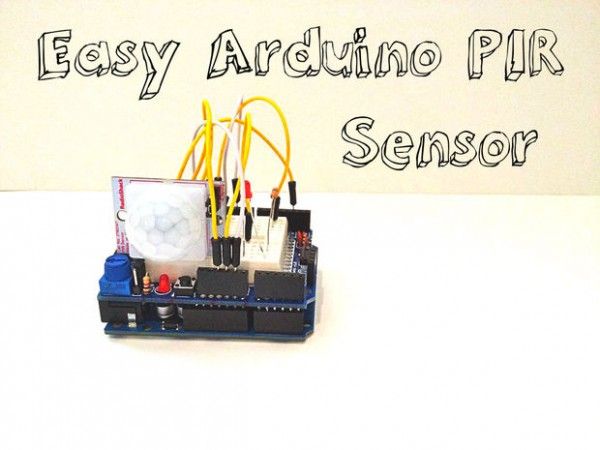
Step 2: Assembly
To assemble this AWESOME project, you will first have to install the sensor on the breadboard. To do this, plug the sensor’s “VCC” or “VIN” pin into the Arduino’s “5v” hole. Then, you have to wire the “GND” and “OUT” pins to the Arduino’s “GND” and “2” pins, respectively. Next, you have to wire in the piezo buzzer. Connect the buzzer’s “+” lead to the Arduino’s “10” pin, and the buzzer’s other pin to the Arduino “GND”. Finally, you have to install the LED. Connect the LED’s longer lead to the Arduino’s pin “13,” and the shorter to your 330 ohm resistor. Connect the other end of the resistor to the Arduino’s “GND.” NOTE: If you’re using the MakerShield, just connect the Arduino pin “13” to the MakerShield’s “LED2” hole. DOUBLE NOTE: If you’re using the MakerShield, now would be a great time to mount it on the Arduino.
Step 3: Programming
I found almost the same code I wrote here. Copy It, paste it in the Arduino IDE, and click the blue arrow at the top pointing left. This uploads your code to the Arduino board.
For more detail: Arduino PIR Motion Sensor