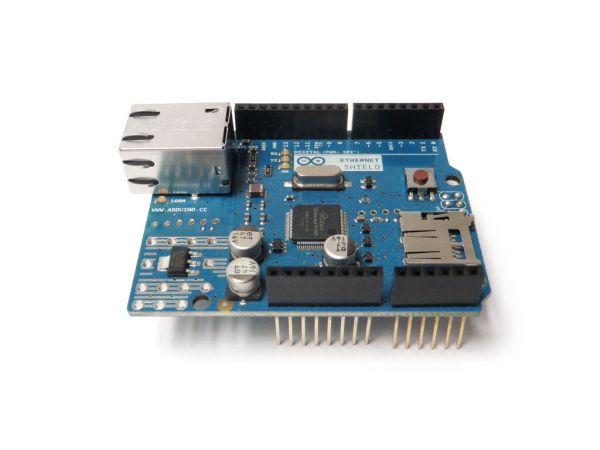
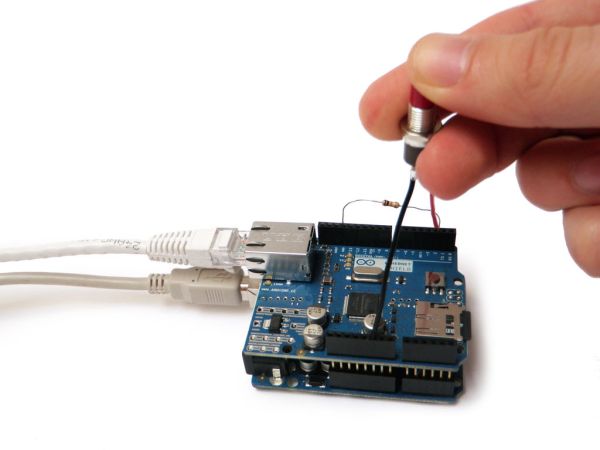
The Arduino Ethernet Shield allows you to easily connect your Arduino to the internet. This shield enables your Arduino to send and receive data from anywhere in the world with an internet connection. You can use it to do fun stuff like control robots remotely from a website, or ring a bell every time you get a new twitter message. This shield opens up endless amounts of possibility by allowing you to connect your project to the internet in no-time flat.
Step 1: Setup
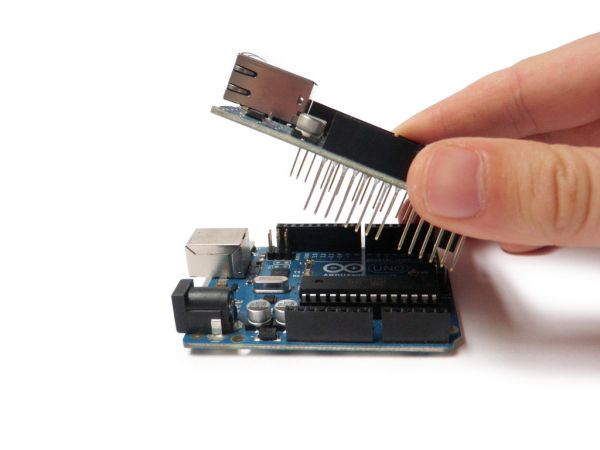
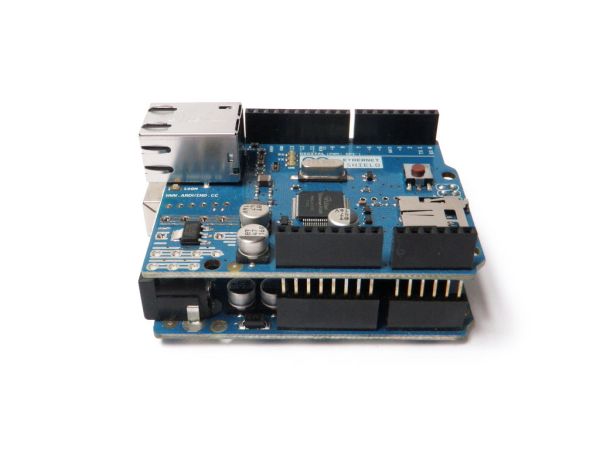
Setting it up is as simple as plugging the header pins from the shield into your Arduino.
Note that the Ethernet Shield sold at Radioshack is online compatible with Arduino Uno Rev. 3 boards (or later). It has too many pins to plug into earlier version Arduino boards.
Step 2: Shield Features
The Ethernet Shield is based upon the W51000 chip, which has an internal 16K buffer. It has a connection speed of up to 10/100Mb. This is not the fastest connection around, but is also nothing to turn your nose up at.
It relies on the Arduino Ethernet library, which comes bundled with the development environment.
There is also an on-board micro SD slot which enables you to store a heck-of-a-lot of data, and serve up entire websites using just your Arduino. This requires the use of an external SD library, which does not come bundled with the software. Using the SD card is not covered in this Instructable. However, it is covered in the Step 8 of the Wireless SD card instructable.
The board also has space for the addition of a Power over Ethernet (PoE) module, which allows you to power your Arduino over an Ethernet connection.
For a full technical overview, see the official Ethernet Shield page.
Step 3: Get started
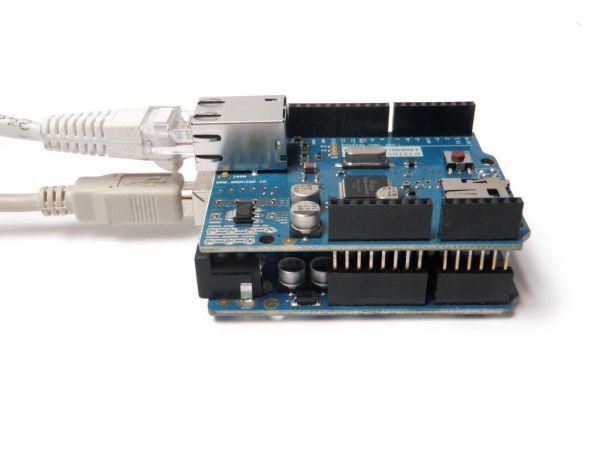
Plug the Arduino into your computer’s USB port, and the Ethernet shield into your router (or direct internet connection).
Next, open the Arduino development environment. I highly recommend upgrading to Arduino 1.0 or later (if you have not done so already). This version of the software has built in DHCP support, and does not require manually configuring an IP address.
To figure out what IP address has been assigned to your board, open the DhcpAddressPrinter sketch. This can be found at:
File –> Examples –> Ethernet –> DhcpAddressPrinter
Once open, you may need to change the Mac address. On newer versions of the Ethernet shield, you should see this address on a sticker attached to the board. If you are missing a sticker, simply making up a unique mac address should work. If you are using multiple shields, make sure each has a unique mac address.
Once the mac address is properly configured, upload the sketch to your Arduino, and open the serial monitor. It should print out the IP address in use.
Step 4: Server
You can use the Arduino Ethernet shield as a web server to load an HTML page or function as a chat server. You can also parse requests sent by a client, such as a web browser. The following two examples show how to use it to serve HTML pages, and parse URL strings.
One important thing to keep in mind is that you will have to enter your Arduino’s IP address in both of the examples below in order for them to work.
For more detail: Arduino Ethernet Shield Tutorial

