Summary of Arduino Sketch Input Hysteresis
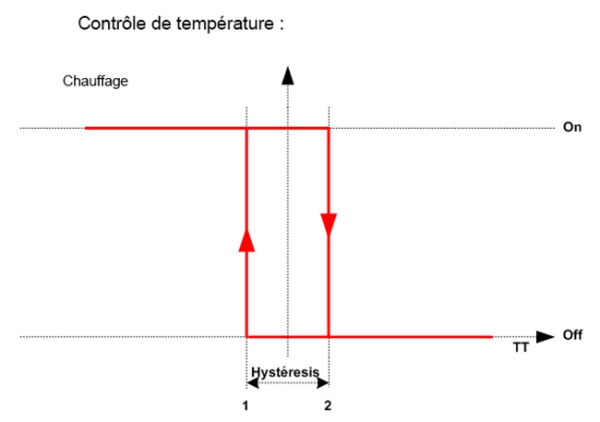
This Arduino sketch demonstrates input hysteresis using a photoresistor and an LED. It maintains two states (dark or light) based on distinct thresholds to prevent rapid toggling near the switching point. The system reads ambient light via analog pin A0, compares it against defined limits, and updates the built-in LED state accordingly while logging transitions over the serial port.
Parts used in the Input Hysteresis Project:
- Arduino Board
- Photoresistor
- Resistor
- Built-in LED (LED_BUILTIN)
- Analog Pin A0
This sketch is used by Exercise: Input Hysteresis.
Full Source Code
The full code is all in one file InputHysteresis.ino.
// InputHysteresis.ino : Arduino program to demonstrate a simple single-state hysteretic response.

// Copyright (c) 2014-2015, Garth Zeglin.  All rights reserved. Licensed under the terms
// of the BSD 3-clause license as included in LICENSE.

// The baud rate is the number of bits per second transmitted over the serial port.
const long BAUD_RATE = 115200;

// This assumes a photoresistor is pulling A0 up and a resistor is pulling A0
// down.  When the input is bright, the voltage increases, when dark, the
// voltage decreases.
const int INPUT_PIN = A0;

/****************************************************************/
// Global variables.

// The state of the system can be captured with only two values, e.g., it is
// represented as a single bit.  The following statement defines two symbolic
// values, one for each possible state.
enum state_t { IS_DARK, IS_LIGHT };

// Declare the state variable as a symbolic value.
enum state_t state = IS_DARK;

// The hysteretic response is defined by using two thresholds.
const int light_threshold = 700;
const int dark_threshold  = 300;

/****************************************************************/
/**** Standard entry points for Arduino system ******************/
/****************************************************************/

// Standard Arduino initialization function to configure the system.

void setup()
{
  // initialize the Serial port
  Serial.begin( BAUD_RATE );

  // configure our trivial I/O
  pinMode( LED_BUILTIN, OUTPUT );

  // the LED start out ON to match the initial state
  digitalWrite(LED_BUILTIN, HIGH);
}

/****************************************************************/
// Standard Arduino polling function.

void loop()
{
  // Read the ambient light level.
  int input = analogRead(INPUT_PIN);

  if (state == IS_LIGHT) {
    if (input < dark_threshold) {
      Serial.print("Dark observed at input level ");
      Serial.println(input);
      Serial.println("Transitioning to the IS_DARK state.");

      state = IS_DARK;
      digitalWrite(LED_BUILTIN, HIGH);
    }

  } else { // state must be IS_DARK
    if (input > light_threshold) {
      Serial.print("Light observed at input level ");
      Serial.println(input);
      Serial.println("Transitioning to the IS_LIGHT state.");

      state = IS_LIGHT;
      digitalWrite(LED_BUILTIN, LOW);
    }
  }
}

/****************************************************************/
Source: Arduino Sketch Input Hysteresis
- What is the baud rate configured for the serial port?
The baud rate is set to 115200 bits per second. - How does the system determine when to switch from dark to light?
The system transitions to the IS_LIGHT state when the input value exceeds the light_threshold of 700. - What happens to the built-in LED when the state becomes IS_DARK?
The built-in LED is turned ON by setting the digital pin to HIGH. - Which pins are used for the input sensor?
The photoresistor is connected to Analog Pin A0. - Can the initial state of the system be changed in the code?
The initial state is defined as IS_DARK in the global variable declaration. - What library or license covers this source code?
The code is licensed under the BSD 3-clause license. - Does the program use a single file for all code?
Yes, the full code is contained entirely within the file InputHysteresis.ino. - What value represents the dark threshold?
The dark_threshold constant is set to 300.