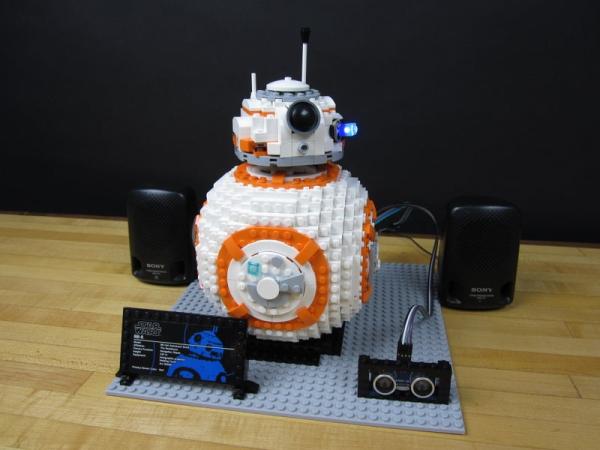
We absolutely LOVE the new LEGO Star Wars sets that have come out over the last couple of years. They’re well designed, fun to build, and look great. What would make them even more fun is if they also moved on their own!
We took an off the shelf LEGO BB-8 set and automated it so the head spins around! Even better, we added sound effects and lighting effects! But if that isn’t enough we also added a motion sensor so that it would activate when someone walks by. Overall this project isn’t overly difficult to do, but does take awhile and requires a healthy amount of random Technic LEGO parts to built the gear box area.
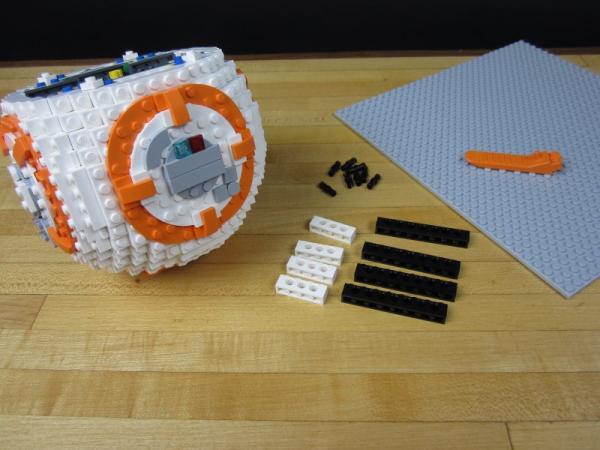
Step 1: Parts Needed
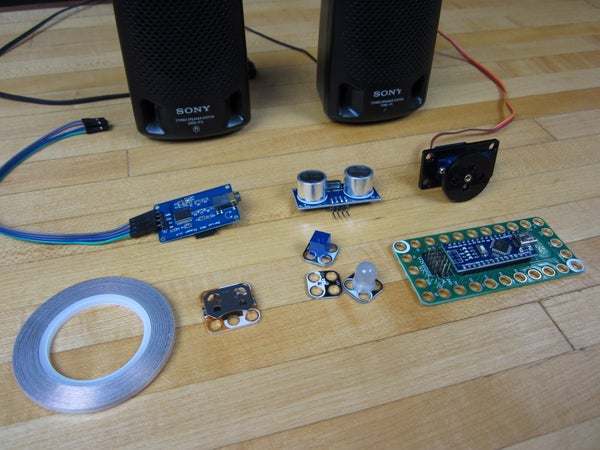
For LEGO parts we used such websites as BrickOwl.com or BrickLink.com. These sites are really handy to use for random LEGO parts or supplies. When in doubt you can also just buy bulk LEGO parts off eBay and spend the afternoon organizing them all.
LEGO BB-8 Set
Worm Gear Drive Set
Large Technic Gear
Technic 1×4 Brick x 4 (or 8)
Technic 1×8 Brick x 4
2×8 Plates x 4
Electronics:
HC-SR04 Ultrasonic Range Finder
Step 2: Video Guide
We made up a Step by Step video to show off what the BB-8 can do and how to make it.
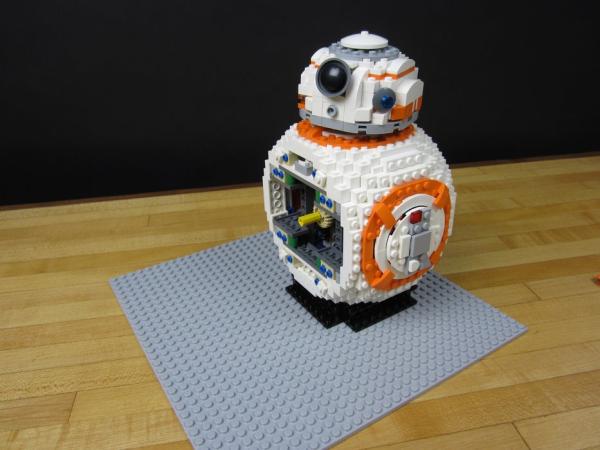
Step 3: Build Your BB-8
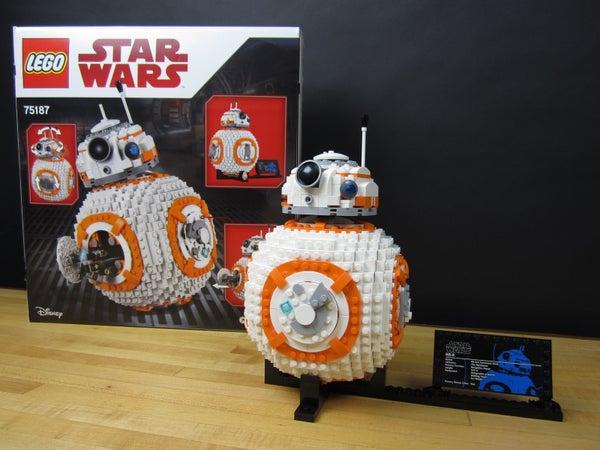
Build your LEGO BB-8 as normal.
Seriously though, kudos to LEGO for putting together a really darn nice project. The rubber band head wobble, the little welding arm, and the attention to detail is just fantastic.
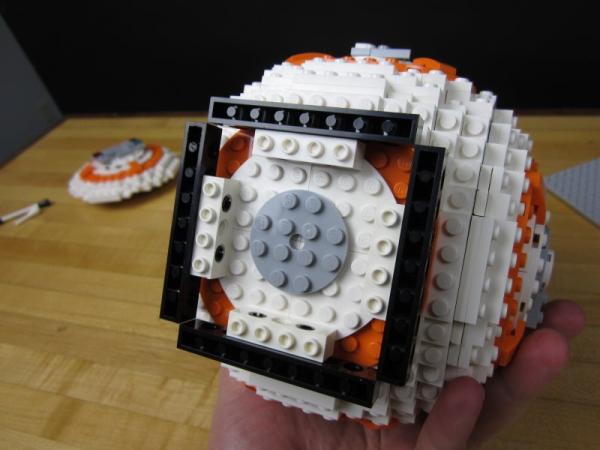
Step 4: Remove the Head Control
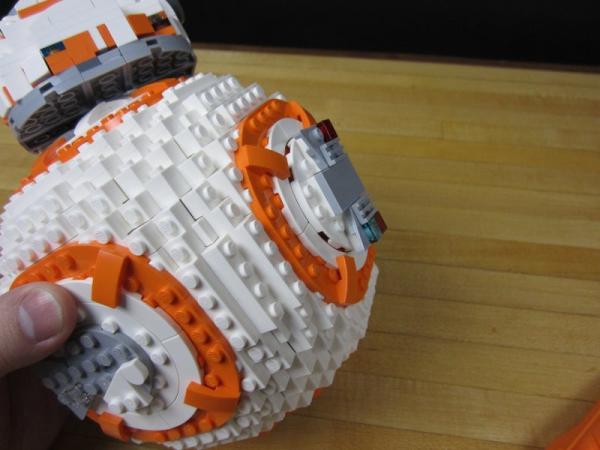
Using a pry tool, remove the side of BB-8 that controls the head.
Put inside half of the axel back in if it comes out.
Put that section to the side as you’ll need it later.
Step 5: Construct the Base Adaptors
Using 1×4 and 1×8 Technic bricks, construct an adaptor to mount the BB-8 onto your large Base Plate.
Remove all the extra parts on the bottom of your BB-8. You want to leave the bottom white area completely flat.
Connect your white bricks UPSIDE DOWN to your black technic bricks.
We ended up using two of the 1×4 bricks per adaptor for extra strength, but it’s probably not necessary.
Step 6: Connect Adaptors and Plates
Attach your adapters to your BB-8.
If possible, use some 2×8 plates to increase the footprint and connection area.
As mentioned before, we also added in a second 1×4 brick to be on the safe side.
Step 7: Attach to Base Plate
Connect everything to a large base plate.
Give yourself some space in the front and a lot of space in the back in order for the rest of your parts.
Make sure the empty “gear area” is pointed towards the BACK of your project. We need space for the gearing and electronics.
Step 8: Remove the Spinner
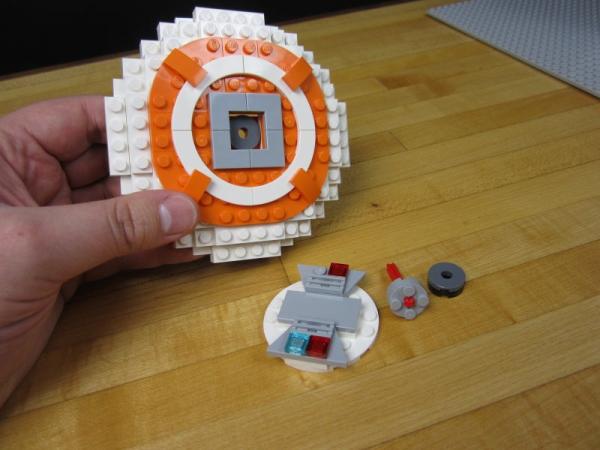
Remove the spinning section from your head control area.
Grab a long size 12 or better axle and attach it to the connector inside the BB-8.
Reattach the entire side.
Source: Automated LEGO BB-8!