
Summary of Dutch 8×8 Neopixel Word Clock
This article details a DIY Dutch word clock project using 8x8 WS2812 (Neopixel) modules instead of the previously used Colorduino. The design features a laser-cut acrylic case with specific layers for the screen, defuser, and backplate. The clock initializes at 9:30 AM without a power switch and utilizes an Arduino Nano, leaving ports available for future expansions like buttons or sensors.
Parts used in the Dutch 8x8 Neopixel Word Clock:
- 3 mm black acrylic (Case)
- 3 mm transparent acrylic (Backplate)
- 3 mm milk white translucent acrylic (Defuser)
- 3 mm reverse black on transparent acrylic (Screen)
- Arduino nano
- 8x8 neopixel matrix (WS2812)
- 3 male-female jumper wires
- 6 M3x10mm bolts and nuts
- Tape
- USB charger (at least 1A)
A friend introduced me to neopixels (WS2812) programmable LED’s. That would be great for my word clock, so I re-did the clock. It is very much a mixup with a slightly different size and code.
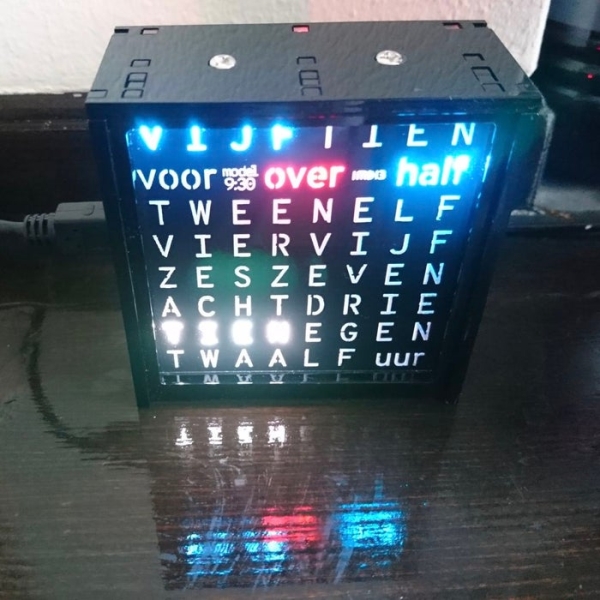
The 8×8 WS2812 modules are also cheaper than the colorduino, I used before.
Check out my previous Ible if you want to make this clock with a colorduino.
Because this is a Dutch clock, I will also add instructions in Dutch.
Een vriend (Thijs) introduceerde de neopixel (WS2812) bij me. Deze programmeerbare LED’s zouden geweldig zijn voor mijn woordklok. Deze instructie is dan ook hetzelfde als mijn vorige, maar dan met neopixels in plaats van de colorduino.
Daarnaast is de neopixel 8×8 module ook nog een stuk goedkoper dan de colorduino.
Kijk bij mijn vorige Ible als je deze klok met een colorduino wilt maken.
De klok heet model 9:30 omdat dat de tijd is waarop hij start als je de stekker er in steekt. Hij heeft geen schakelaars, dus je moet hem gelijk zetten door tot 9:30 (of 21:30) te wachten en dan de stekker erin te steken.
Omdat deze klok een volledige Arduino nano gebruikt, zijn er nog wel poorten beschikbaar om als je dat wilt knoppen toe te voegen of bijvoorbeeld een licht-sensor of een seconden-LED.
Step 1: Cut the Parts
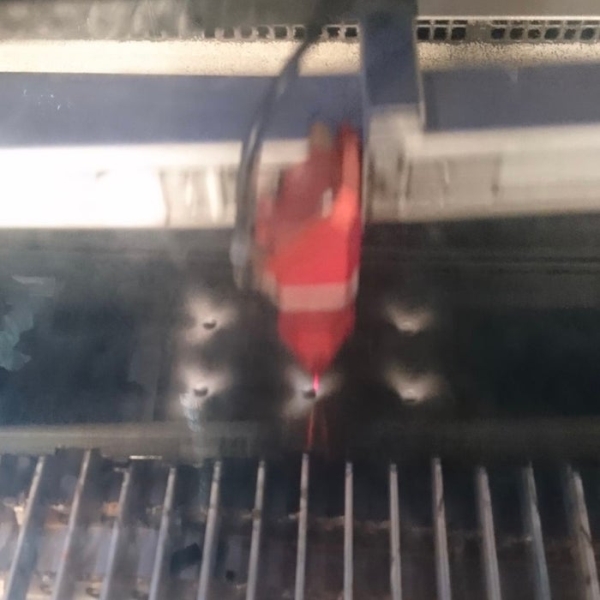
Use a lasercutter (at your local makerspace) to cut the parts.
Al designs are made in Gravit Designer. I added both the original designs and the PDF’s for the lasercutter.
The different parts are cut from different materials:
- Case: 3 mm black acrylic
- Backplate: 3 mm transparent acrylic
- Defuser: 3 mm milk white translucent acrylic
- Screen: 3 mm reverse black on transparent acrylic
Gebruik een lasersnijder (bij je plaatselijke makerspace) om de bijgevoegde ontwerpen uit perspex te snijden.
Ik heb alle ontwerpen in Gravit Designer getekend en zowel de originele ontwerpen als de PDF bestanden voor de laser bijgevoegd.
Ieder bestand wordt uit een ander materiaal gesneden: (in Nederland zijn deze materialen te bestellen bij Trotec.)
- Case: 3 mm zwart perspex (Troglass color gloss opal zwart 117128)
- Backplate: 3 mm transparant (Troglass color gloss transparant 117143)
- Defuser: 3 mm melkwit (Troglass LED wit glans 117209)
- Screen: 3 mm zwart/transparant reverse (Troglass reverse zwart 20628)
Step 2: You Will Need
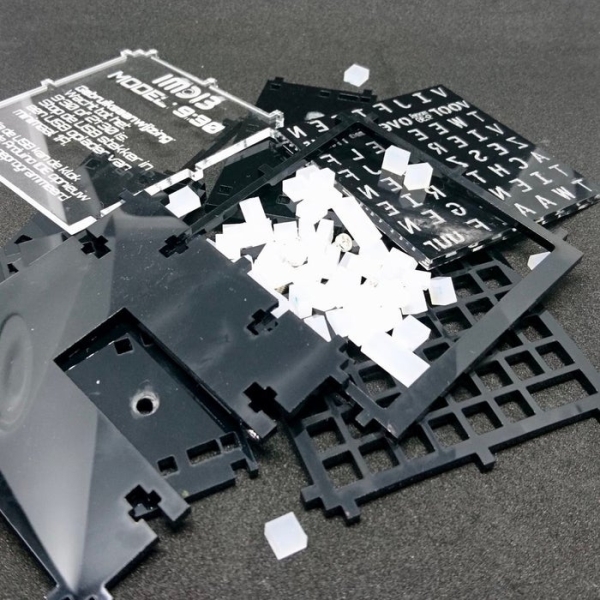
Materials:
- All the cut acrylic parts
- Arduino nano
- 8×8 neopixel matrix
- 3x male – female jumper wires
- 6x M3x10mm bolts and nuts
- tape
- USB charger from at least 1A
Tools:
- Wire stripper
- Snips
- Soldering materials
- Screwdriver
- Computer with Arduino IDE
Materialen:
- Alle gesneden perspex onderdelen
- Arduino nano
- 8 x 8 neopixel (WS2812) matrix
- 3 x jumper wire met aan 1 kant een man en aan de andere kant een vrouw stekker
- 6x M3 x 10 mm boutjes met moertjes
- tape
- USB lader van minimaal 1A
Gereedschap:
- Striptang
- Zijsnijder
- Soldeerspullen
- Schroevendraaier
- Computer met Arduino software
Source: Dutch 8×8 Neopixel Word Clock
-
What material is used for the case?
The case is cut from 3 mm black acrylic. -
How do you set the time if there are no switches?
You must wait until 9:30 or 21:30 before plugging the device in to set the correct time. -
Can I add extra components like buttons or sensors?
Yes, because it uses a full Arduino nano, there are still ports available to add buttons, light sensors, or second LEDs. -
What software was used to create the designs?
All designs were made in Gravit Designer. -
Which tool is required to cut the parts?
A lasercutter at a local makerspace is used to cut the parts. -
Why did the author choose neopixels over the colorduino?
The 8x8 neopixel modules are cheaper than the colorduino used in previous versions. -
What type of USB charger is needed for this project?
A USB charger from at least 1A is required.
