
Summary of FREE ELEKTOR ARTICLE: A 3-DOLLAR TINY WI-FI SWITCH THAT WORKS
The author purchased a cheap ESP8266 relay board that failed to function with pre-installed software. To solve this, they reprogrammed the device to act as a web server with a static IP and port. By configuring port forwarding on their router and utilizing the modem's built-in Dynamic DNS (DDNS) service, they achieved reliable remote control via a stable domain name instead of a changing external IP address.
Parts used in the Tiny Wi-Fi Switch Project:
- ESP8266 relay switch board
- Android phone
- PC or laptop
- Wi-Fi router
- DSL modem with DDNS facility
- No-IP.com DNS host service
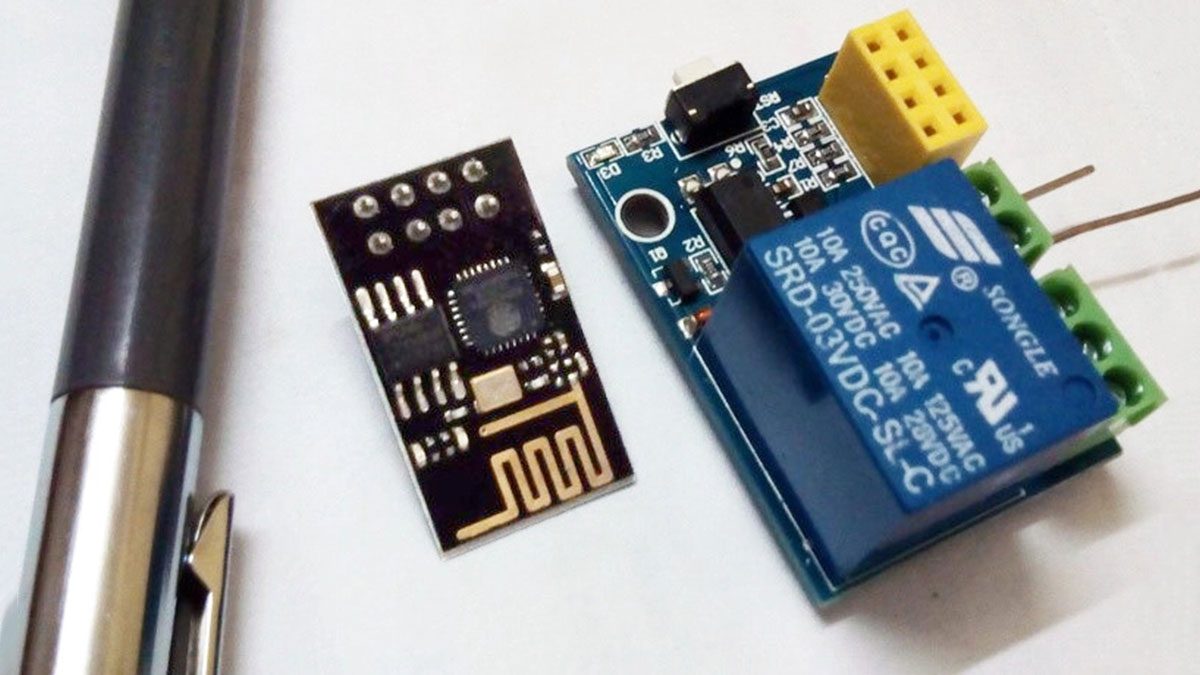
Out of curiosity I ordered a tiny ESP8266 relay switch board from aliexpress.com, for next to nothing. Blissfully unaware, then, of the struggle ahead to make the thing work as advertised. I survived and conquered — here’s the story.
By Somnath Bera
The little gizmo pictured in Figure1 was stated by the vendor(s) to contain an inbuilt switching program, so all I had to do is “use some Android phone to control it”. Sadly, despite several attempts using various Chinese and English-language Android apps, nothing ever happened! Sure, the device gets connected with the Wi-Fi of my PC or laptop as a server and it also allocates the dynamic IP address — but nothing happens after that. No server page etc. opens anywhere! Utterly frustrated, one day I decided to develop and install my own program into its dumb head!
Starting out
I reprogrammed the switch to connect to my Wi-Fi router with a fixed IP address and a fixed port like these: 192.168.1.99 and port 8083. Once connected the board behaved as a webserver at http://192.168.1.99:8083 and the ‘switch’ was visible in the browser. Pressing the On or Off button made it act accordingly. For simplicity, I added a refresh counter and a relay status to have a readout for the state of the relay (that being, on or off).
Strategy
Next, in my DSL router I set up ‘port forwarding’ of the 8083 port to the 8083 port of the “192.168.1.99” computer (i.e. the relay board) which gets connected to it. Once you know the external IP address of your router, you can connect to it from the other side of the universe! So easy! But the question is, how to know the external IP address of your router? Simple, you ask your son, daughter or your spouse to open the router’s admin page, go to the Status tab and locate the IP address of the router — it’s a common feature of most DSL router modems out there. When your laptop, desktop, or mobile phone gets connected to your Wi-Fi network, it gets an IP address as the identity of that device on the Wi-Fi network. Likewise, your DSL router gets an IP address when it gets connected to Internet, and that’s the address you have to know.
But there is no dearth of problems in Bera’s world of electronics! The external IP address of any router changes quite often — up to 10 times per is not uncommon. So really, you’d need a permanent valet near the modem to shout numbers 10 times a day … you’d wish you could train your pet to do this work there and then!
But where there is a problem there is solution! At least in the world of electronics this is so true. When you can formulate and then simplify a problem, you are actually pushing towards the solution. Fortunately, most run of the mill DSL modem haves an inbuilt DDNS (Dynamic DNS) tracking facility. You just supply the DNS host server’s name, the DNS name and the remaining authorization details, and the Modem will track the changes of the external address on its own. You just need to remember the DNS name you have registered with the DNS host server’s site and the port you are forwarding in the modem — in my case it’s berapi.ddns.net:8083 from noip.com. See Figures 2a and 2b for my setups.
Read more: FREE ELEKTOR ARTICLE: A 3-DOLLAR TINY WI-FI SWITCH THAT WORKS
- Why did the original Android apps fail to control the device?
The vendor stated it contained an inbuilt switching program, but various attempts using Chinese and English-language apps resulted in no response despite successful Wi-Fi connection. - How did the author configure the board to work as a web server?
The author reprogrammed the switch to use a fixed IP address of 192.168.1.99 and a fixed port 8083. - What problem arises when relying solely on a router's external IP address for remote access?
The external IP address changes quite often, sometimes up to 10 times per day, making it difficult to maintain a permanent connection. - What feature does the DSL modem have to solve the changing IP address issue?
Most run-of-the-mill DSL modems have an inbuilt Dynamic DNS tracking facility that tracks external address changes automatically. - Which DNS host server did the author use for their project setup?
The author used noip.com and registered the DNS name berapi.ddns.net. - How can a user find their router's external IP address manually?
A user can ask someone at home to open the router's admin page, go to the Status tab, and locate the IP address listed there. - What steps are required to enable remote access from outside the local network?
You must set up port forwarding on your DSL router to forward the specific port to the relay board's internal IP address.
