Summary of Blink Without Delay using Arduino
This article explains how to blink an LED on an Arduino without using the `delay()` function, which blocks other code execution. By utilizing the `millis()` function, the sketch tracks time intervals within the `loop()`, allowing non-blocking operations like reading button inputs while toggling the LED. This ensures the program remains responsive to other events.
Parts used in the Blink Without Delay Project:
- Arduino Board
- LED
Sometimes you need to do two things at once. For example you might want to blink an LED (or some other time-sensitive function) while reading a button press or other input. In this case, you can’t use delay(), or you’d stop everything else the program while the LED blinked. The program might miss the button press if it happens during the delay(). This sketch demonstrates how to blink the LED without using delay(). It keeps track of the last time the Arduino turned the LED on or off. Then, each time through loop(), it checks if a long enough interval has passed. If it has, it toggles the LED on or off.
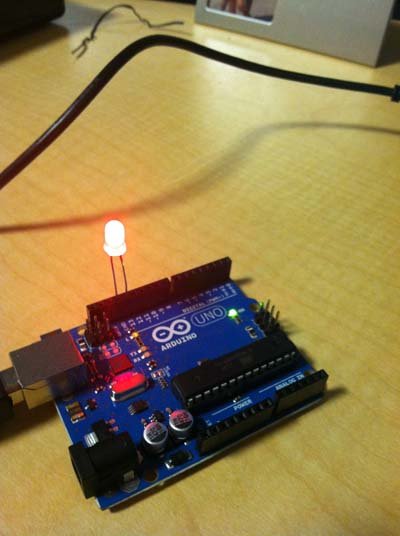
Circuit
To build the circuit, grab an LED and attach its long, positive leg (called the anode) to pin 13. Attach the short, negative leg (called the cathode) to ground. Then plug your Arduino board into your computer, start the Arduino program, and enter the code below.
Schematic:
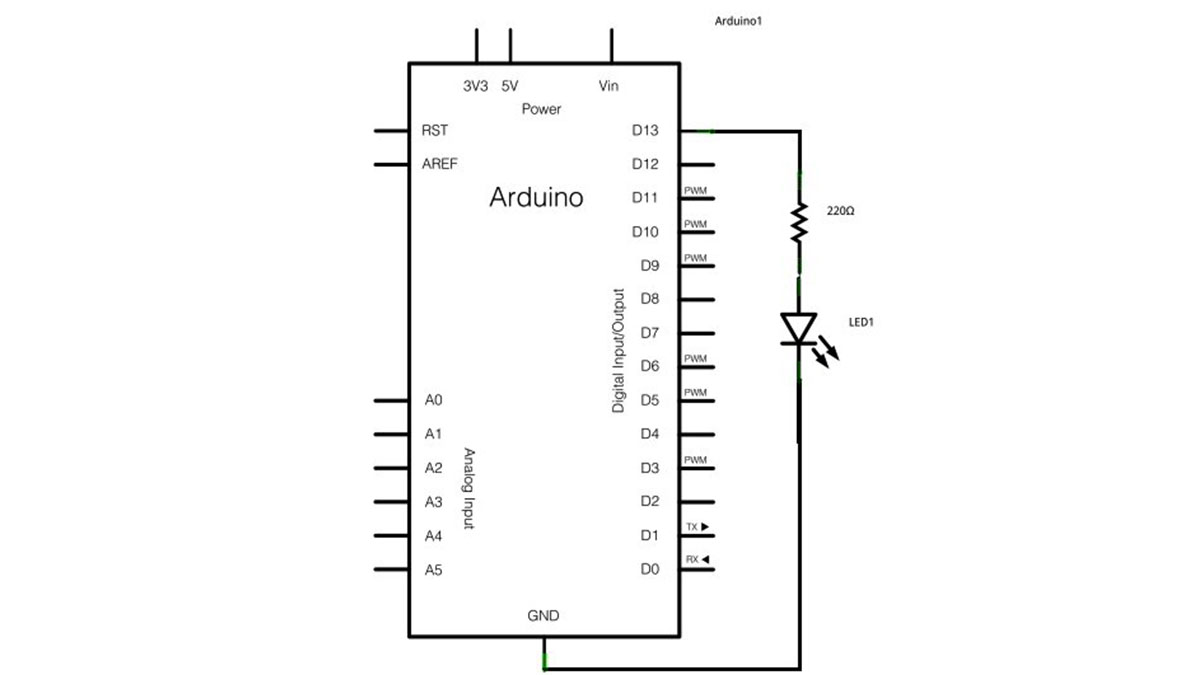
image developed using Fritzing. For more circuit examples, see the Fritzing project page
Code
The code below uses the millis() function, a command that returns the number of milliseconds since the Arduino board started running its current program, to blink an LED.
Turns on and off a light emitting diode(LED) connected to a digital
pin, without using the delay() function. This means that other code
can run at the same time without being interrupted by the LED code.
The circuit:
* LED attached from pin 13 to ground.
* Note: on most Arduinos, there is already an LED on the board
that’s attached to pin 13, so no hardware is needed for this example.
Hardware Required
- Arduino Board
- LED
- Why should I avoid using delay() when blinking an LED?
Using delay() stops everything else in the program, causing it to miss events like button presses. - How does this sketch keep track of time without delay?
The code uses the millis() function to return milliseconds since the board started and checks if a long enough interval has passed. - Can I run other code while blinking the LED with this method?
Yes, because the LED code does not interrupt the program, other code can run at the same time. - Which pin is used for the LED in this example?
The LED is attached to pin 13. - How do I connect the LED legs correctly?
Connect the long positive leg (anode) to pin 13 and the short negative leg (cathode) to ground. - Is external hardware required if I have most Arduinos?
No, most Arduinos already have an LED attached to pin 13, so no extra hardware is needed. - What happens if the interval check fails in the loop?
If the interval has not passed, the code simply continues without toggling the LED state. - Does this method work for other time-sensitive functions?
Yes, the technique applies to any situation requiring simultaneous actions like reading inputs.