
Summary of Road to Santa Claus
This article describes building an IoT Advent Calendar using the Arduino MKR1000 to count down to Santa's arrival. The project connects physical wooden components with an LED strip and Wi-Fi capabilities, allowing users to control the light display via a smartphone web interface. It serves as a festive, interactive holiday decoration that tracks progress toward Christmas.
Parts used in the Road to Santa Claus:
- Arduino Road to Santa Claus Kit
- Arduino IDE
- Arduino Web Editor
- Vinyl glue
- Hot glue gun (generic)
- MKR1000 board
- LED strip
- Wooden pieces (numbered 1 and 2)
- Micro USB cable
- Power supply
Waiting for Santa? Count down to his arrival with this MKR1000 device.
Things used in this project
Hardware components |
||||||
 |
|
× | 1 | |||
Software apps and online services |
||||||
 |
|
|||||
 |
|
|||||
Hand tools and fabrication machines |
||||||
|
||||||
 |
|
|||||
Story
Overview
Arduino-ho-ho-ho-ho! Do you hear the bells? Santa Claus is coming to town!
Have your children sent their letters the North Pole? Are their gifts being prepared in Santa’s Workshop? These are some of the questions that are asked during the holiday season.
Remember the old advent calendar? We’re giving it an IoT twist with the MKR1000-based Road to Santa system!
If your child is “nice,” Santa will continue with his duties of reading the letters, preparing gifts, packing them into his sleigh, flying over the world, and delivering them to every household.
Let’s start to build it!
- place all the material on a flat surface
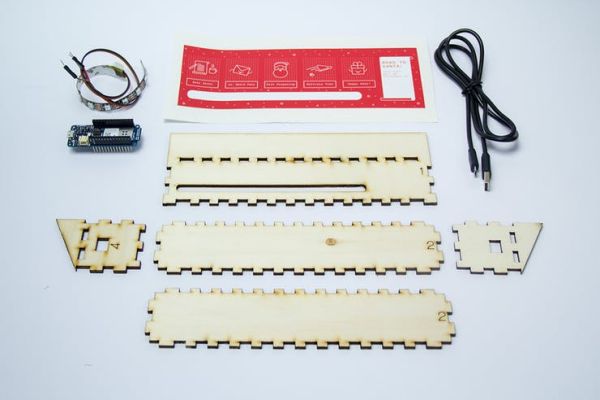
- insert the two pieces of wood numbered 2 trough the holes of the piece number 1 (the numbers should go on the internal side of the box).
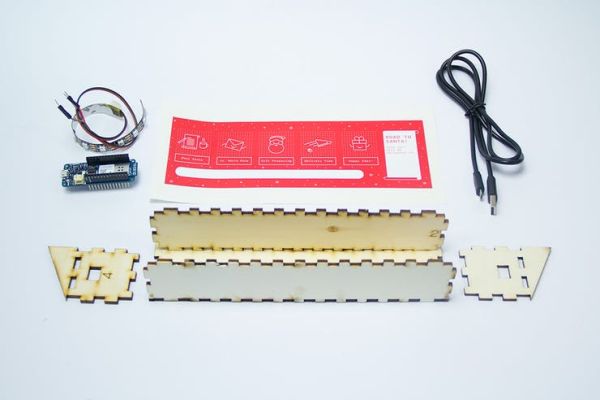
- attach the side parts of wood with a small quantity of vinyl glue.
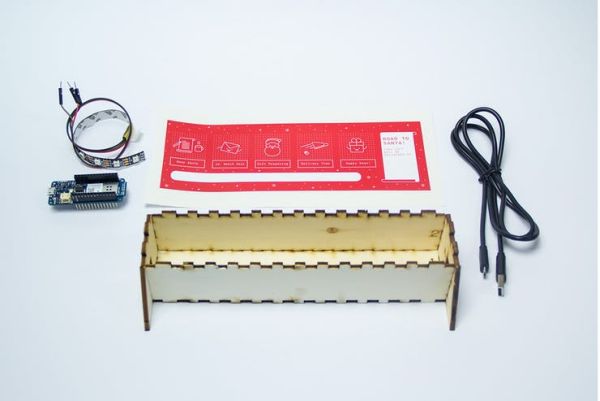
- peel the sticker and attach it to the front side of the wood number 1, aligning the white part of the sticker with the hole of the LEDs.
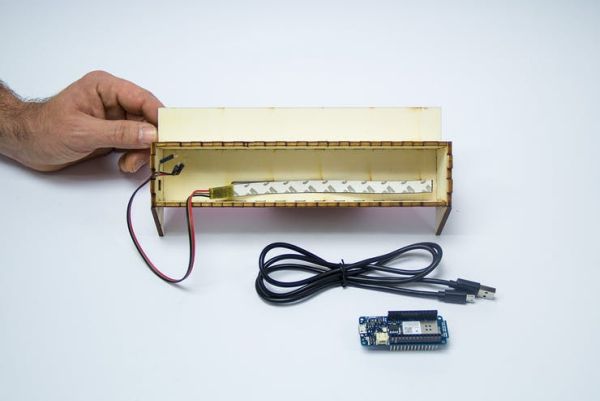
- take the LED strip and attach to the hole, put the white sticker on the back so it remain firmly attached.
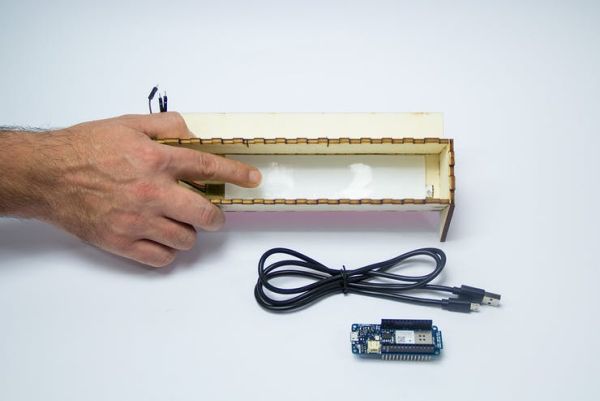
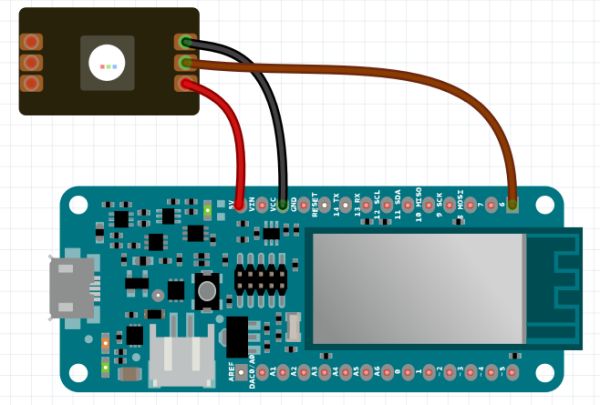
Attach pins from the LED strip to the MKR1000:
- Red cable on 5v Pin of the MKR1000
- Black cable of the ground to the ground pin of the MKR1000
- Brown cable to pin 6 of the MKR1000.
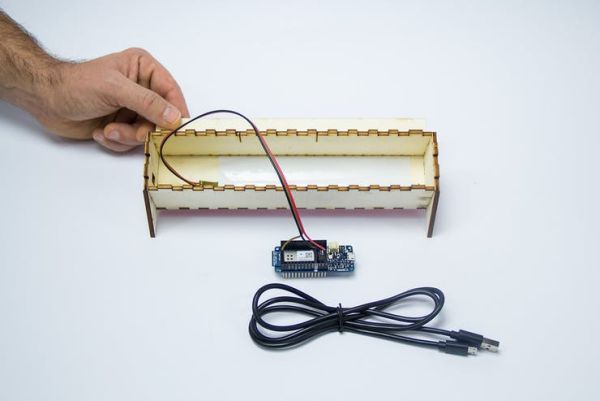
Double check the correct position of the pins, especially 5v and ground.
- put the micro USB cable trough the hole on the side wood piece.
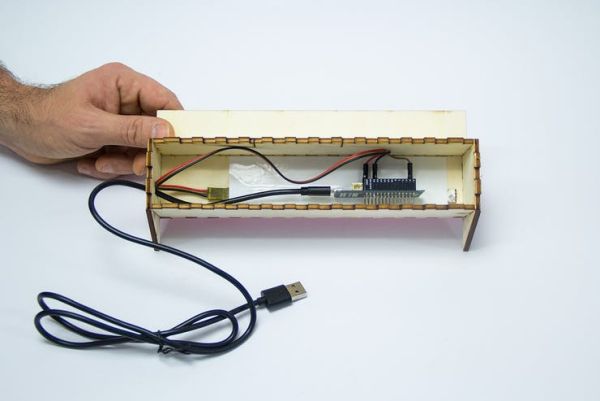
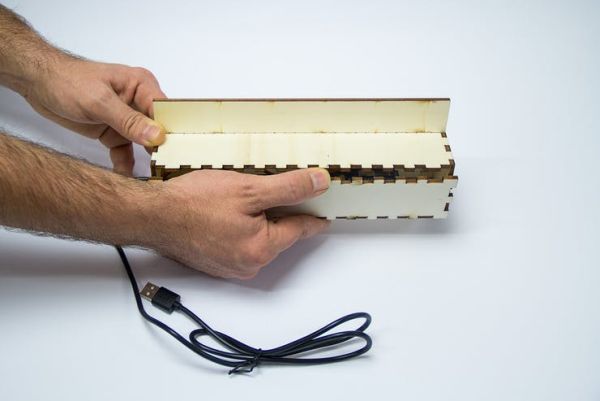
- connect the cable to the MKR1000 and the other side to the power supply.
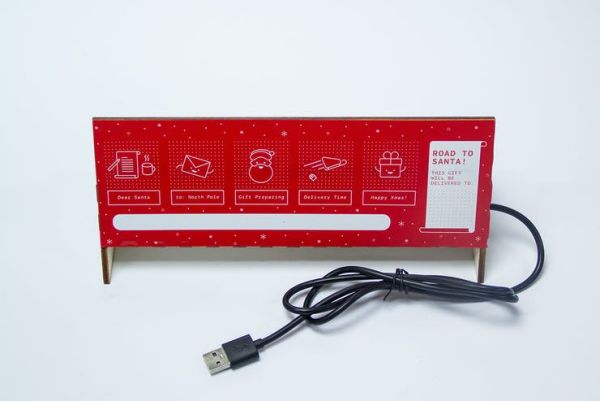
The MKR1000 will boot. A red stripe is shown during the boot process, once done a flash green will show up. Now the MKR1000 is ready. From your smartphone, connect to the Wi-Fi called Road-To-Santa.
Once connected your web browser and open this address: http://10.0.0.1, a small interface with two buttons will open. Use the buttons to move back a forward the LED.
Have Fun!
Troubleshooting:
Q: The LEDs don’t light up
- A: Double check the connections
Q: I cannot connect to the Wi-Fi
- A: Sometimes this can happen because of interference. In this case, just power off and then back on the board by detaching the power supply from the wall. The MKR1000 saves the state of the LED, so the next boot, will light up the correct number of the LED.
Keep in mind that you have a brand new MKR1000 in your hands, so after Santa Claus make your children happy, you can enjoy and get inspired with all the tutorials on the dedicated page on Project hub.
Schematics
Code
Source : Road to Santa Claus
-
How do I connect the LED strip to the MKR1000?
Connect the red cable to the 5v Pin, the black cable to the ground pin, and the brown cable to pin 6. -
What happens if the LEDs do not light up?
You should double check the connections to ensure they are correct. -
Can I connect to the Road-To-Santa Wi-Fi network?
If you cannot connect due to interference, power off the board by detaching the power supply and then turn it back on. -
How do I control the LED lights after setup?
Connect your smartphone to the Road-To-Santa Wi-Fi and open http://10.0.0.1 to use the buttons for moving forward or backward. -
Does the MKR1000 remember the LED state after a reboot?
Yes, the MKR1000 saves the state of the LED so the next boot will light up the correct number of LEDs. -
Which software tools are required for this project?
The project requires the Arduino IDE and the Arduino Web Editor. -
What is the purpose of the white sticker in the assembly?
The white sticker is attached to the front side of wood number 1 to align with the hole of the LEDs and placed on the back to secure the LED strip.
