
Summary of ESP8266 Tutorial: How to Control Anything From the Internet!
This ESP8266 tutorial demonstrates controlling an LED via the internet using an ESP-01 module and Arduino IDE. The system allows remote operation over local Wi-Fi or globally with port forwarding, utilizing GPIO pins for ON/OFF control through serial programming interfaces.
Parts used in the ESP8266 LED Control Project:
- Arduino board or USB to TTL converter
- LED
- ESP8266
- Breadboard
- Female to male and male to male jumpers
- Lm117 3.3 voltage regulator
In this ESP8266 tutorial, we are using an ESP-01 module to control an LED over the internet. The ESP8266 is a very cheap yet really effective platform for communicating over the internet. It is also easy to use with an Arduino. After going through this ESP8266 tutorial, you will have the know-how to control any electrical device through the internet from anywhere in the world!
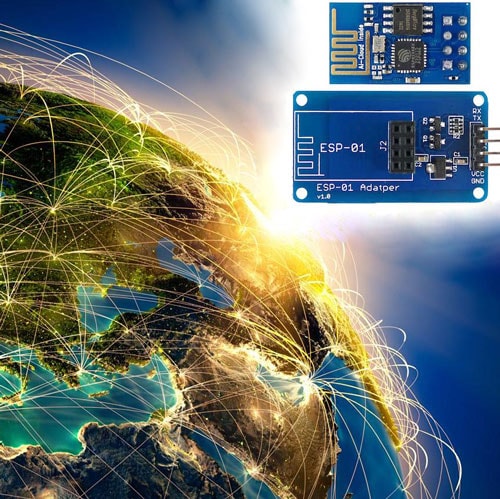
Here, we will be using an USB to TTL converter to program the Esp8266 ESP-01 module. And we’ll be using the Arduino IDE to develop the web server to control an LED remotely. If you just bought your module, you can also refer my previous ESP8266 tutorial to see how to get started with the ESP-01 Wi-Fi module. It also shows how you can configure it and verify that there is communication established between the ESP8266 and another device without using a USB to TTL converter.
Bill of Materials
- Arduino board or USB to TTL converter
- LED
- ESP8266
- Breadboard
- Female to male and male to male jumpers
- Lm117 3.3 voltage regulator
How Does it Work?
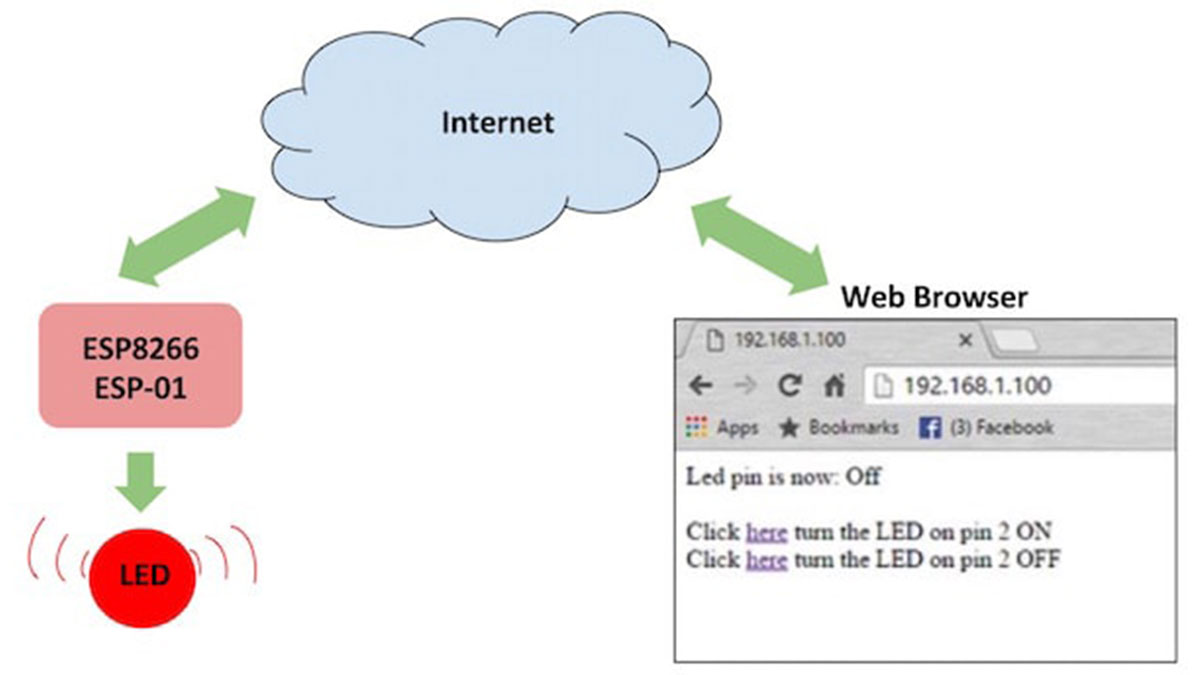
The ESP8266 can be controlled from your local wifi network or from the internet (after port forwarding). The ESP-01 module has GPIO pins that can be programmed to turn an LED or a relay ON/OFF through the internet. The module can be programmed using an Arduino/USB to TTL converter through the serial pins (RX,TX).
Connecting the Hardware to Your ESP8266
We can either use a USB to TTL converter or use an Arduino to program the Esp8266. Here there are three methods you can follow to upload the code to ESP8266, select the one which suits you best. Refer the following diagrams for each and set up the hardware accordingly.
1. USB to TTL Converter Using DTR Pin
If you’re using a USB to TTL converter which has a DTR pin, then uploading will go smoothly. Please be informed that Serial monitor will not work anymore while doing this.
Read More: How to Control Anything From the Internet
- How can I program the ESP8266 ESP-01 module?
You can use a USB to TTL converter or an Arduino to program the module through the serial pins. - Can I control electrical devices from anywhere in the world?
Yes, you can control any electrical device through the internet from anywhere if port forwarding is configured. - What pins are used for communication between the ESP8266 and another device?
The RX and TX serial pins are used for communication when programming via an Arduino or USB to TTL converter. - Does the ESP-01 module have GPIO pins for controlling hardware?
Yes, the ESP-01 module has GPIO pins that can be programmed to turn an LED or relay ON or OFF. - Can I use an Arduino board instead of a USB to TTL converter?
Yes, you can either use a USB to TTL converter or an Arduino to program the ESP8266. - What happens to the Serial monitor while uploading code using the DTR pin method?
Please be informed that the Serial monitor will not work anymore while doing this upload method. - Is the ESP8266 platform easy to use with Arduino?
Yes, the ESP8266 is described as very cheap, effective, and easy to use with an Arduino.
