
Summary of USB Mouse Made Out Of A Wii Nunchuck
This instructable shows how to convert a Nintendo Wii Nunchuck into a USB two-button mouse using a Teensy 2.0 programmed in the Arduino environment. It covers disassembly, identifying potentiometer and button connections, breadboard prototyping wiring, Teensy settings (Teensy 2.0, USB Type Keyboard + Mouse), and uploading provided code to test joystick axes and buttons before finalizing.
Parts used in the Wii Nunchuck USB Mouse Project:
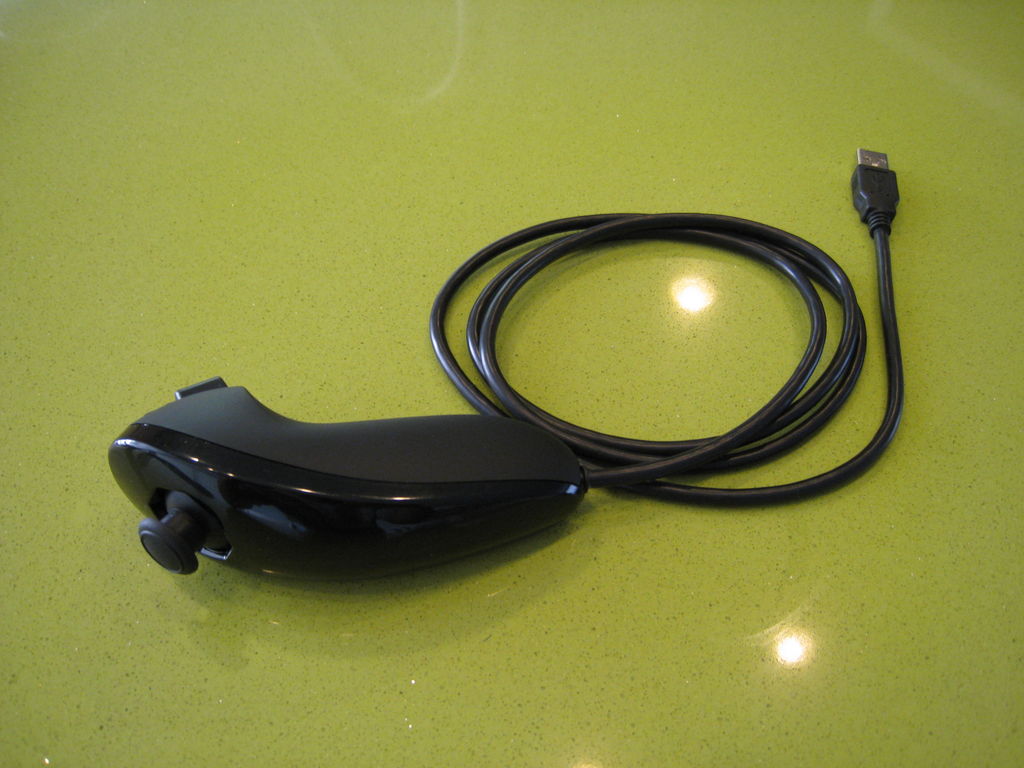
- Nintendo Wii Nunchuck Controller
- Teensy 2.0 USB Development Board
- USB cable
- Breadboard (for prototyping)
- 22 gauge wire
- Solder
- Tri-wing screwdriver
- Soldering iron and ancillary hand tools
Check out the final product in action!
Step 1: Materials
Components:
– Nintendo Wii Nunchuck Controller, available at various retailers
– Teensy 2.0 USB Development Board, available at www.pjrc.com
– USB cable, available at www.pjrc.com
– Breadboard (for prototyping), available at www.sparkfun.com
– 22 Gauge Wire, available at www.sparkfun.com
– Solder, available at www.sparkfun.com
Aside from the components listed above, you should have access to various tools such as a soldering iron and ancillary hand tools. Additionally, you should have basic soldering skill and working knowledge of the Arduino environment before embarking on this journey.
Step 2: Nunchuck disassembly
Remove the electronics and un-clip the two hooks of the white molded plastic part at the center to access the electrical connectors of the x and y-axis potentiometers.
Remove the flexible membrane to access the electrical connectors of the C and Z buttons. The middle connection (red wire) is the Z button and top connection (black wire) is the C button.
Step 3: Prototyping on Breadboard
Teensy Nunchuck
GND Ground (each potentiometer and buttons)
+5V 5 Volts (each potentiometer)
F0 X-axis potentiometer output
F4 Y-axis potentiometer output
D2 C button
D3 Z button
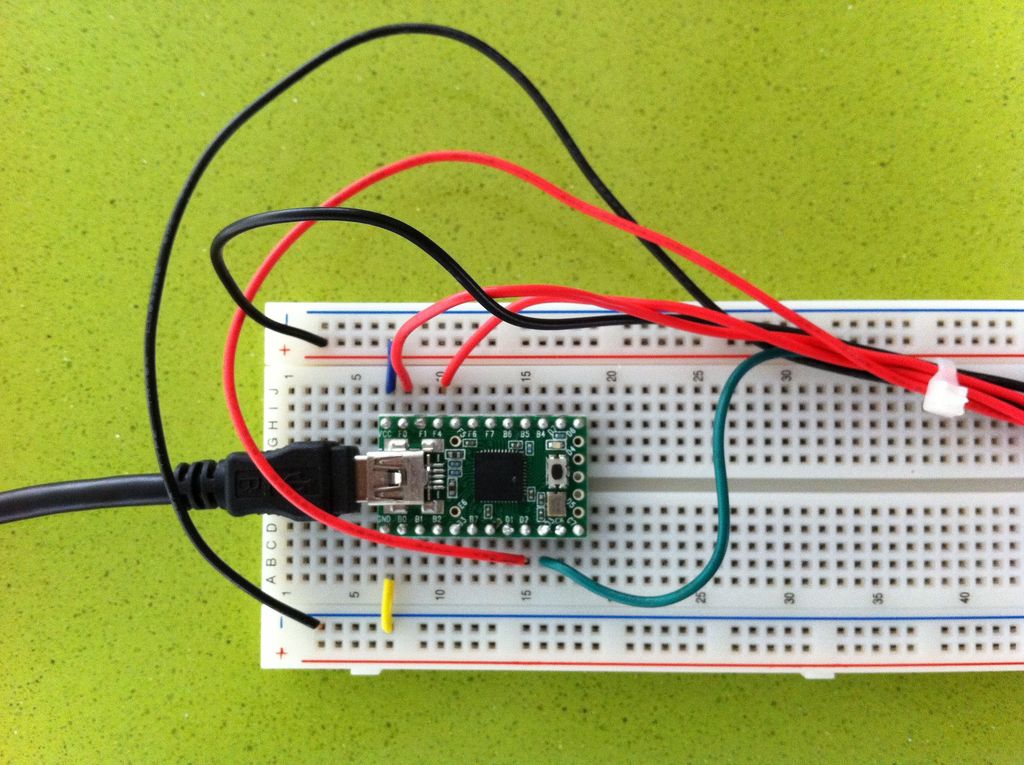
Once you’ve connected everything per the table above, you’re ready to program. In addition to putting the attached code into the Arduino window, make sure the settings are correct for this project. The board should be identified as “Teensy 2.0” and the USB Type “Keyboard + Mouse”.
Upload the code and press the reset button on the Teensy. Play around with the joystick and both buttons to confirm everything is working the way it should. A simple mistake would be to mix up the X and Y directions or the C and Z buttons, but that can be easily fixed by swapping the connections on the breadboard (another good reason you should always prototype everything).
 teensy_mouse_clean.pde
- What is the goal of this project?
To convert a Nintendo Wii Nunchuck into a USB two-button mouse using a Teensy 2.0. - What board is used to make the Nunchuck act as a USB mouse?
The Teensy 2.0 USB development board is used. - How are the Nunchuck controls connected to the Teensy for prototyping?
Connect GND to Nunchuck ground, +5V to Nunchuck 5V, F0 to X potentiometer output, F4 to Y potentiometer output, D2 to C button, and D3 to Z button. - What Arduino settings are required before uploading code?
Set the board to Teensy 2.0 and USB Type to Keyboard + Mouse. - What should you do after uploading the code?
Press the reset button on the Teensy and test the joystick and both buttons to confirm functionality. - Which Nunchuck connections correspond to the C and Z buttons?
The middle connection (red wire) is the Z button and the top connection (black wire) is the C button. - Why prototype on a breadboard first?
Breadboard prototyping allows easy swapping of X/Y or C/Z connections if they are mixed up and helps verify operation before final soldering. - What tools and skills are recommended for this project?
Basic soldering skill, hand tools, and working knowledge of the Arduino environment are recommended.