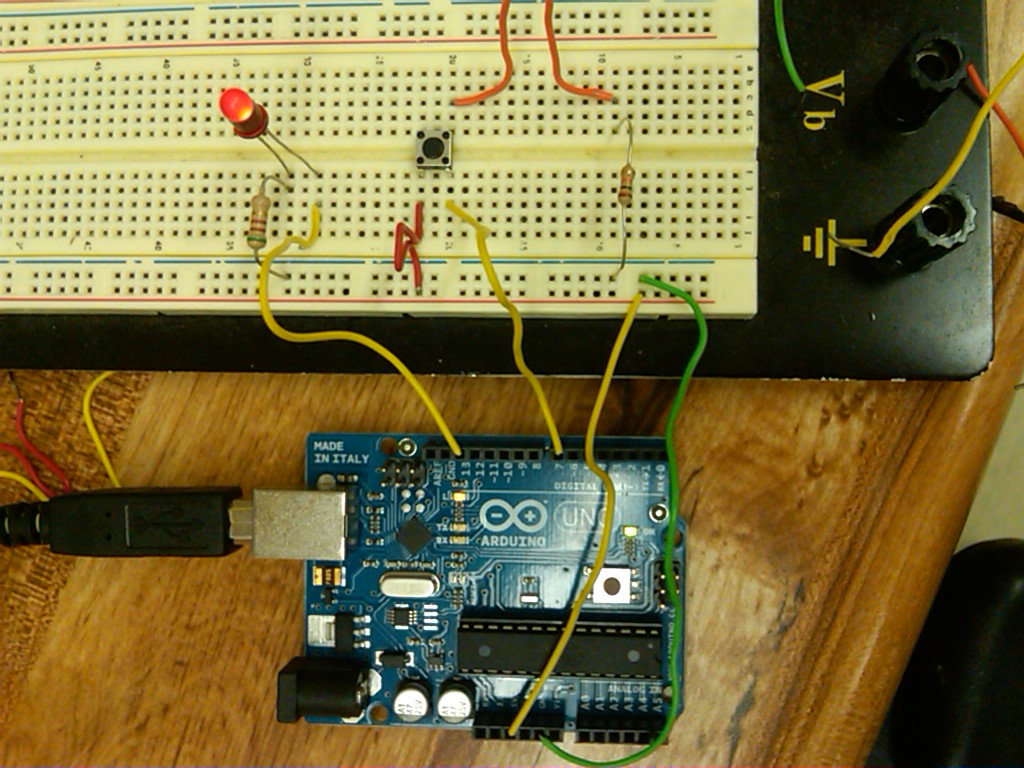
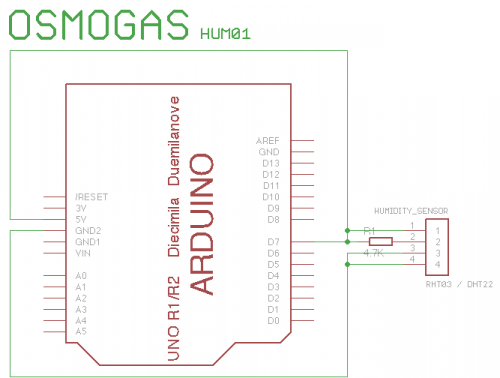
Digital pins 1-7 are generally used as input pins and
Digital pins 8-13 are used as output pins.
Digital pins 9-11 can be used as analog output pins. That is, they can send they can send signal of variable voltage.
Getting started with Arduino.
I have skimmed through the “Getting Started with Arduino” and did the two main projects.
The first project was about testing basic components/sensors (light sensor, push button,Potentiometer) that would turn on an red LED when their value sent to arduino reaches a certain number. parts used:
Arduino board, breadboard, connecting wires, red LED, photoresistor, photodiode, pushbutton, potentiometer, 510 Ohm resistor, 10K resistor,
Talking to the Cloud
In this project, I have an LED based lamp that changes light color depending on words read from a particular site’s RSS feeds.
The project is a combination of Arduino and processing programming.
In fact, Processing is used to get the data from a particular web site, extract three frequencies of words on that site(make sure to use the RSS feeds’ page url), turn them into hexadecimal numbers and sends them to the Arduino Serial communication as an RGB value. That is, each value is used to turn on an LED (red, blue, and green) and the combination result in a particular light color.
For Arduino, there is a pushbutton for turning on the “lamp” and three LED’s(red, blue,green) that light with different brightness depending on the value sent by the processing program. Note: In the “Getting started Arduino book” a phototransistor is used to read the brightness of the light of the lamp (3-LED combination). Parts used: Arduino board, Breadboard, three LED of different colors (red, green, yellow*), connection wires, pushbutton.
Note about building the gadget
I used 510-Ohm instead of 10K resistors as recommended by the book. I also used the potentiometer instead of pushbutton.
The “font” used in processing is different from the original project description because my Processing environment did not have the specified font.
So, you can set your own font if you want by:
Click “Tools” -> “Create Font…” and select whichever font attracts you in Processing IDE.
One other thing to check is the serial port selected by the Processing program. This serial port should be the same as the one where Arduino board is connect to.
I have read the device description in “Environmental Monitoring with Arduino” book and test it online.
The device has two important features(The MAC address and the Ethernet port ) that a person must understand in order to successfully get a response from it.
MAC(Media Access Control) address is a unique address identifying any machine/device connected to the Internet. For Ethernet shield, it is a combination of letters and numbers in the form of “90-A2-DA-…”, and is written to a sticker on the back of the device.
Ethernet port is where the Ethernet cable will be plugged into.
Parts used: Arduino, Ethernet shield, standard Ethernet cable (RJ-45 cable).
Note:
1. The Arduino Ethernet shield requires its own IP address for web browser to find it. This is easily chosen by following IP address of the router being used. For example, if the router is 152.97.100.1, then the IP address of the Ethernet shield can be 152.97.100.50 as long as there no other device on your LAN that is assigned to this address.
2. The code from the book’s Website contained some errors, so I used the Arduino Ethernet example instead.
3. The Arduino server can only be accessed by devices connected on the same Local area Network.
After running a Web server with the Arduino Ethernet shield, I tested the micro SD card slot with a Nokia micro SD memory card.
There are two pins on the new Ethernet shield, that are reserved for the SD card control. The SDCS (Chip Select) pin (pin 4 on the Ethernet shield that i used), which is used to initialize the card. The ETHCS pin (pin 10) which is used as an output pin.
The test program (CardInfo that comes with SD library) checks for available card with good connection, and lists all file saved on the card if the card is found.
For more detail: Physical Computing with Arduino


