
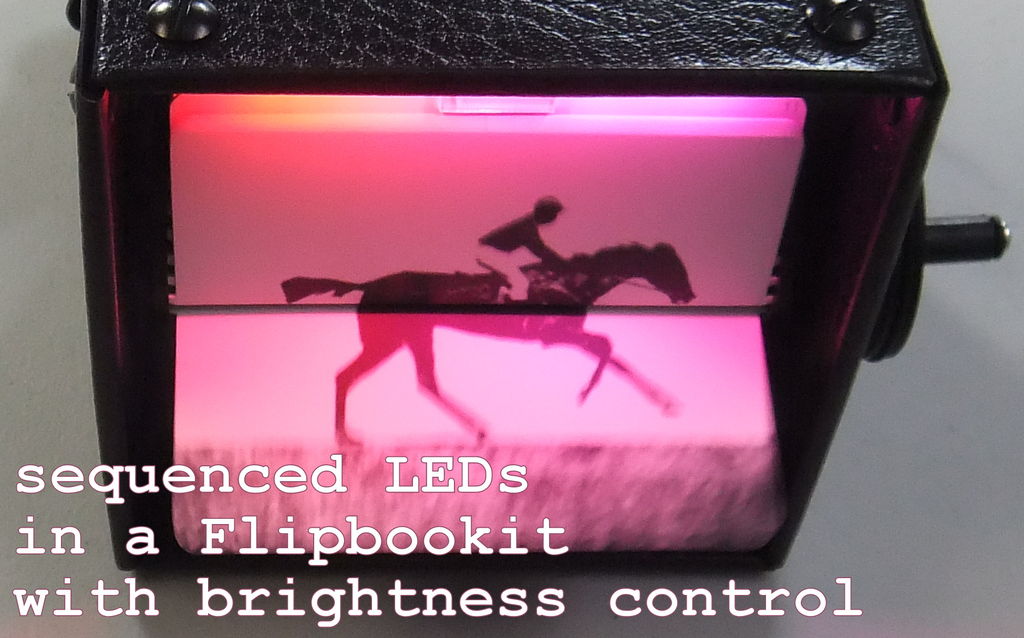
Summary of LED Flipbookit: full color and brightness control with an Arduino
This project demonstrates how to modify a Flipbookit Moto flipbook viewer with an Arduino Leonardo to control full-color RGB LEDs and brightness via a potentiometer. The build involves soldering components, installing libraries, and physically mounting the electronics inside the device for a portable, interactive experience.
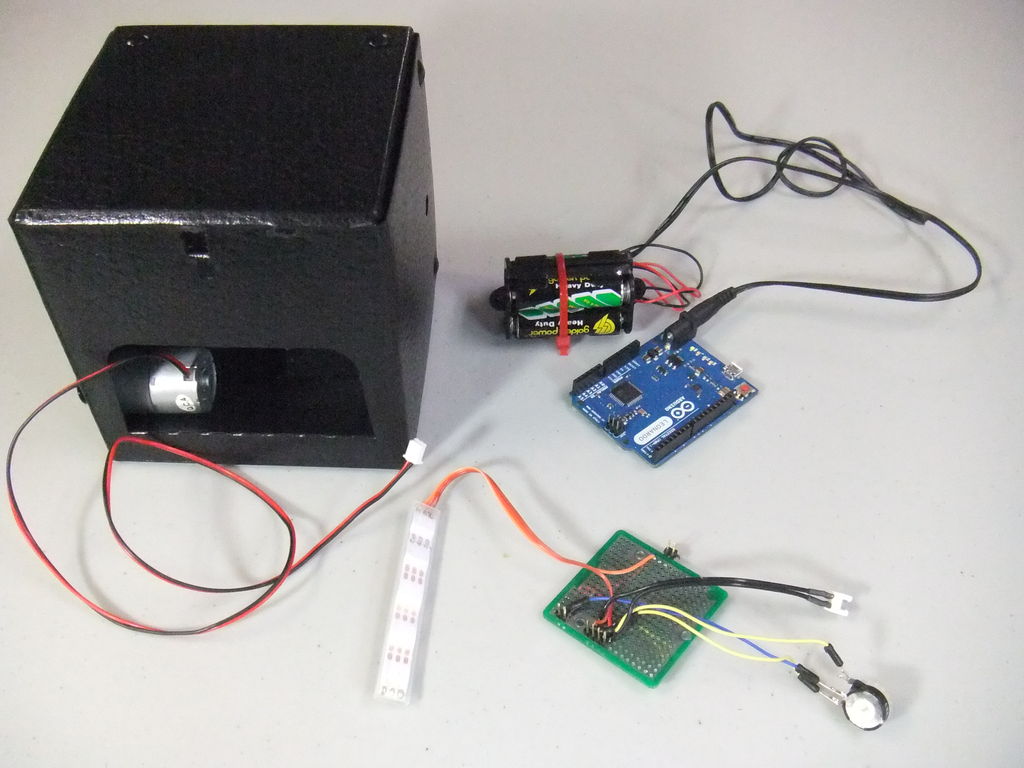
Parts used in the LED Flipbookit:
- Addressable RGB LED strip (WS2811)
- Arduino Leonardo
- 4 AA batteries and battery holder
- Prototyping board or prototyping Arduino Shield
- Potentiometer
- Connectors for power and motor
- Headers
- Misc wire
- 3M Double Sided Foam Tape
- Flipbookit MOTO-FLIP
Step 1: Gather the materials
Materials:
– addressable RGB LED strip : I used a new variety of three conductor WS2811 strips.
– an Arduino : I used a Arduino Leonardo. Any 5vdc Arduino should be adequate.
– 4 AA batteries and a battery holder are a nice touch to make it more portable.
– prototyping board or prototyping Arduino Shield
– potentiometer for brightness control
– maybe some connectors for the power and motor could come in handie
– headers to secure hardware to Arduino
– misc wire for LED strip and potentiometer
– 3M Double Sided Foam Tape for sticking Arduino and LEDs in place
– Flipbookit MOTO-FLIP from flipbookit.net : http://flipbookit.bigcartel.com/product/flipbookit-moto <– this thing is super easy to build
–
Step 2:
0. build Flipbookit Moto. Seriously this thing is ridiculously easy to assembly. Enjoy.
1. Solder up proto to align with Adruino as follows:
– LED Strip to 5vdc, GND, and pin9
– potentiometer to 5vdc, A1, GND
– motor connector to 3.3vdc, GND
2. Load the Arduino library and example code from here: https://github.com/CRASHSpace/LEDs/tree/master/HSB_to_RGB/examples/led_rainbow_brightness
3. Hook up prototype board to the Arduino. Test the LEDs and brightness and motor
Step 3:
4. Cut holes in the rear of your Flipbookit to accommodate the power barrel jack and the usb port.
5. Test fit Arduino
6. Add 3M Double Sided Foam Tape to Arduino
7. Affix Arduino in place.
8. Hookup motor
9. Plug in power or usb
For more detail: LED Flipbookit: full color and brightness control with an Arduino
- What type of LED strip is recommended?
The article specifies using a new variety of three conductor WS2811 strips. - Can any 5vdc Arduino be used?
Yes, the text states that any 5vdc Arduino should be adequate, though an Arduino Leonardo was used. - How do you make the project more portable?
Using 4 AA batteries and a battery holder is suggested as a nice touch for portability. - Which pin connects the LED strip on the Arduino?
The LED strip connects to 5vdc, GND, and pin9. - Where does the potentiometer connect?
The potentiometer connects to 5vdc, A1, and GND. - What library is required for this project?
You must load the Arduino library and example code from the CRASHSpace GitHub repository. - How do you secure the Arduino inside the device?
Add 3M Double Sided Foam Tape to the Arduino before affixing it in place. - What modifications are needed for the Flipbookit casing?
You need to cut holes in the rear of the Flipbookit to accommodate the power barrel jack and the USB port.