At the Hackster Hardware Meetup Seattle, we had a bunch of BLE Bot 9000 robots. The problem was that all of the bots exposed the same services and names, so you can’t choose the robot you want to control. The solution to controlling your bot is to give it a unique name, so that when you scan for devices you only connect to your device. This tutorial covers how to change the name of your BLE Bot 9000, and how to to connect to a bot by name.
The first thing we need to do is install the Firmata library:
Step 1. Start up your Arduino IDE. If you need to install the IDE, you can find the download here: Arduino IDE.
Step 2. From the menu choose “Sketch, Include Library, Manage Libraries”.
Step 3. Type in firmata in the filter your search box.
Step 4. Choose “Firmata Built-In by Firmata Developers” and click the Install button.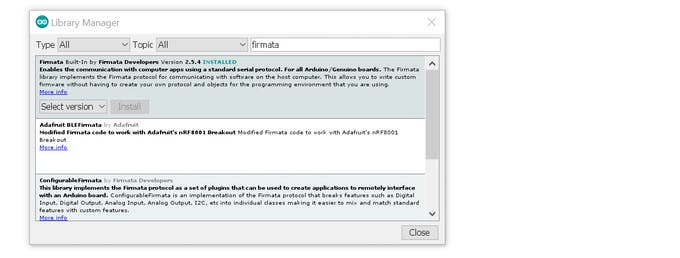
Next we need to change the name the bot will be broadcasting:
Step 1. Navigate to the folder where the StandardFirmataBLE example is stored. On my computer it is at “C:\Program Files (x86)\Arduino\libraries\Firmata\examples\StandardFirmataBLE”
Step 2. Open the bleConfig.h file in a text editor, such as Notepad++. You can install Notepad++ from https://notepad-plus-plus.org/download/v7.3.1.html
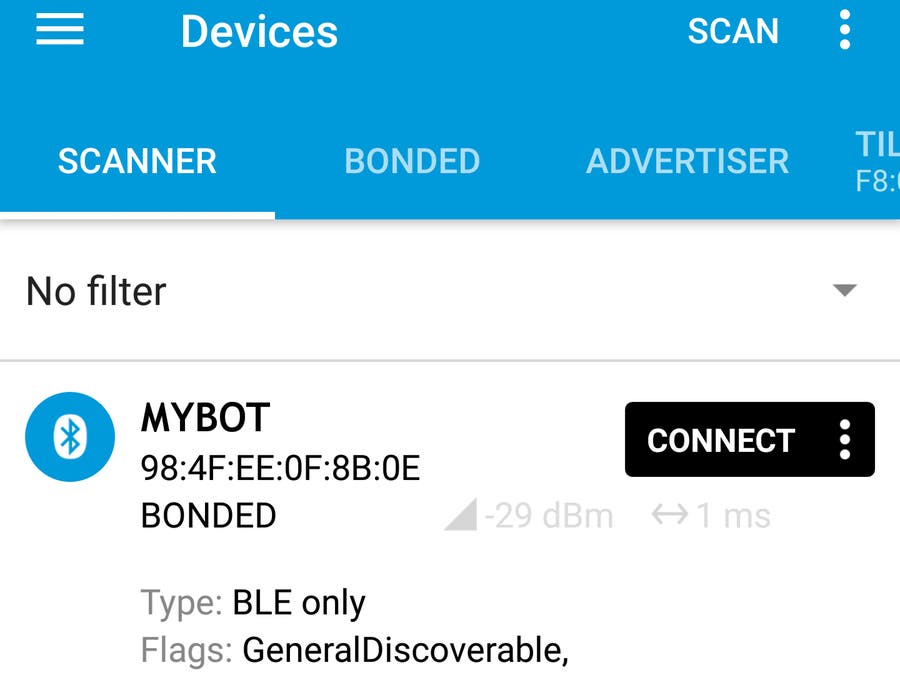
Step 3. Change the FIRMATA_BLE_LOCAL_NAME value from “FIRMATA” to the name you want to use (on my computer this was line 27). NOTE: The new name must be 8 characters or less. In this example I use “MYBOT“.
#define FIRMATA_BLE_LOCAL_NAME "MYBOT"
Step 4. Save your updated bleConfig.h file. (Make sure you overwrite the existing file. Windows will try to save in a different folder if you aren’t running as Admin, since the file is in the “c:\program files (x86)” folder.)
Now we need to install FirmataBLE onto our Arduino 101 board:
Step 1. Start up your Arduino IDE.
Step 2. Connect your Arduino 101 to your computer’s USB port.
Step 3. From your Arduino IDE menu choose “Tools, Board, Arduino/Genuino 101”. (NOTE: If you do not see your Arduino 101 board, then choose “Tools, Board, Board Manager”, search for “Intel Curie Boards” and install it.)
Step 4. From your Arduino IDE menu choose “Tools, Port, and the serial port with the Arduino 101”.
Step 5. From your Arduino IDE menu choose “File, Examples, Firmata, StandardFirmataBLE”.
Step 6. From your Arduino IDE menu choose “Sketch, Upload” to upload the FirmataBLE software into your Arduino.
Read More: Give Your BLEBot a New Name