Please vote for this Instructable if you think it deserves it! Thanks!
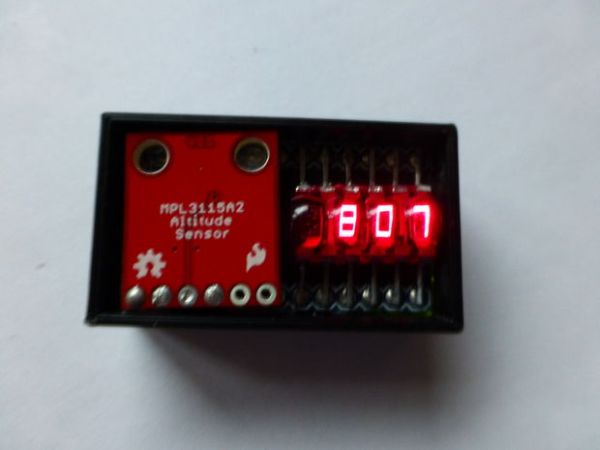
The Ultimate Altimeter is a super-compact, Arduino controlled altimeter capable of measuring the altitude with an accuracy of 0.3 meters, and saving the highest and lowest values it has measured. It is powered by a 40 mAh Lithium Polymer battery, uses a tiny LCD Bubble Display, and measures altitude with a MPL3115A2 Altitude Sensor. It’s very simple and fairly easy to build with just six major components. Additionally, an optional 3D printed case can house the Altimeter.
The Altimeter has a couple of different modes: current altitude, highest altitude, lowest altitude, difference in altitude (highest minus lowest), and standby (turns display off to save power for ~6 hr battery life, not shown in video).
The entire build adds up to around $30, but you may have some or most of the parts lying around already.
You can make this! It is not a very difficult project, and could be good practice for through-hole soldering, and coding (if you want to do modifications). Read on and create!
Step 1: Materials List
Parts:
Tools and other materials:
Soldering iron
Solder
Flush cutters or wire cutters
Wire strippers
Electrical tape
Liquid electrical tape or other insulative paint (you could also use regular electrical tape or heat shrink tubing)
24 guage stranded wire
Hot glue gun
Step 2: Solder the Bubble Display
The Bubble Displays are set up to be put into a breadboard, but since we will be soldering it directly onto the pins on the back of our Arduino, the leads need to be bent flat with a pair of pliers. Once bent, rest the display on a flat surface, and make sure it lays flat and all of its leads touch the surface. This will ensure that they will make good contact with the pins on the Arduino.
For more detail: The Ultimate Altimeter – A compact, Arduino altimeter

