Summary of TRASH-BOT. (Arduino Auto Open Close Trash Bin)
This article details the construction of an Arduino-based automatic trash bin that opens its lid upon detecting rubbish within a 50 cm range and closes it after a three-second delay. The project utilizes an ultrasonic sensor for detection and a servo motor to operate the lid mechanism, creating a hands-free waste disposal solution.
Parts used in the Trash-Bot:
- Arduino board
- Servo motor (micro servo sg90)
- HCsr04 ultrasound sensor
- Servo arms
- Card Board or Ice Cream stick
- Trash Bin
Everything’s getting smarter right? So why not your Trash Bin? This trash bin Opens and Closes its lid if it sees any Rubbish in front of it. You just need to bring the rubbish to it and it’ll open automatically and will wait for you to feed it more then after a certain delay it’ll close automatically. Watch the video to see exactly what it can do.
Post on https://www.blogger.com/blogger.g?blogID=731326532…
Let’s get started.
Step 1: Parts You’ll Need
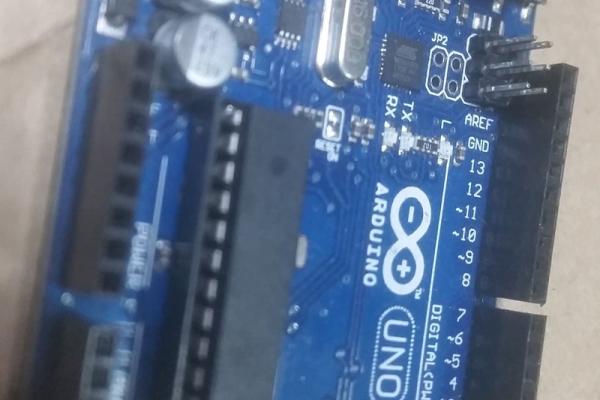
1.Arduino (any board)
2.Servo motor (i’m using micro servo sg90)
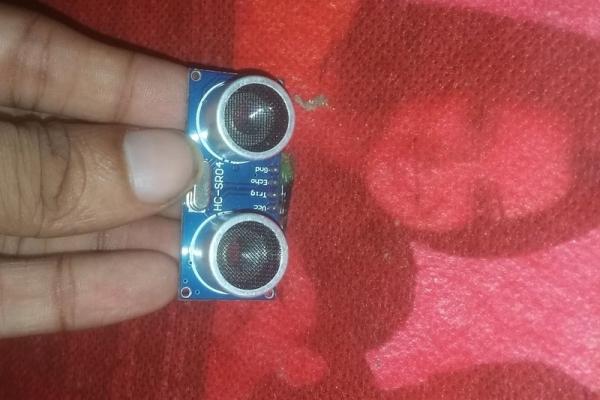
3. HCsr04 ultrasound sensor
4. Servo arms (beside the servo in pic2)
3. Card Board (just slice piece)
4. Trash Bin
Buy electric components on utsource.net
Step 2: Build the Circuit

The circuit is so easy. As the servo and sonar only takes less power you can just power them directly from arduino 5v source. Just remember to power the Arduino with more than 7.4 V DC or at least 7v.
Servo data (yellow) to pin 3 of arduino
Servo vcc (red) to 5v of Arduino
Servo ground (black/gray) to Arduino Gnd
Sonar sensor trig to Arduino 6
Sonar sensor echo to Arduino 5
Vcc to Arduino 5v
Gnd to Arduino Gnd
Step 3: Connect the Servo Arm
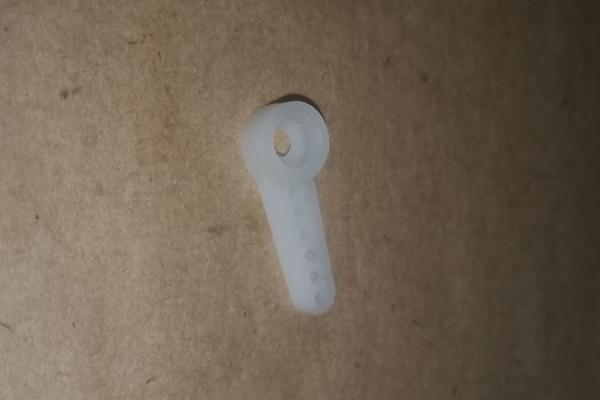
Just take this servo arm and connect it to a long card board piece with hot glue or other glues. You can also use Ice Cream stick instead of Card Board. Then connect the long servo arm to servo motor.
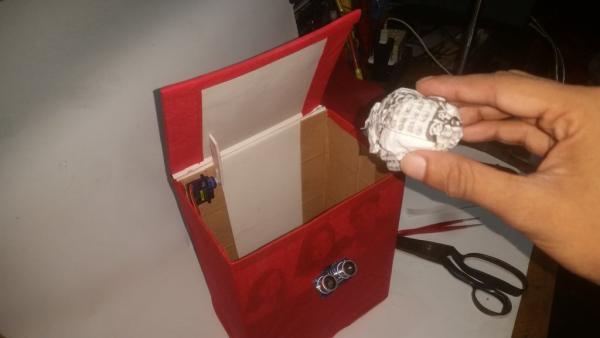
Step 4: Add Servo & Sonar Sensor to the Trash BIn
Connect he sonar sensor facing up to the Bin like this. And then add the Servo motor like this on pic 2&3, so that the servo can rotate to up .
Step 5: The Code
Code link https://github.com/ashraf-minhaj/Trash-bot
I’ve programmed the arduino so that if it sees any rubbish (literally anything) in 50 cm range the servo goes to 50 degrees and hits the upper lid of the bin, so that the upper lid gets open and then waits for three seconds then automatically turns to 160 degrees and thus the upper lid gets closed. Thus you see an Auto Open Close TRASH-BOT.
#include<Servo.h>
Servo servo;
int const trigPin = 6;
int const echoPin = 5;
void setup()
{
pinMode(trigPin, OUTPUT);
pinMode(echoPin, INPUT);
    servo.attach(3);
}
void loop()
{       int duration, distance;
digitalWrite(trigPin, HIGH);
delay(1);
digitalWrite(trigPin, LOW);
// Measure the pulse input in echo pin
duration = pulseIn(echoPin, HIGH);
// Distance is half the duration devided by 29.1 (from datasheet)
distance = (duration/2) / 29.1;
// if distance less than 0.5 meter and more than 0 (0 or less means over range)
if (distance <= 50 && distance >= 0) {
	servo.write(50);
    delay(3000);
} else {

	servo.write(160);
}
// Waiting 60 ms won't hurt any one
delay(60);
}
Step 6: You Are Done

So now just power the arduino with more than 7v and you have a trash bin robot.
Thank you.
Source: TRASH-BOT. (Arduino Auto Open Close Trash Bin)
- How does the trash bin open automatically?
The bin uses an ultrasonic sensor to detect rubbish within a 50 cm range, triggering the servo motor to rotate the lid open. - What components are required to build this project?
You need an Arduino board, a servo motor, an HCsr04 ultrasound sensor, servo arms, cardboard or ice cream sticks, and a trash bin. - Does the system close the lid automatically?
Yes, the system waits for three seconds after opening before rotating the servo back to close the lid automatically. - Can I use any Arduino board for this project?
Yes, the instructions state that any Arduino board can be used for this build. - What voltage is needed to power the Arduino?
The Arduino must be powered with more than 7.4 V DC or at least 7 volts to ensure proper operation. - How far can the sensor detect objects?
The code is programmed to trigger the lid opening when an object is detected within a distance of 50 cm. - Which pins connect the ultrasonic sensor?
The trig pin connects to Arduino pin 6 and the echo pin connects to Arduino pin 5. - Can I use materials other than cardboard for the arm?
Yes, you can use an ice cream stick instead of a piece of card board to connect the servo arm.