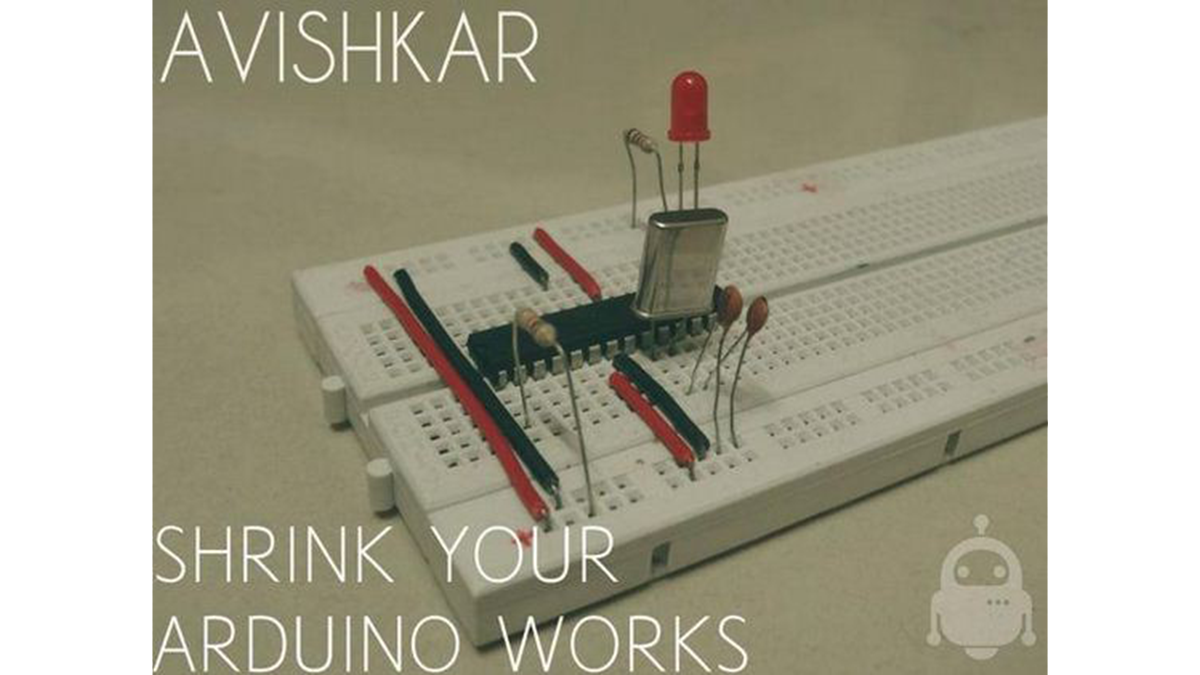
When you make a project using Arduino, it usually contains a lot of jumper connections on the breadboard and the project will not be a permanent one. If you want to make any other project using that Arduino, you will have to remove all the connections made on it and to rebuild the same project, you need to start over again.

Shrinking Arduino projects makes them smaller in size, appealing, and permanent. So in this post, I will be showing how to shrink Arduino projects and make life easier!
Required Materials
- Atmega8 or 16
- Arduino uno
- 16Mhz crystal
- Resistor 10K , 100K
- 22pf capacitor
- 10uf capacitor
- Jumper and connectors
- Breadboard
How Does it Work?
The basic idea of shrinking an Arduino project is to make a permanent circuit board for it. This is done by programming an Atmega chip using an Arduino. To program an Atmega using Arduino, first of all, we need to make a DIY programmer and burn bootloader. To use your Arduino to burn a bootloader onto an Atmega, you need to follow a few simple steps.
Steps to Shrink Arduino:
- Open the Arduino IDE
- Open the ISP sketch (from Examples) and upload the sketch to your board by selecting the correct Board and Serial port3.
- After successful uploading of the sketch(ISP), wire your Arduino board to the target board(atmega8/16) as shown in the diagram below.(Note for the Arduino Uno: you’ll need to add a 10 uF capacitor between reset and ground. After uploading the ISP sketch)
- Select the Tools > Board menu that corresponds to the board on which you want to burn the bootloader. I am using Atmega8 as target microcontroller to shrink Arduino, so I will choose board as Arduino NG or older w/ Atmega8.
- Select Arduino as ISP from Programmer menu.
- Check that everything is connected properly and click Burn Bootloader > Arduino as ISP command.
- After a while, you will see the message “Done burning bootloader”. Then you can upload your codes using the Arduino IDE to your Atmega8 chip.
- Try uploading File>Examples>Basics>LED blink sketch to Atmega8 via Arduino and if the LED blinks then your board works properly.
NOTE: While uploading the sketch via ISP, instead of simply uploading the sketch, select upload using programmer(Ctrl+shift+U).
Read More: How to Shrink Your Arduino Projects: Making a Permanent Circuit Board
