Summary of How to set up a Public Window
Public Window is an open-source project enabling artists to display interactive artwork via a touchscreen connected to an Arduino and PC. Users worldwide can engage with the art, while cameras allow remote viewing and control between different windows. The setup involves installing specific software, configuring a GUI using a web tool, and connecting hardware components like a computer, touch screen, and Arduino.
Parts used in the Public Window:
- A window or display location
- A computer running Windows XP or later
- An internet connection
- A Public Window.net account
- Public Window software
- A touch screen
- An Arduino board
- Microsoft .Net Framework 4
- Arduino drivers
- GUI Maker tool
Public Window (http://www.publicwindow.net) is an open source project which allows artists to display their creations in a window and have people from all around the world interact with it. This is a step-by-step guide on how to set up a Public Window of your own.
A Public Window consists of an artwork connected via an Arduino to a PC with a touchscreen. When someone walks by that window, he or she can than interact with the artwork by pressing buttons on the touchscreen. There are camera’s as well so that the art can be viewed and controlled from another Public Window.
Step 1: Requirements
You will need the following things:
1. A window (or any other place to show your project).
2. A computer with Windows XP or later.
3. An internet connection.
4. An account on http://www.publicwindow.net (get it here )
5. The Public Window software. Download here: http://www.publicwindow.net/download
6. A touch screen (obtain one from here: (link naar de Public Window shop?))
7. An arduino.
Step 2: Connecting the hardware
For connecting the hardware we need to refer you to the manuals for your products.
Step 3: Installing the software
Now it’s time to install the Public Window software on your computer.
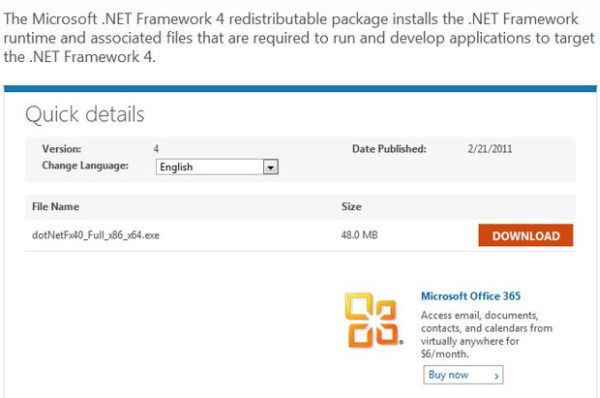
1. Make sure you have Microsoft .Net Framework 4 installed on your computer. If you are unsure about this, just download and install it from http://www.microsoft.com/download/en/details.aspx?id=17718
2. Download the Public Window software from here: http://basbase.com/publicwindow
3. Unzip the file you downloaded to any folder you like. (On Windows Vista / 7 you can right click the file and select ‘Extract All’, you can also download software for this like 7-Zip .
4. Open the file ‘owner.txt’ in the folder you just unzipped. Type your Public Window username in it and save the file.
5. Download and install the Arduino drivers. There is a great tutorial on how to do this on http://www.arduino.cc/en/Guide/Windows
Step 4: Creating a GUI
Your Public Window will need a graphical user interface (GUI) to show on the touchscreen so users can interact with the art. To do this we have a convenient tool which does not require any programming skills. This is a short guide on how to use it.
1. Go to http://basbase.com/guimaker .
2. Log in with the username and password you received from Public Window. If you dont have it, go to step X in this instructable.
3. You can add buttons, images and webcams with the links under ‘Add items’
4. Your added items will appear in the left window. You can click these items and then drag them to change their position on the screen.
5. You can resize the items by dragging the lower or right edge or the lowerright corner.
6. When you click on an item it’s properties will display on the right side. You can also click on the item in the list and it will appear as well. Here you can change font, colors, background images and assign actions. The action on a button is the text that will be send to the Arduino when the button is clicked.
7. When you are satisfied with your GUI you can enter a name for it in the top right corner of the screen and click on ‘Save GUI’.
For more detail: How to set up a Public Window
- What is required to set up a Public Window?
You need a window or display space, a Windows PC, internet access, a Public Window.net account, the software, a touch screen, and an Arduino. - Can people from other locations interact with the artwork?
Yes, cameras allow the art to be viewed and controlled from another Public Window remotely. - How do I install the necessary software dependencies?
You must ensure Microsoft .Net Framework 4 is installed and download the Public Window software and Arduino drivers. - Is programming knowledge needed to create the interface?
No, the provided GUI Maker tool allows users to add buttons and images without any programming skills. - How do you assign actions to buttons on the touchscreen?
You change the properties of an item to set the action, which is the text sent to the Arduino when the button is clicked. - Where can I find the tutorial for installing Arduino drivers?
The guide suggests visiting http://www.arduino.cc/en/Guide/Windows for a tutorial on installing drivers. - How do you save a created graphical user interface?
Enter a name for the GUI in the top right corner and click the Save GUI button after designing it. - What operating systems are supported for the computer?
The computer must run Windows XP or a later version.