Using technology combination of Arduino and NFC represents a major step forward for aiding children with sensory needs. A project known as the NFC Fun Toy stands as an excellent demonstration of how innovative DIY projects deliver interactive therapeutic devices.

What is the NFC Fun Toy?
Near Field Communication technology powers the interactive sensory toy known as the NFC Fun Toy. Children can explore colors sounds and textures through NFC tag interactions with the NFC Fun Toy in a fun engaging manner.
Key Features:
- NFC protocols enable the product to activate lighting effects and sound outputs.
- The toy offers enhanced sensory learning through its designed features.
- Portable and customizable for various sensory needs.
Materials Needed to Build the NFC Fun Toy:
These materials must be acquired for the recreation of this project: Arduino Uno or similar microcontroller together with NFC Reader Module (e.g., PN532) and both LEDs for visual feedback as well as a speaker/Buzzer for auditory feedback and NFC tags/cards. A power source and connecting wires are necessary too.
- NFC Reader (for Example: PN532): The PN532 has its reliable NFC detection for the multiple communication protocols, which makes interfacing with NFC tags possible, allowing the toy to respond by reacting as soon a tag comes in proximity of the reader.
- Microcontroller (Arduino Uno or Similar): The microcontroller is Arduino Uno because of its user-friendliness, enough processing capacity, and huge community support, making it just right for beginners. It helps control all connected components like NFC reader, LEDs, and speaker.
- LEDs (DotStar RGB LEDs): These LEDs have high refresh rates, and they promise to be a little more reliable than their other types (like NeoPixels). They emit very vibrant colors that can be customized and give a wonderful visual feedback experience to the user.
- Speaker/Buzzer (with MAX98357A amplifier): A speaker makes richer sounds because it is a loudspeaker, which fills a room inside better than a buzzer. It works as a good audio amplifier ensuring better sounds of attractions with no satiation or distortion in the sounds.
- NFC Tags: Various sensory stimuli are activated with different types of NFC tags (stickers or cards). They are made tactile with different textures, hence involving touch as well.
- Power Supply: The power supply could be either USB or Battery powered. USB is good for steady use, while batteries are much more portable for people who want to use them on the go.
- Connecting Wires and PCB: Jumper wires are used for prototyping work, while for a more compact and more durable final product, a custom PCB would be used.
How Does It Work?
- An NFC tag comes into proximity with the NFC Reader for detection.
- The NFC tag activates particular colors through LEDs or specific sound outputs by buzzer.
- Every NFC tag serves as a medium to convey distinct sensory stimuli which might consist of relaxing colors combined with peaceful sounds and pulse sensations.
Children seek predictable sensory experiences through cause-and-effect relationships therefore this method provides them benefits.
Challenges You May Face:
1-Challenge: Issues with detection of the NFC tagged device.
- b: The NFC module didn’t detect tags reliably at further distances and varied angles of detachment. Optimizing placement of the NFC reader and testing various tag designs would ensure detection better at close distances and inconsistent angles.
2-Challenge: Buffering and timing audio output
- Solution: Due to insufficient RAM reserved in the microcontroller for the whole audio file, I created a ping-pong buffer where audio is shifted using dynamic memory application without delay. This ensures continuous transmission of audio with reduced lag.
3-Challenge: SD Card Interface for Audio Files
- Solution: It was tricky interfacing with the SD card with STM32 microcontroller since there were many libraries that did not work. I finally went in for Chan’s FatFs library and spent countless debugging sessions under the logic analyzer to have reliable data transfer.
4-Challenge: Power Consumption and Auto-Sleep Function
- Solution: Needed to save power, especially when the child, for instance, forgets to switch off, added an accelerometer to pick up movements; if no movement within certain periods, then turns into sleep mode or hibernation mode whereby it preserves battery energization.
Software Implementation Insights
1-Libraries and Frameworks
- Adafruit Libraries: Initially used for NFC and LEDs, but had to modify them to work with STM32 instead of Arduino by adapting the code to STM32Cube.
- FatFs Library: Used for SD card file management, but faced compatibility issues. Solved by using Chan’s FatFs and debugging with a logic analyzer.
2-Audio Streaming
- Challenge: Limited RAM on STM32 made it impossible to store large audio files.
- Solution: Implemented a ping-pong buffer system using DMA for continuous audio streaming without lag.
3-Development Tools
- Visual Studio Code & Atollic TrueStudio: Used for code writing and STM32 programming. Debugged with a SEGGER J-Link EDU mini debugger to solve peripheral communication issues.
4-NFC Integration
- Challenge: Needed to adapt NFC control code to STM32’s communication protocols (I2C/SPI).
- Solution: Modified the code to fit the STM32Cube environment, ensuring smooth NFC tag detection.
5-Overall Debugging
- Challenge: Multiple component interactions caused timing and communication issues.
- Solution: Used a logic analyzer to debug and optimize communication between components.
Practical Tips:
- PCB Design: Use KiCAD for schematic and PCB layout. Order the PCB from reliable manufacturers like PCBWay for cost-effective, high-quality boards.
- Soldering: For small, leadless components, consider ordering a stencil from OSH Stencils to simplify assembly with solder paste and a hot air gun.
- Component Selection: Use high-quality, reliable components like the PN532 NFC module and DotStar LEDs to minimize errors and enhance durability.
- Prototyping: Start with a breadboard and jumper wires for testing the design before final assembly to avoid costly mistakes.
- Power Supply: Ensure proper power management by choosing an appropriate battery or power source to avoid overheating or over-discharge.
- Assembly Space: Work in a well-lit, static-free environment to prevent component damage and improve accuracy during assembly.
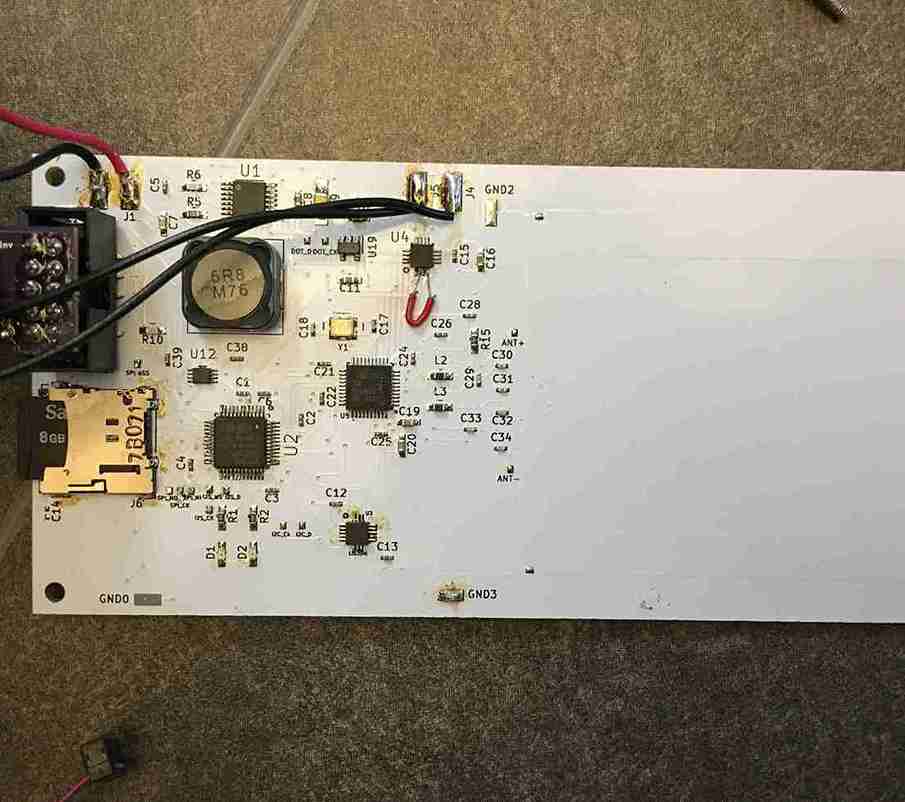
Note: Visual aids like schematics and photos are essential for enhancing clarity. They help users easily understand the wiring, component layout, and assembly process, ensuring accuracy and simplifying modifications.
Files:
Code:
Excel File: NFC Toy BOM
Video:
Why Try This Project?
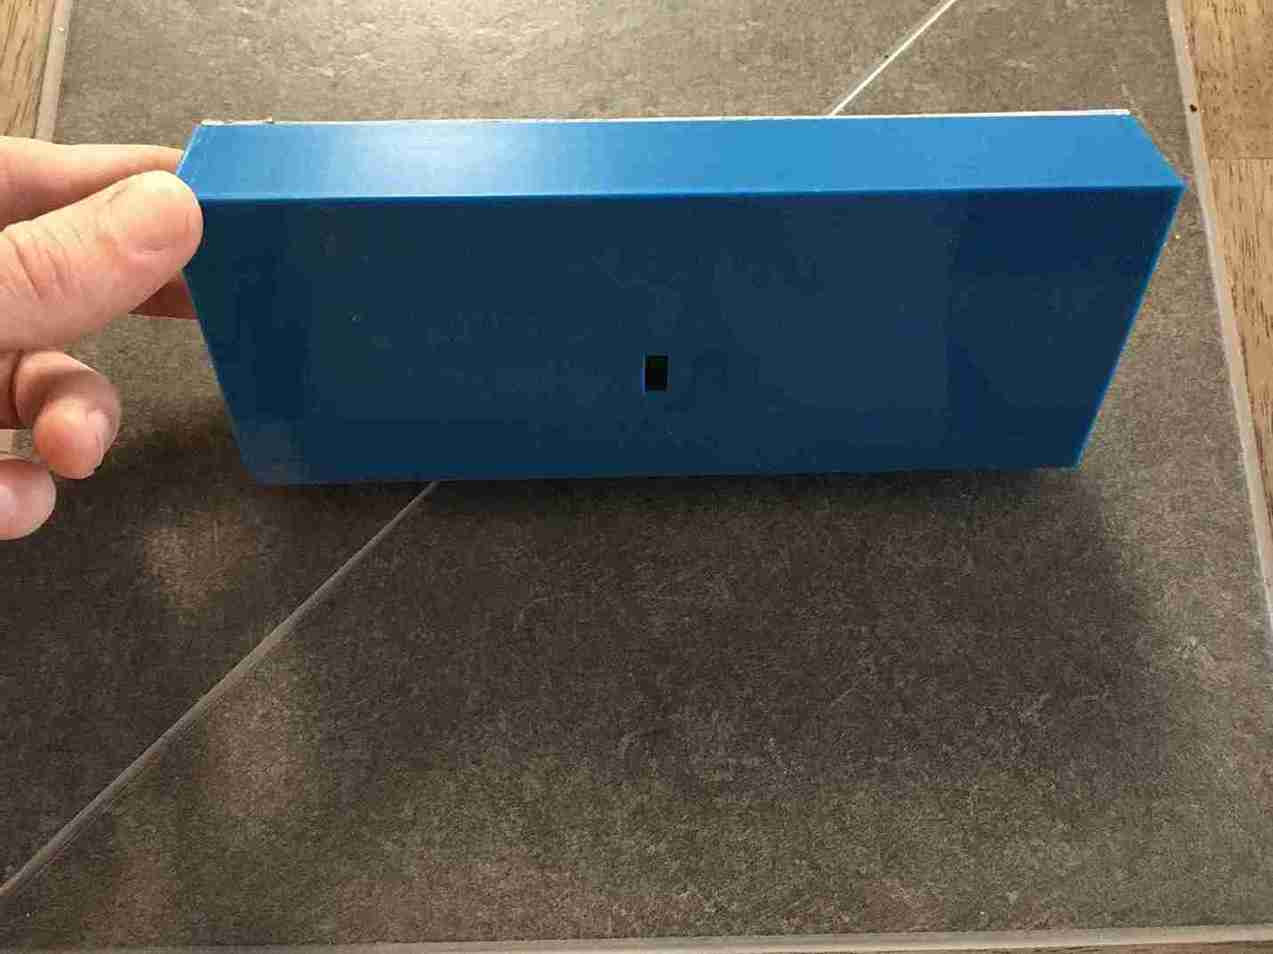
The NFC Fun Toy represents an amazing DIY device that unites functionality with creativity. The easy-to-customize tool operates at affordable prices while supporting sensory needs of children. You will develop technical abilities through this project because you create an important tool for sensory development.