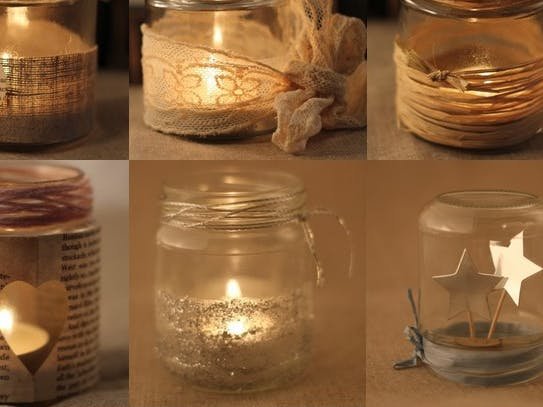
Making a Holiday Lantern for which I can change its ‘outfits’ to different theme depending on the holiday seasons.
Things used in this project
I wanted to make a lantern that I can change its ‘outfits’ to different theme depending on the holiday seasons. So I make this lantern which I can change to paper covers and lighting of the lantern. A easy one would be just reuse any lighting of the desk lamps or standing lamps.
In this project, I custom make the paper cover for the 2017 Lunar New Year which is the Year of Rooster. And I use a pair of NeoPixel Rings as the lighting.
Making the Lantern
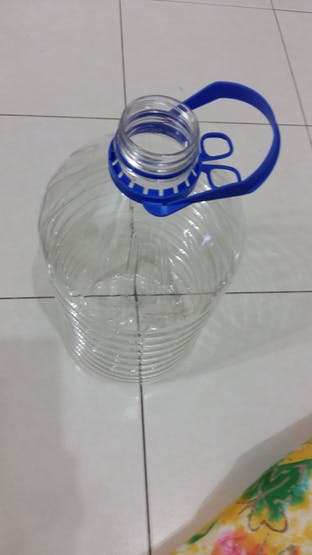
I have a 5L mineral water plastic bottle.
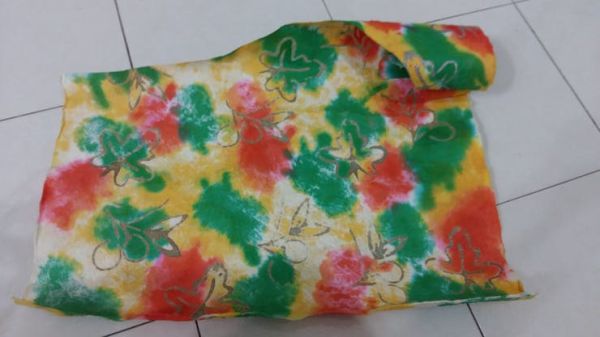
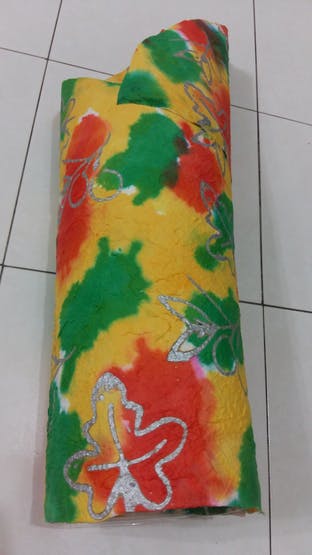
And I have a piece of color paper with patterns. This color paper is of rice paper type which is translucent.
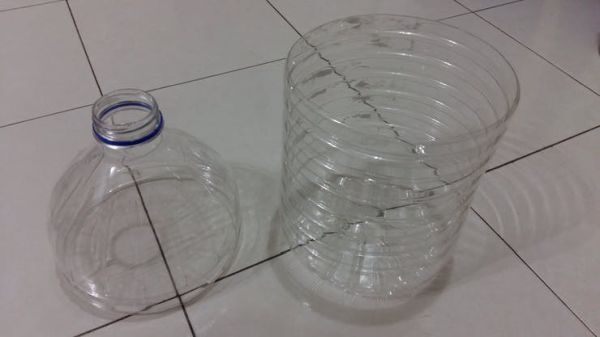
I cut the plastic bottle into two parts: the top and bottom parts.
Make a cylinder ‘outfit’ for the lantern using the color paper.
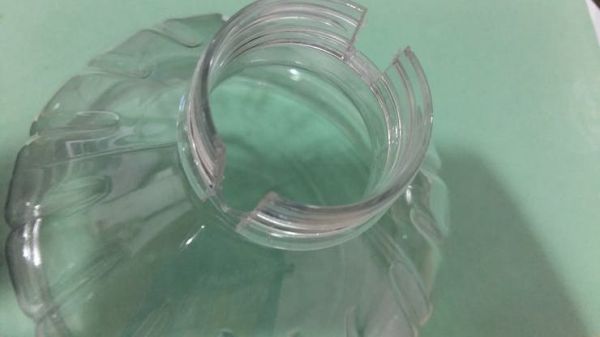
Cut two openings at top part of the plastic bottle. These are used to hold the two NeoPixel Rings.
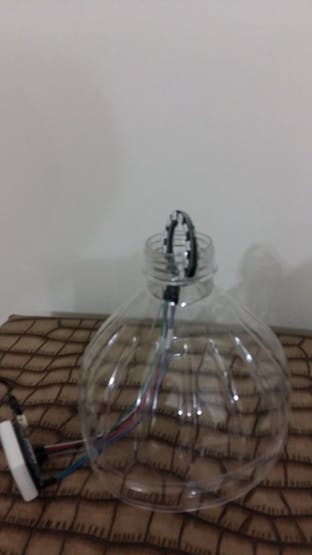
Fix the MKR1000 and NeoPixel Rings to the top part of the plastic bottle.
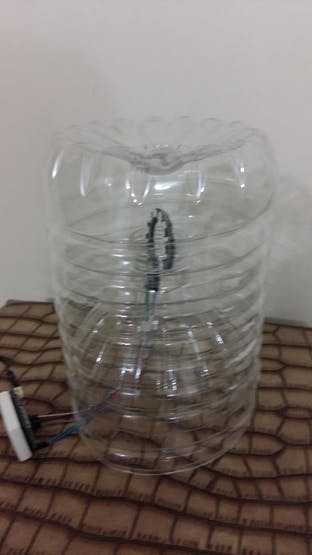
Cover the top part with the bottom part of the bottle inverted.
Connecting the NeoPixel Rings
Follow the following links to connect your NeoPixel Rings to the Arduino board. I use two rings side-by-side.
![]()
The Code.
I am using the strandtest example of the Adafruit NeoPixel library to drive the lantern. With the Arduino Web Editor, it is easy to upload the sketch to my Genuino MKR1000 board.
Step 1 : Search for the Adafruit NeoPixel library
Step 2: Open the strandtest example of the NeoPixel library
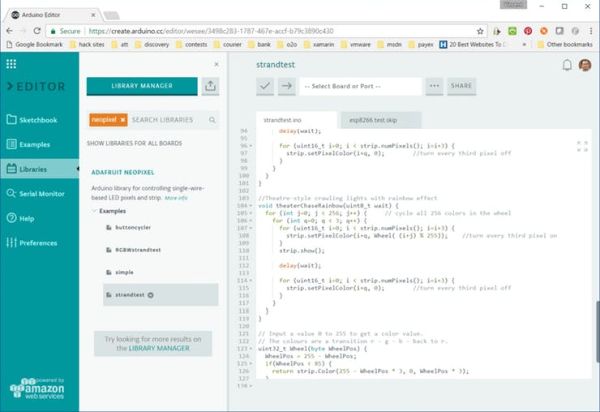
Step 3: Select MKR1000 board and its port
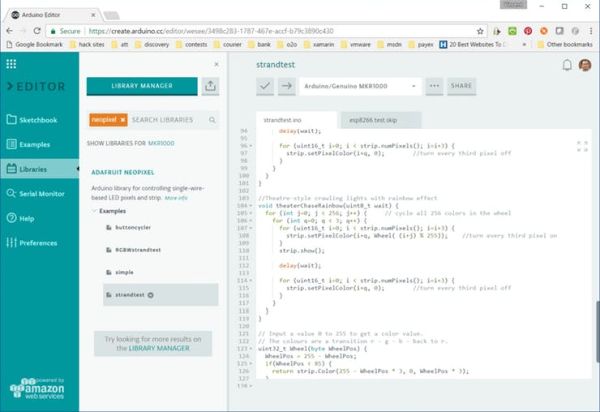
Step 4: Upload the sketch
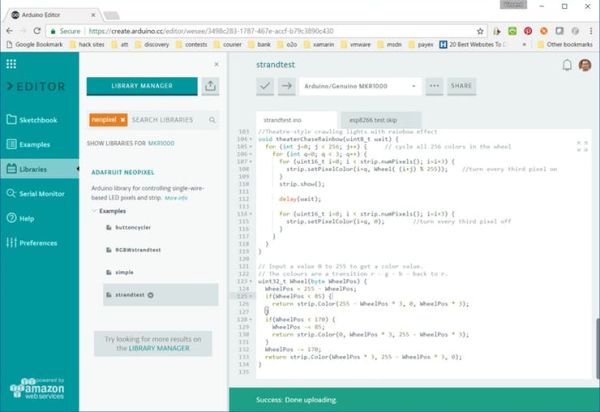
The Visual
.
The lantern without the Lunar New Year ‘outfit’.
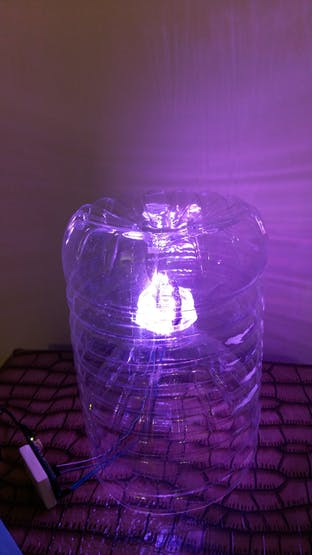
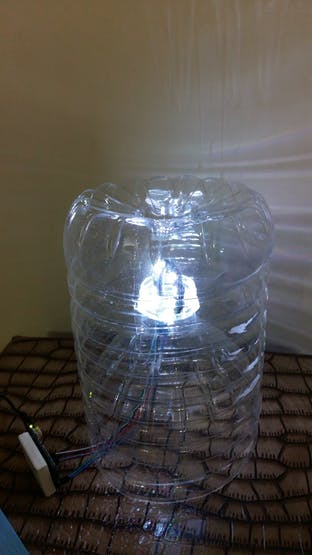
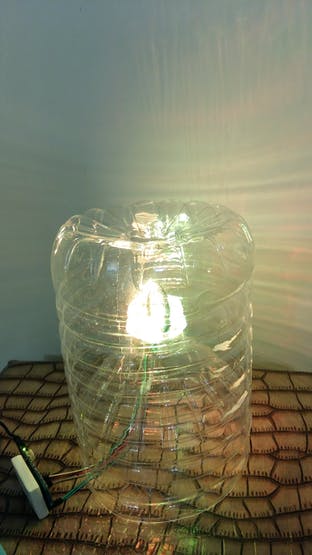
.
The lantern with the Lunar New Year ‘outfit’.
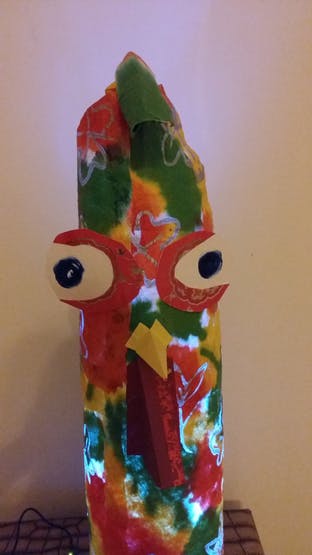
.
.
What I can change to the lantern to match the holiday season or make it better
- Change the lantern ‘outfit’ to match the theme of the season.
- Change the lighting pattern.
- Ask Alexa to turn on and off the lantern
Code
Source : Making of the Holiday Lantern

