
Summary of Make A Wall Lamp Using Arduino Nano
This project describes building a wireless, remote-controlled bedside lamp using an Arduino Nano and IR sensor. The creator designed a custom curved casing cut from acrylic sheets using a school laser cutter. The lamp features RGB LEDs for lighting and is powered by a dedicated supply unit, allowing control from bed without physical buttons.
Parts used in the Wireless Remote-Controlled Bedside Lamp:
- Arduino Nano
- Power Supply device
- 2X RGB LED
- PCB or Stripboard
- IR sensor
- IR remote
- Acrylic sheet (White)
- Small acrylic sheet (clear)
- Sandpaper
- Screws
- Laser cutter
- Solder
- Soldering iron
- Black tape
So, I have always wanted a nice lamp by the side of my bed, Something simple with out any buttons.
Of course this would mean it had to be wireless. I also wanted to use it from my bed but not getting out of my bed to turn it off. So it had to be remote controlled, So I picked up a Arduino Nano and a IR sensor to help me with the goal.
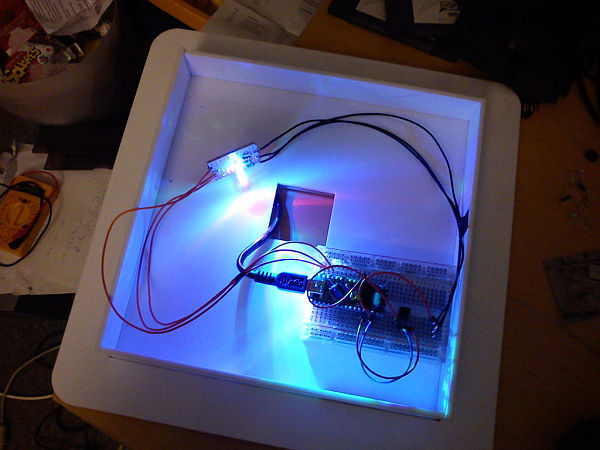
I have access to my schools laser cutter for this to help me with the materials part and also the making part.
Step 1: Parts
I used for this project:
Electronics:
1X Arduino (I used a Nano to fit in the casing I would make.)
1X Power Supply device (Must be able to support the Arduino’s needs)
2X RGB LED (Any type works)
1X PCB or Stripboard ( I used a old lot that did not have a lot soldered on it)
1X IR sensor.
1X IR remote (any kind will do)
Materials:
1X Acrylic sheet (White)
1X Small acrylic sheet (clear)
1X Sandpaper ( IN case you don’t want to use a laser cutter to fog the clear acrilic)
4X Screws of your choice (What fits in your Wall?)
Step 2: Outer Casing
I had made drawings for this for a while and I decided to use ProDesktop to make this come alive and for this project to really get going.
To do this I had to make a nice curved design that could be cut out on a laser cutter and be made with glue.
 Part2_worked.dxf6 KBPart1_worked.dxf12 KB
1X Solder
1X Soldering iron
1X Black tape ( To hide the Arduino LED’s )
For more detail: Make A Wall Lamp Using Arduino Nano
- What components are needed for the electronics?
The project requires an Arduino Nano, a power supply device, two RGB LEDs, a PCB or stripboard, an IR sensor, and an IR remote. - How can I create the outer casing for the lamp?
You can use ProDesktop to design a curved shape and cut it out using a laser cutter with white and clear acrylic sheets. - Can I use any type of RGB LED for this project?
Yes, any type of RGB LED will work for this build. - What should I do if I do not have access to a laser cutter?
You can use sandpaper to fog the clear acrylic instead of cutting it with a laser cutter. - How do I hide the Arduino LED lights?
You can use black tape to cover the Arduino LEDs. - Is it possible to control the lamp from my bed?
Yes, the lamp is designed to be remote controlled so you can turn it off without getting out of bed. - What software was used to design the parts?
The creator used ProDesktop to make the drawings for the curved design come alive. - What type of screws are recommended for mounting?
Use four screws of your choice that fit into your wall.
