Microcontrollers are, without a doubt, amazing little things. They are versatile, powerful, and extremely tiny. Unfortunately, the latter trait is also shared by both my wallet and my programming skills. My understanding of C is poor, and I can hardly afford to buy something like an Arduino or a decent ISP. And in any case, the Arduino would be overkill for many of my projects, which only need simple IC’s.
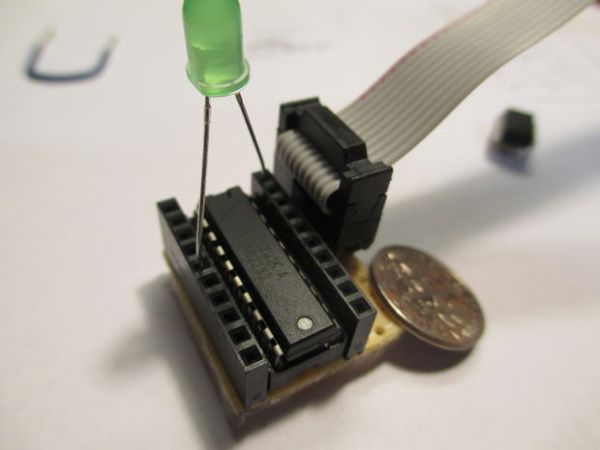
But as many of you know, DIY always finds a way. This tutorial is meant for those among us with no budgets or programming experience who want to start using these little machines. It is not based around the ATmega328 (the Arduino Uno chip), but rather the Attiny line of chips (the Atiny85 and Attiny2313, to be specific). The total cost of this project can go as lower than $15 if you know where to buy from, and you can still use the original Arduino IDE and language to program your projects in the end. Keep in mind that you will need some soldering skills to get this project done.
My, my, I thought you’d never ask. There’s a large number to choose from, so I’ll give you a rundown of the most popular ones.
• The USBasp is quite possibly the cheapest programmer out there, but you should be careful when buying them; some versions use outdated firmware or are missing jumpers. Make sure that your model has three jumpers (or three pairs of holes with J1, J2, and J3 printed next to them). You can find them on eBay starting at only $3. Be wary of the shipping times that the Chinese ones come with.
• A parallel port programmer is around the same price and can even be made at home. It, obviously, will only work on computers with a parallel port.
• The USBTinyISP is a step up from the USBasp. It costs $22 from Ladyada, but knockoffs can be had from eBay for around $12. Keep in mind that it cannot program certain high end Atmega devices due to memory limitations.
For more detail: The Idiot’s Guide to Programming AVR’s on the Cheap (with the Arduino IDE!)