In ancient times people used Hourglass to measure the passage of time. Hourglass is a simple device that consists of two glass bulbs that are connected vertically with a narrow neg and that allows the flow of sand or fluid from top to bottom. most of the time the flow duration is about one hour that’s why we call hourglass. That’s enough why I am taking this because this tutorial is about How to build a digital Hourglass using Arduino.
Step 1: Materials Needed for Making Arduino Hourglass
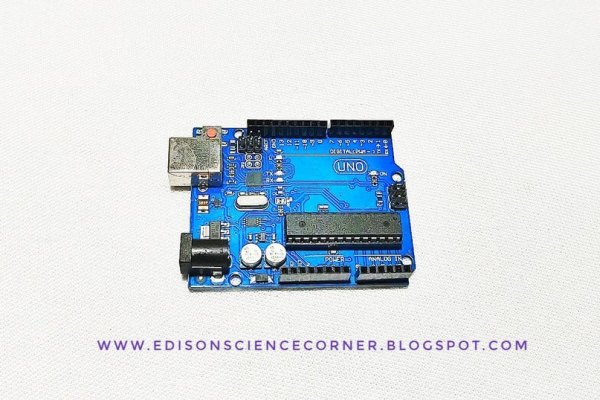
let’s start with gathering all components first we need a brain to control everything here I am going to use an Arduino because it has enough digital io pins also Arduino supports i2c. next to detect the orientation we need an accelerometer in this case I am going with ADXL335 3 axis accelerometer. To represent the sand we need LEDs for easy connections I am going with an 8*8 led matrix which is driven by max7219ic so we can control this matrix with just three pins. We need two of them one for the top and one for the bottom. Finally, a battery of 7.4 volts will perfect for this job. additionally, we need wires and some foam board for making the frame.
- Arduino
- ADXL335 3 axis accelerometer
- 8*8 led matrix
- 7.4v battery
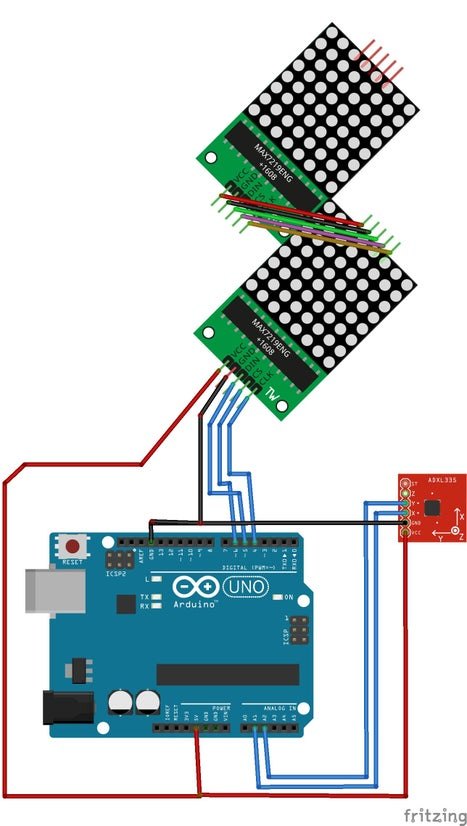
Step 2: Circuit Diagram
Step 3: Building the Circuit

After gathering all components let’s start building.
First, I tested the circuit on the breadboard and everything works perfectly fine. So I decided to solder everything permanently. First, we need to cascade two led matrices together that is we need to connect the Dout pin of the first matrix to the Din pin of the second matrix also connect the clock pin to clock and ds to ds. I used enameled copper wire to connect modules together. Also, I connected wires to Arduino and the accelerometer.
Connect the VCC of the led matrix and accelerometer to the 5v pin of Arduino. Then connect the ground pins of Arduino, Ledmatrix, and accelerometer together. After that connect the CLK pin to Arduino D4 din to D5 and DS to D6. Connect the x-axis out of the accelerometer to A1 and Y-axis to A2.once again I tested the circuit and varified everything.
Step 4: Making the Enclosure
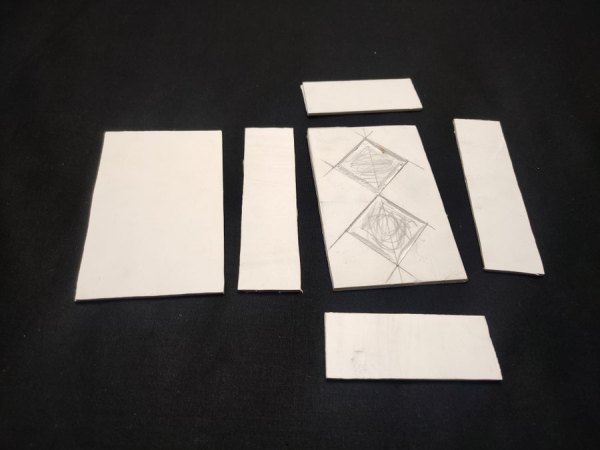
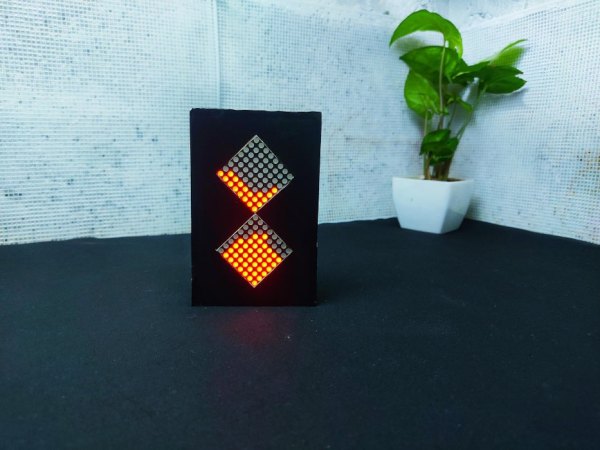
Now let’s make a simple enclosure to hide everything inside and to increase the overall look for enclosure making I am a using 3 mm foam sheet. Please watch the video tutorial about this. after cutting the foam sheet into the required size. Glue everything together and make a rectangular box shape. We have to place the led matrix in a conical shape to get a look similar to an ancient hourglass. Then placed everything inside the box I placed the accelerometer on the side of the box. Finally, I added a small switch to this circuit and placed it on the backside of the box.
Step 5: Coding and Finishing
You can download Arduino code, circuit diagrams from this link
Source: Hourglass Using Arduino