
Summary of Hidden Wall Outlet Safe (w/Arduino Lock) using arduino
This article details a DIY project to build a hidden safe disguised as a wall outlet, inspired by *Breaking Bad*. The vault uses an Arduino and a servo motor for locking, controlled via a serial command or PWM generator. It emphasizes safety by using a dummy outlet not connected to live power lines and suggests drywall over concrete for easier installation.
Parts used in the Hidden Wall Outlet Safe:
- Cheap AC Wall Outlet with Safety Covers
- Arduino UNO with USB Cable
- Mini Servo (Tower Pro SG90)
- 3 Pin Long Female Header
- Small Hinge with screws
- Super Glue
- Wires
- Epoxy
Stash your valuables where no one will ever suspect. Wall outlets are perfect for stashing valuables since you have tons of them at home. You must be crazy enough to search every household outlet for a secret stash. Probably, no one would even think of searching outlets! :)) BTW, it requires a digital key, such as an Arduino, to open the hidden outlet safe.
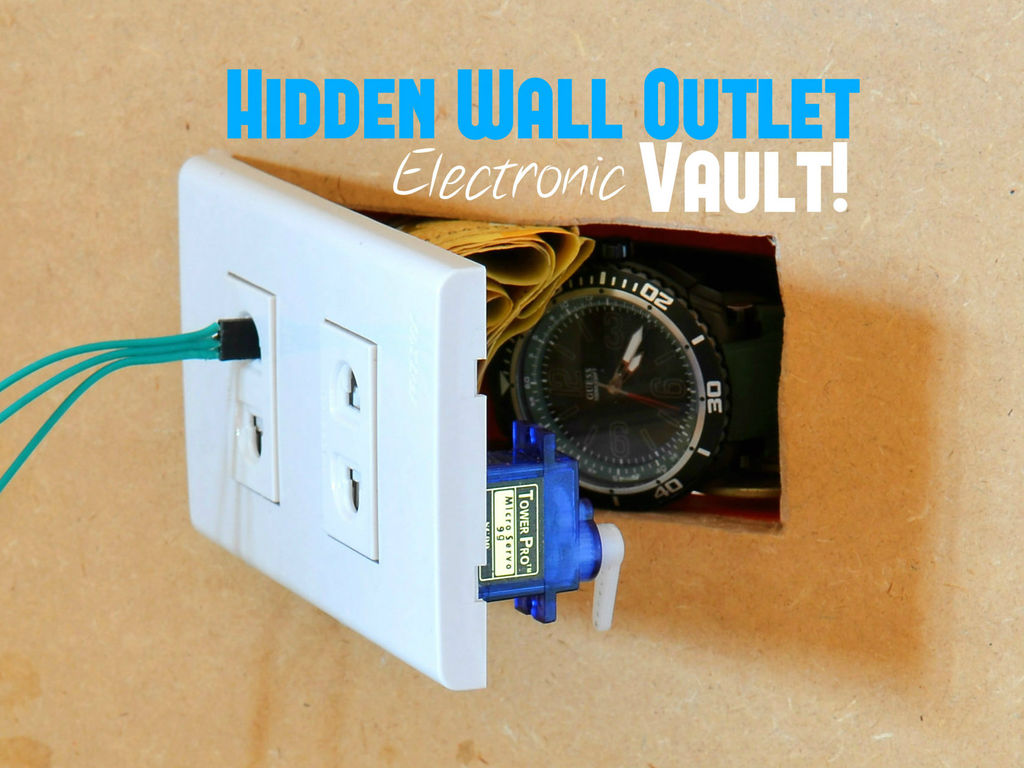
The Super Secret Key (a.k.a Suicide Key)
The vault features a key that no one would be crazy enough to insert. That’s by plugging a 3 wired prong directly to the outlet! Talk about High Voltage suicide! The lock can only be opened by connecting an Arduino to the servo’s pins (located in the outlet). Don’t forget, we are using a dummy outlet so it’s completely safe since it’s not connected to the power-lines.
How Do You Open It:
Plug your DIY 3 pin cable from your vault to your Arduino (a.k.a Suicide Key) then connect your Arduino board to your PC (via USB). Upload the codes then press “CTRL + Shift + M” to access Serial Monitor. Enter “O” to open vault and “C” to close the vault’s electronic latch. You can also open this by making a 555 PWM generator.
Influences & Inspiration:
This is probably another déjà vu experience to all Breaking Bad fans. You guys probably remember the scene when Walt hid the ricin capsule behind an electrical outlet during the “Live Free or Die” episode.
Tips & Reminders:
My 2nd version gave me a hard time since all of our wall outlets are embedded in solid concrete. Drywalls are easier to work with since it’s easier to cut/ puncture. If you need a larger vault, multi-standard outlets and European outlets are bigger in size. This makes them much more ideal for stashing more stuff in one place.
Watch This Top Secret Vault In Action! [Take that Walter White! :D]
Step 1: Tools & Materials
Parts & Materials:
– Cheap AC Wall Outlet (w/ Safety Covers)
– Arduino UNO (w/ USB Cable)
– Mini Servo (Tower Pro SG90)
– 3 Pin Long Female Header
– Small Hinge (w/screws)
– Super Glue
– Wires
Tools & Equipment:
– Soldering Iron
– Hot Glue Gun
– Cordless Drill
– Rotary Tool
– Metal File
– Multitool
Step 2: Disassembling – Saving Some Space
The safety mechanism needs to stay still. Use superglue if necessary.
Step 3: Removing Protruding Objects
Step 4: Installing The Hinge
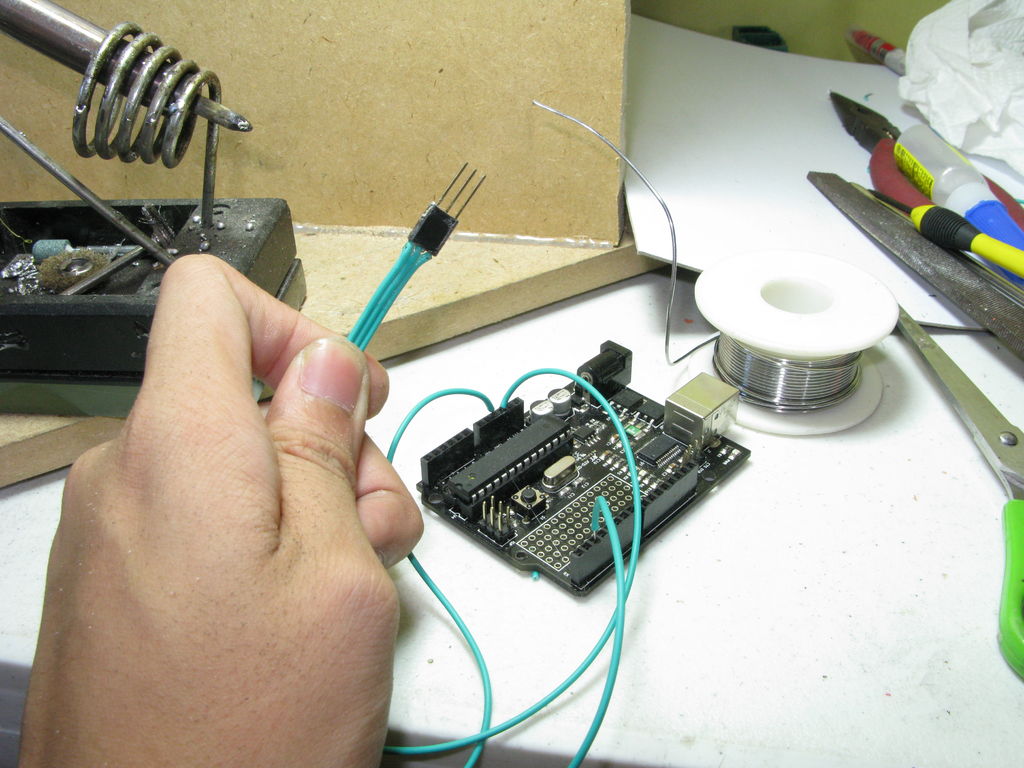
Step 5: Making Way For The Hinge
Step 6: Epoxy The Servo (Lock Mechanism)
Hot glue the servo’s 3 pin plug on the wall outlet’s safety mechanism.
- How do you open the vault?
Connect the 3 pin cable from the vault to the Arduino, upload the code, press CTRL + Shift + M to access Serial Monitor, and enter O to open. - Can you close the vault manually?
No, you must enter C in the Serial Monitor to close the electronic latch after opening it. - Does this outlet connect to live power lines?
No, the project uses a dummy outlet that is completely safe because it is not connected to power lines. - What is the Suicide Key?
The Suicide Key is a 3 wired prong plug that looks dangerous but is actually just a connection point for the Arduino to control the lock. - Can you use a different method to open the lock?
Yes, you can also open the vault by making a 555 PWM generator instead of using the Arduino serial monitor. - Which type of wall is easier to work with for this project?
Drywalls are easier to work with than solid concrete because they are easier to cut and puncture. - Why should you disassemble the outlet during Step 2?
You disassemble the outlets to save space inside the vault while ensuring the safety mechanism remains intact to hide the servo plug. - What tool is recommended for removing protruding objects?
A rotary tool like a Dremel is recommended to cut off any protruding objects found on the outlet. - What material is used to secure the servo to the wall?
Epoxy and superglue are used to glue the bottom of the servo to the wall outlet. - How does the safety mechanism help in this project?
The safety mechanism stays still to hide the servo's plug from being seen by others.
