This project is to construct a musical football. The reason for my project is that I was inspired by a little kid with austim who love sports and music. So what better way to have fun then have a ball that you can play with and create music with. The following steps show how I constructed the football and it musical components.
Step 1: Shopping List
[box color=”#985D00″ bg=”#FFF8CB” font=”verdana” fontsize=”14 ” radius=”20 ” border=”#985D12″ float=”right” head=”Major Components in Project” headbg=”#FFEB70″ headcolor=”#985D00″]
Shopping list
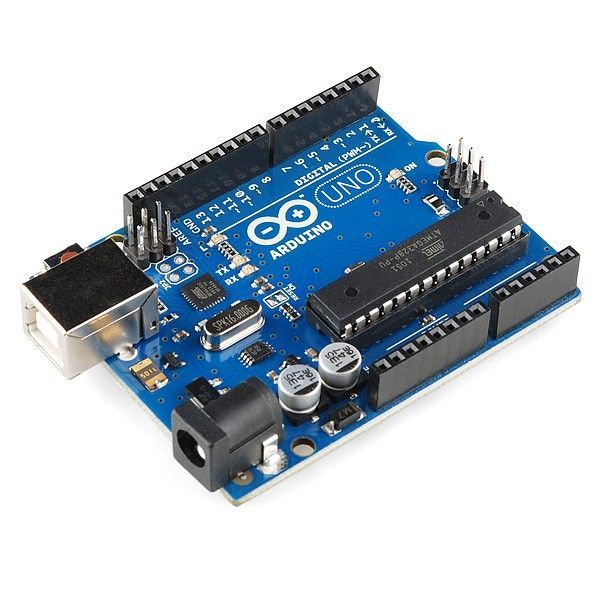
ARDUINO UNO
Soldering Iron (and solder :-)!! )
Breadboard
hot glue gun
youth football leather (able to get at wally world)
foam youth football (wally world also)
(1) k size coaxil plug (radio shack)
(1) submini slide switch
(2) small speakers (taking out of musical cards)
(7) uphostery tacts
(8) AA batteries and 8AA battery holder (to start was going us 9volt but decide to go with more power)
(11) two foot wires[/box]
Step 2: Programing Arduino
http://www.instructables.com/files/orig/F2T/BLKU/GY65QIF1/F2TBLKUGY65QIF1.pde
the link is the programing of Arduino…. Thanks to blinkyblinky for the code who got it from Joe Marshall 2011
Step 3: Board to insert to Arduino power and bottons
For this part you will need two small boards to make a shield for your arduino that your buttons and power supply will be attach too.
1. Take pins and place them in analog 1-6 and then on the side place pins in 7 and 8. ( these will be for your buttons) Place a pin in 11 and ground on the same side. (these will be for your speakers)
2. Take a preholed board and measure out to just long enough to cover your arduino side to side.
3. Then place these board on the pins and mark where the pins are located on the board.
4. Remove pins from Arduino and solder pins in place on boards.
Step 4: Construction of Buttons and power
To construct the Buttons or touch point for the synthesizer.
1. Take a total of eight tact and sand the ends of each one so that when attaching wire to them they better conduct.
2. Take eight of your wires and strip 1/4 of a inch off on end and about 1 inch off the other.
3. Take the end with 1″for each and wrap around each end of one of the tacts.
4. Once each one is wrapped then solder the two together so that you have a bonded connection.
5. Place a hole in the top of foot ball or where you would like the buttons to be place and pull wire through.
6. The other ends you will then connect to the boards we connstructed to go into the Arduino.0-6 and 7 and
To construct power
1. Take your coaxial plug and add wires to it. The short or middle pin is your power and the long is your ground.
2. Insert your switch to between your power and postive end of battery holder.
3. Ground should go straight to ground on ur battery holder also.
Note: I first constructed a nine volt power supply and ended up using a 8 AA battery holder because the nine volt was not quite strong enough.
Step 5: Sound System
To wire your sound system up to the arduino we will take to small speaker. I took min out of taking cards. By bridging two together you should have enough sound so that you can here the sound when playing it for a group.
1. Strip four wires, two for each speaker.
2. Solder on to postive and one to negative.
3. Then twist the each postive together and solder the ends. Repeat the sames steps for the negative.
4. On you have finished that take the board we constructed for the speakers and solder the negative to the ground pin and the postive to the 11 pin.
For more detail: The Musical FootBall


