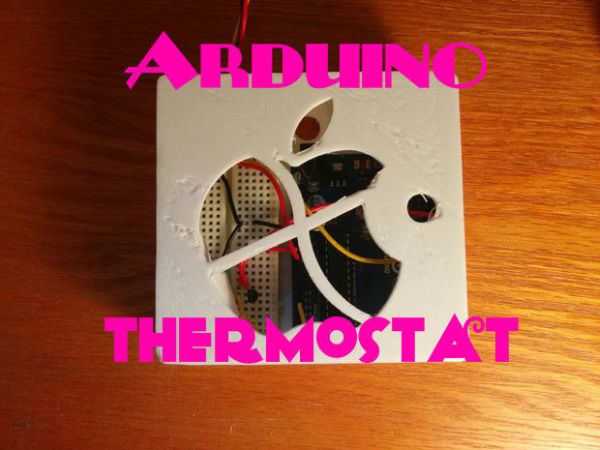
I am currently living in a college dorm. Like most dorms it’s about the size of a tissue box but less comforting. Fortunately, my room has a heater/AC with four positions: low, medium, high, and off. Unfortunately in winter an hour on the low setting makes the room a stifling 80 degrees and when turned off it drops quickly to 60 degrees. My solution uses an arduino, temperature sensor, and motor to automatically turn the heater on/off to keep the room within a desired temperature range. Not only is this more comfortable but it dramatically reduces the time the heater is used, saving lots of energy. (Also note that the motor is only driven to switch the setting and then turned off so no holding energy is wasted.)
So for anyone in an apartment/dorm/etc that has a heater with manual settings I offer you a custom, cheap, and green solution!
To get a better idea on the reduction in energy usage I took data over a 24 hour period of use. The heater was only on for 23% of the time and stayed within the temperature range (68-72) the entire night (average temp outside was 22 degrees)! I’m working on a way to get the data turned into graphs, should be up soon.
I’ve attached a video of an early test. Nothing exciting but it gives you an idea of how it works. The cardboard was used as a quick fit, I later printed a part to hold the motor stable during extended use. It’s tough to tell when the motor turns on but you can see the wire jerk when this happens and hear a low hum of the heater.
Step 1: Parts List
1x Arduino Uno – $30
1x Micro Servo – $6
1x TMP36 Temperature Sensor – $2
1x Small Breadboard – $5
1x Arduino Power Supply – $6
A few wires
Cardboard
Total cost to buy all components from Adafruit comes to $49, and if you already have an arduino or can get one for cheaper elsewhere (I encourage you to check other sites as well) then the rest of the components costs a measly $19!
(Also note that if your heater/AC is difficult to manually twist the knob you may need a beefier servo than what I am suggesting!)
Step 2: Breadboarding
Breadboarding the components is a fairly simple task for this project. First we will connect the black servo wire to ground, the red servo wire to the 5V out pin on the arduino, and the yellow servo wire to the 11 digital input pin on the arduino (can be any but that is what I used for my code).
Next we will wire the digital temperature sensor. With the round side facing you attach the rightmost pin to the 3.3V out pin and AREF (above the digital input pins), the middle pin to the analog input pin A1, and the leftmost pin to ground.
Check the picture if you are confused!
For more detail: Arduino Thermostat (Mechanical)

