Description:
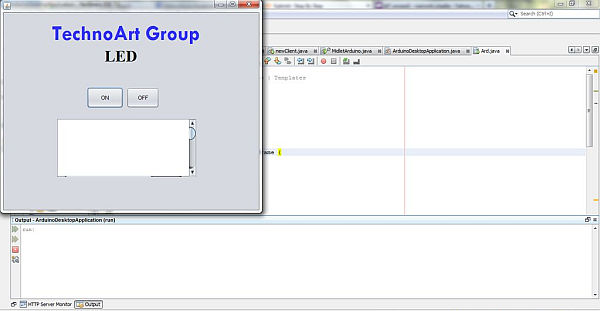
here we have created an java desktop application using neatbeans.
this application turn on led on arduino.
this application also work in your LAN.
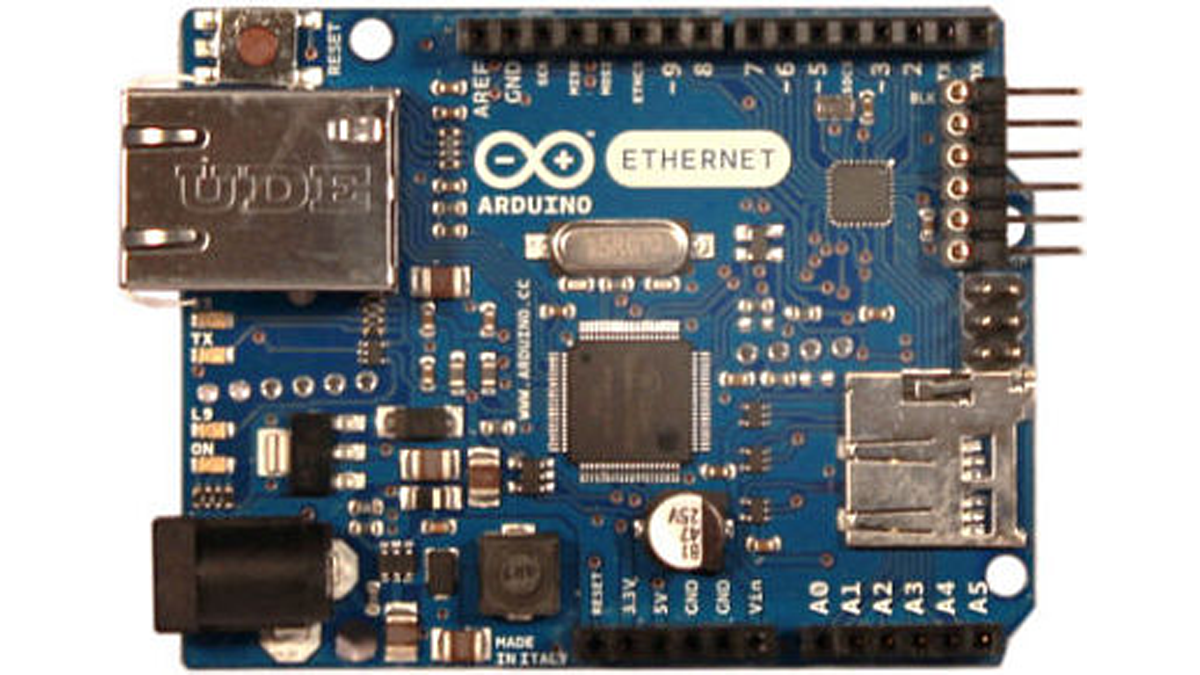
Step 1: Assigning MAc and IP to Arduino board
ALSO CHANGE YOUR MAC AND IP ACCORDING YOUR NETWORK.
/*
UDPSendReceive.pde:
This sketch receives UDP message strings, prints them to the serial port
and sends an “acknowledge” string back to the sender
A Processing sketch is included at the end of file that can be used to send
and received messages for testing with a computer.
created 21 Aug 2010
by Michael Margolis
This code is in the public domain.
*/
#include <SPI.h> // needed for Arduino versions later than 0018
#include <Ethernet.h>
#include <EthernetUdp.h> // UDP library from: [email protected] 12/30/2008
#include <SoftwareSerial.h>
// Enter a MAC address and IP address for your controller below.
// The IP address will be dependent on your local network:
byte mac[] = {0x90,0xA2,0xDA,0x0D,0x8B,0x8F};
IPAddress ip(192, 168, 1, 105);
IPAddress ip1(192, 168, 1, 101);
EthernetServer server(8032);
unsigned int localPort = 8032;
boolean incoming = 0;
// local port to listen on
// buffers for receiving and sending data
char packetBuffer[UDP_TX_PACKET_MAX_SIZE]; //buffer to hold incoming packet,
char ReplyBuffer[] = “acknowledged”; // a string to send back
// An EthernetUDP instance to let us send and receive packets over UDP
EthernetUDP Udp;
void setup() {
// start the Ethernet and UDP:
Ethernet.begin(mac,ip);
Udp.begin(localPort);
pinMode(2,OUTPUT);
Serial.begin(9600);
}
void loop() {
/*
EthernetClient client = server.available();
if (client) {
// an http request ends with a blank line
boolean currentLineIsBlank = true;
while (client.connected()) {
if (client.available()) {
char c = client.read();
// if you’ve gotten to the end of the line (received a newline
// character) and the line is blank, the http request has ended,
// so you can send a reply
//reads URL string from $ to first blank space
if(incoming && c == ‘ ‘){
incoming = 0;
}
if(c == ‘$’){
incoming = 1;
}
//Checks for the URL string $1 or $2
if(incoming == 1){
Serial.println(c);
if(c == ‘a’){
Serial.println(“ON”);
digitalWrite(2, HIGH);
int rd=digitalRead(2);
delay(10);
server.write(“ON”);
delay(10);
Serial.println(rd);
}
if(c == ‘b’){
Serial.println(“OFF”);
digitalWrite(2, LOW);
int rd=digitalRead(2);
delay(10);
server.write(“OFF”);
Serial.println(rd);
delay(10);
}
}
if (c == ‘\n’) {
// you’re starting a new line
currentLineIsBlank = true;
}
else if (c != ‘\r’) {
// you’ve gotten a character on the current line
currentLineIsBlank = false;
}
}
}
// give the web browser time to receive the data
delay(10);
client.stop();
}
*/
// if there’s data available, read a packet
int packetSize = Udp.parsePacket();
Serial.println(packetSize);
if(packetSize)
{
Serial.print(“Received packet of size “);
Serial.println(packetSize);
Serial.print(“From “);
IPAddress remote = Udp.remoteIP();
for (int i =0; i < 4; i++)
{
Serial.print(remote[i], DEC);
if (i < 3)
{
Serial.print(“.”);
}
}
Serial.print(“, port “);
Serial.println(Udp.remotePort());
// read the packet into packetBufffer
Udp.read(packetBuffer,UDP_TX_PACKET_MAX_SIZE);
Serial.println(“Contents:”);
Serial.println(packetBuffer);
Serial.println(packetBuffer[0]);
if(packetBuffer[0]==’1′){
digitalWrite(2,HIGH);
}else if(packetBuffer[0]==’2′){
digitalWrite(2,LOW);
}
// send a reply, to the IP address and port that sent us the packet we received
Udp.beginPacket(Udp.remoteIP(),Udp.remotePort());
Udp.write(“WAHh BHurA”);
Udp.endPacket();
}
/*Udp.beginPacket(ip1,8032);
Udp.write(ReplyBuffer);
Udp.endPacket();
delay(400);
client.stop();*/
}
/*
Processing sketch to run with this example
=====================================================
// Processing UDP example to send and receive string data from Arduino
// press any key to send the “Hello Arduino” message
import hypermedia.net.*;
UDP udp; // define the UDP object
void setup() {
udp = new UDP( this, 6000 ); // create a new datagram connection on port 6000
//udp.log( true ); // <– printout the connection activity
udp.listen( true ); // and wait for incoming message
}
void draw()
{
}
void keyPressed() {
String ip = “192.168.1.177”; // the remote IP address
int port = 8888; // the destination port
udp.send(“Hello World”, ip, port ); // the message to send
}
void receive( byte[] data ) { // <– default handler
//void receive( byte[] data, String ip, int port ) { // <– extended handler
for(int i=0; i < data.length; i++)
print(char(data[i]));
println();
}
*/
Step 2: PING With Arduino in Command prompt
You have assigned MAC and IP address to arduino board.
Now we have to check whether arduino is giving response or not..!!!
1.Setup bridge connection with your PC and Arduino ethernet board(LAN ).
2. if connection is created then we have to run PING command in CMD.
ping 192.168.1.105 // assign here your arduino’s ip address.
If ping command is working than output is look similar as image.
For more detail: Arduino desktop application on java in LAN