
Summary of ARDUINO BASED OIL DISPENSER
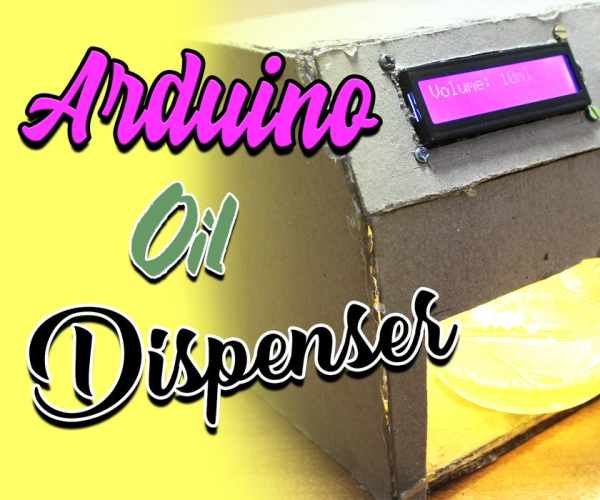
This article details the construction of an Arduino-Based Oil Dispenser designed to accurately measure and dispense cooking oil. The project involves designing a custom enclosure, assembling electronic circuits with an Arduino UNO, I2C LCD, keypad, and peristaltic pump, and writing code to manage volume settings and manual modes.
Parts used in the Arduino Based Oil Dispenser:
- I2C L.C.D. Display
- Arduino UNO
- N Channel Mosfet
- Push Button Switch
- Prototyping Board
- Pump (DC Peristaltic)
- Resistors (330, 620, 1k, 2k, 3.3k)
- 6mm Pipe
- Plastic Container (Reservoir)
- Jumper Wire
- 12V Strip LED (Optional)
we all love food isn’t that right? of course yes, everyone has tried cooking once in their life, and already knows the struggle to get exact amount of oil for the perfect recipe, so here is a project which will help you get it correct, follow the instructions till the end and you will have a beautiful Arduino Based OIL DISPENSER
Step 1: Watch the Video
Step 2: Designing
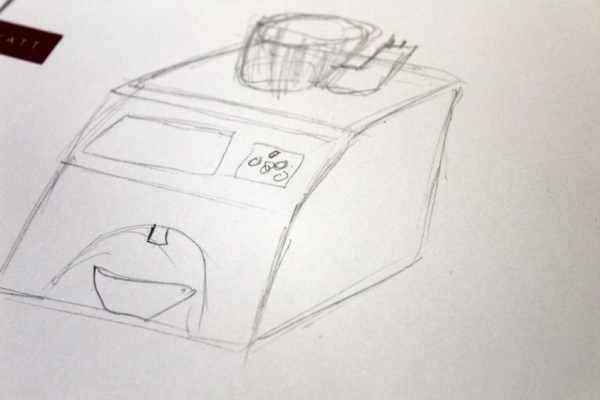
“to get the wheels running, you first need a wheel right? “thats why, to make some project, design is the most important aspect.
i first created a simple paper sketch to get an idea about what my end product should look like!
after which, i measure the dimensions of components and considered other parameters like amount of space it requires, size of container etc.
i kept the screen and UI Buttons at an Angle so that its easy to control and little more user friendly.
i have attached picture which contain the dimension of the design i used for each part, just in case if you want to create the exact one
Step 3: Gather the Requirements
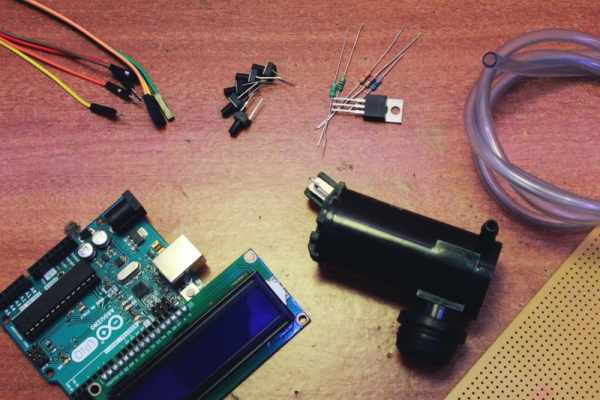
We will Need the Following Items to Build our Awesome ARDUINO Based OIL Dispenser
- I2C L.C.D. Display: https://www.gearbest.com/other-accessories/pp_216…
- Arduino UNO: https://www.gearbest.com/boards-shields/pp_228782….
- N Channel Mosfet: https://www.amazon.in/Generic-IRFZ44N-N-Channel-Tr…
- Push Button Switch: https://www.gearbest.com/diy-parts-components/pp_…
- Prototyping Board: https://www.gearbest.com/diy-parts-components/pp_1…
- Pump: https://www.amazon.in/NASA-Tech-Water-Priming-Spr…
- Resistors :(330,620,1k,2k,3.3k)https://www.gearbest.com/diy-parts-components/pp_1…
- 6mm Pipe: https://www.amazon.in/AGS-Irrigation-Garden-Water…
- Plastic Container (Reservoir) https://www.gearbest.com/dinnerware/pp_929200.htm…
- Jumper Wire https://www.gearbest.com/other-accessories/pp_278…
- (optional) 12V Strip LED: https://www.gearbest.com/led-strips/pp_932294.htm…
Step 4: Gather Tools
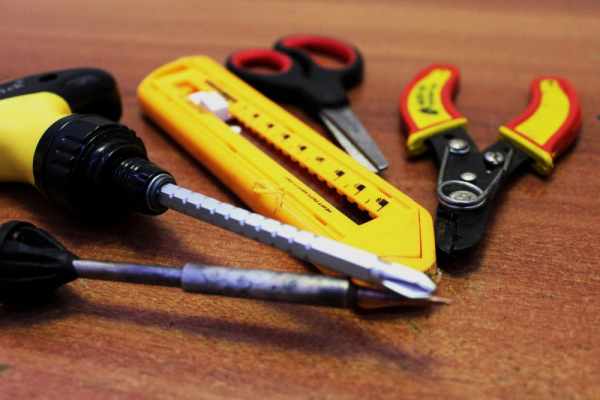
we will also require some tools for this build
- Solder Iron:https://www.gearbest.com/soldering-supplies/pp_009…
- Screw Driver:https://www.gearbest.com/screwdriver-screwdriver-s…
- Cutter: https://www.gearbest.com/home-gear/pp_00991810512…
- Scissors: https://www.gearbest.com/meat-poultry-tools/pp_666…
- Solder Wire: https://www.gearbest.com/hand-tools/pp_193500.html…
Step 5: Build the Circuits
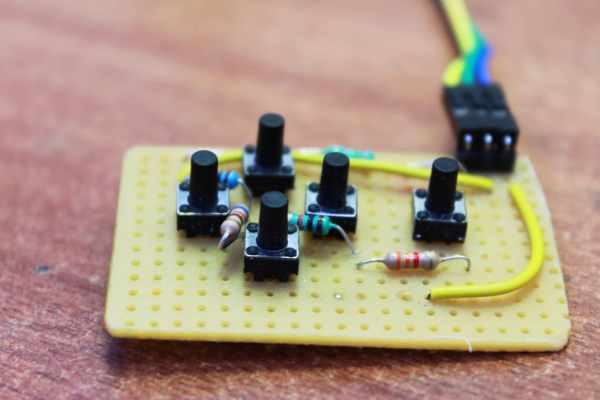
for the Circuit, i used ARDUINO UNO as the brains of the entire project, I2C L.C.D. for Display,Push Buttons to interact with the user, DC Peristaltic pump to control the flow of oil, N Channel Mosfet as a Switch to Control Motor.
for ease of connections and Understanding, we will divide the electronics into 3 Blocks
1. Control Unit
2. MOSFET Module
3. Keypad Module
4. I2C L.C.D.
Connections
KEYPAD
input (DATA) from the Keypad Module to Pin A0,
Vcc to D8
GND to GND
Mosfet Control
DIGITAL PIN 2 to Control Pin of MOSFET MODULE
Ground to Ground
Output for Display
SCL/A5 to SCL and SDA/A4 to SDA of LCD and VCC to VCC, Ground to Ground
Motor
Motor From Mosfet Module Through M+ and M- Pins,
External Power to Mosfet Module at VCC and GND
if you are not good at Using Prototype board, you can use the Provided Gerber File to Order PCB Online and then Follow the above Connections
Step 6: Upload the Code
/*==========================================================================
by "Akshay Momaya"
for "Mission Critical" ( youtube )
******subscribe for more ARDUINO projects and tutorials******
https://www.youtube.com/channel/UCM6rbuieQBBLFsxszWA85AQ?sub_confirmation=1
==========================================================================*/

#include Wire.h
#include LiquidCrystal_I2C

LiquidCrystal_I2C lcd(0x27, 16, 2);


int keypad_pin = A0;
int Keypad_value = 0;
int Keypad_value_old = 0;
char Btn_push;
int Pump1 = 2;
int volume = 10;
int volumeOld = 10;
int Pump1State =0;
int MenuPage =1;
int MenuPageOld =1;
long previousMillis = 0;
unsigned long currentMillis ;
long interval = 1000;
unsigned long multiplier = 450;

//value to change based on calibration
//multiplier = milliseconds needed to fill 1ml liquid

void setup()
{
  lcd.init(); //Initialize a 2x16 type LCD
  lcd.backlight();
  pinMode(Pump1, OUTPUT);
  pinMode(10, OUTPUT);

        lcd.setCursor(0,0);
        lcd.print("Mission Critical");
        lcd.setCursor(2,1);
        lcd.print("Oil Dispenser");
        //lcd.clear();
        delay(1000);

       MenuDisplay(MenuPage);

        analogWrite(10,50);
        delay(1000);

    pinMode(8,OUTPUT);
    digitalWrite(8,HIGH);
}
void loop()
{
    Btn_push = ReadKeypad();

    //Change menu


    if(Btn_push == 'L') MenuPage =1;
    if(Btn_push == 'R') MenuPage =2;

    if(MenuPage != MenuPageOld)
    {
        MenuDisplay(MenuPage);
        MenuPageOld = MenuPage;
    }

    if(MenuPage ==1)
    {
        if(Btn_push == 'U' && volume <100)
          volume+=1;

       if(Btn_push == 'D'&& volume>0)
          volume-=1;

        if(volumeOld != volume)  //update lcd when got new volume
        {
            lcd.setCursor(8,0);
            lcd.print(volume);
            lcd.print("ml ");
            volumeOld = volume;
        }

        if(Btn_push == 'S' )
        {
            RunPump(volume);

            MenuDisplay(MenuPage);

        }
    }
    if(MenuPage ==2)
    {
       if(Btn_push == 'S')
       {
           if(!Pump1State )
           {
             digitalWrite(Pump1,1);
             lcd.setCursor(0,1);
             lcd.print("freeflow run ");
             Pump1State =1;
           }
           else
           {
             digitalWrite(Pump1,0);
             lcd.setCursor(0,1);
             lcd.print("freeflow stop");
             Pump1State =0;
           }
           delay(100);
       }

    }

    delay(200);

}

//--------------- End of loop() loop ---------------------


void MenuDisplay(int page)
{
    switch (page)
    {
       case 1:
          lcd.clear();
          lcd.setCursor(0,0);
          lcd.print("Volume: ");
          lcd.setCursor(8,0);
          lcd.print(volume);
          lcd.print("ml ");
          break;
       case 2:
          lcd.clear();
          lcd.clear();
          lcd.setCursor(0,0);
          lcd.print("MANUAL MODE");
         break;
    }

}

void RunPump(unsigned long ml)


{
    previousMillis = millis();
    currentMillis = previousMillis;

    interval = ml * multiplier;

    digitalWrite(Pump1,1);

        lcd.setCursor(4,1);
        lcd.print("ml ");

    while(currentMillis - previousMillis < interval)
    {
        currentMillis = millis();
        lcd.setCursor(0, 1);
        lcd.print((currentMillis - previousMillis)/1000);
    }
        lcd.setCursor(0, 1);
        lcd.print((currentMillis - previousMillis)/1000);

    digitalWrite(Pump1,0);
    delay(1000);
}

char ReadKeypad()
{
  /* Keypad button analog Value
  no button pressed 1023
  select  741
  left    503
  down    326
  up      142
  right   0
  */
  Keypad_value = analogRead(keypad_pin);

  if(Keypad_value < 100)
    return 'R';
  else if(Keypad_value < 200)
    return 'U';
  else if(Keypad_value < 400)
    return 'D';
  else if(Keypad_value < 600)
    return 'L';
  else if(Keypad_value < 800)
    return 'S';
  else
    return 0;

}
Step 7: Prepare the Tank ( Reservoir)
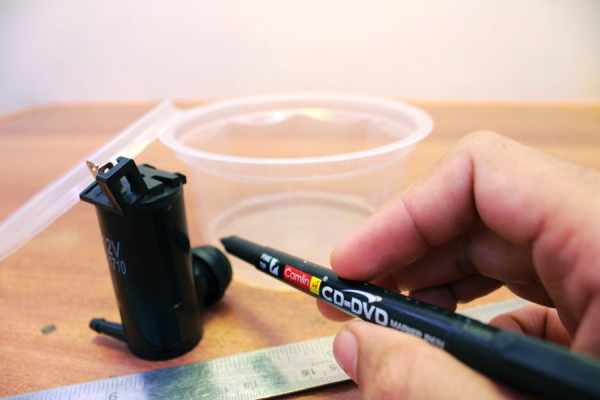
to Prepare the tank,
first keep the container and motor on a flat surface, and mark the motor inlet for fluid and continue by creating a hole in the container, after which, insert the liner and use Hot Glue to Seal the Liner and ensure that there are no leaks, by running some water through the Reservoir
Step 8: Prepare the Enclosure
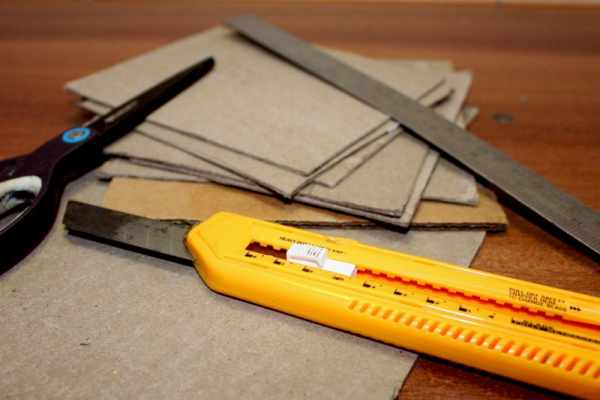
I used mount board, which is not the best choice, yet economic and readily available. so to make this enclosure,
- Mark the Dimensions from Step 2 using a pencil.
- Cut the Right, Left, Top, Back, Bottom, Front Panel, Front Side pieces using Scissor or Box Cutter.
- Use HOT Glue gun to seal all the side.
- Use small right angled triangle cut out of any size to provide extra support.
- Mount the L.C.D on Front Panel using M3 nuts and bolts.
- Use Hot Glue to secure Keypad Module in the Designated Holes.
- Give the Box a Final Touch up with Hot Glue to fill up remaining holes.
Step 9: (optional) Add Lightings
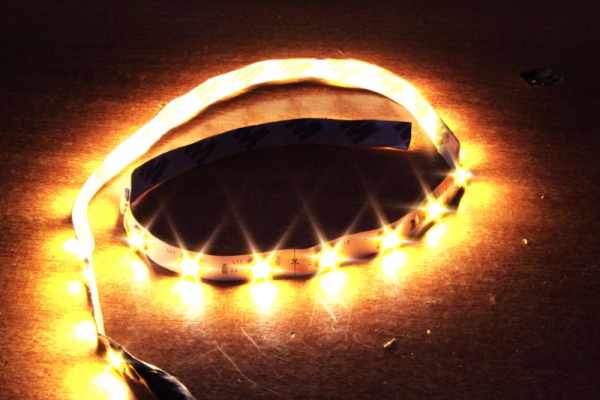
to light up the interior of the box, i used a 12V strip LED.
to install it, simply apply a drop of Hot Glue and Work the Length through the interior of BOX just above the dispenser Pipe Outlet
Source: ARDUINO BASED OIL DISPENSER
-
What is the main purpose of this project?
The project helps users get the exact amount of oil for recipes by using an Arduino-based dispenser. -
How does the user interact with the device?
Users interact via push buttons on a Keypad Module connected to Pin A0 to select menu options and adjust volume. -
Which component controls the flow of oil?
A DC Peristaltic pump is used to control the flow of oil through the system. -
How is the motor controlled in the circuit?
An N Channel Mosfet acts as a switch to control the motor based on signals from Digital Pin 2. -
Can the device operate without a custom PCB?
Yes, connections can be made using a Prototyping Board, or a Gerber File can be ordered online for a custom PCB. -
What tools are required to build the enclosure?
Tools include a Solder Iron, Screw Driver, Cutter, Scissors, and Hot Glue gun. -
How is the reservoir prepared to prevent leaks?
A hole is marked and cut for the motor inlet, a liner is inserted, and Hot Glue is used to seal it before testing with water. -
What is the function of the multiplier variable in the code?
The multiplier represents the milliseconds needed to fill 1ml of liquid and must be calibrated based on the specific setup.
