Summary of Arduino Astronomical Clock
This project is an "Arduino Astronomical Clock for Automatic Light Control" designed to automate lighting based on calculated sunrise and sunset times using latitude, longitude, and date. It addresses issues with fixed timers and simple light sensors by calculating precise on/off times, including automatic Daylight Savings adjustments. The system features a DS1307 battery-backed RTC, a 4-digit 7-segment display for time and sunrise/sunset info, and intuitive plus/minus buttons for manual adjustment. It utilizes the Timelord Arduino library for astronomical calculations and offers USB connectivity for debugging and updates.
Parts used in the Arduino Astronomical Clock for Automatic Light Control:
- Arduino microcontroller
- DS1307 Real Time Clock (RTC) module
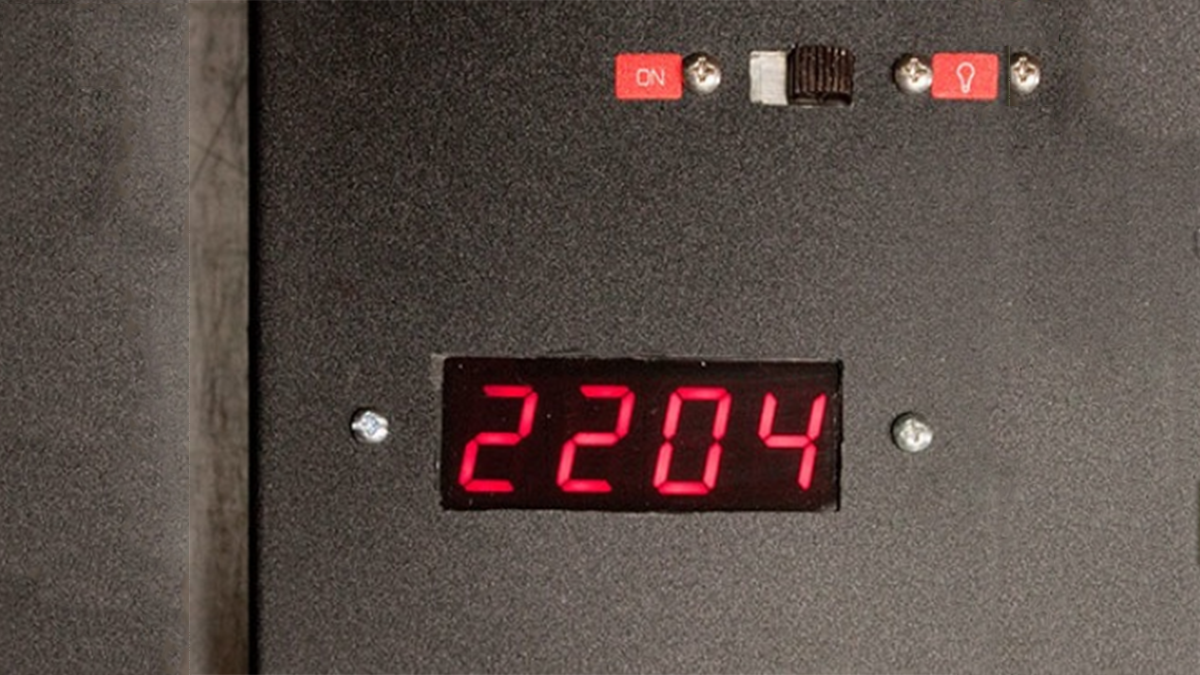
- 4-digit 7-segment display
- PLUS/MINUS three-speed push buttons
- Relay module for AC load control
- Battery backup for RTC
- USB port for software debug and upgrade
This product allows you to set separate turn-on and turn-off times and those repeat every day. The disadvantage of this product is that, as the seasons change, you need to constantly adjust the turn-on and turn-off times. As illustrated in Figure 1, the variation over the year (in sunset time in this example) is very significant even at my Northern California latitude, with almost three hours difference between the earlier and latest sunset times!
Another approach to this problem, and one that you often find in many beginner elecronics projects, is to turn the lights ON/OFF based on some photo-sensitive device; a LDR or a photo-transistor for example. While this approach can be made to work reasonably well, it’s not without its issues. It’s hard to choose a threshold that won’t either turn the lights ON too late or turn them OFF too early. In very cloudy days, you run the risk that the system will turn on unnecessarily. Furthermore, if a leave or some other object obstructs the light sensor, the device won’t work properly. It’s not a very robust approach.
My objective with this project was to build a system that, given my latitude and longitude coordinates and the current time/day of the year, automatically calculates the sunrise and sunset times, controlling the lights accordingly. There are of course commercial products that do this, but it is so much more fun to build one:)
So here are the features/objectives for this project:
– Automatic sunrise and sunset relay control to turn lights (or some other AC load) on/off respectively
– 7-segment display continuously shows time, estimated sunrise and sunset time
– Simple Plus/Minus push buttons to adjust time manually (i.e, without a PC)
– Automatic Daylight Savings Time (DST) adjustments
– Battery backed time (restores correct time following a power-failure).
– USB port access for software debug and upgrade
I’ve been looking for an excuse to get myself into the “Arduino” world and this project seemed like a good candidate. In-fact, one can learn quite a bit about Arduino programming by implementing a system like this. And so was born the “Arduino Astronomical Clock for Automatic Light Control”. Let’s jump-in.
See more on my website.
Part 2 – Theory of Operation
As shown in Figure 1, the sunset (and sunrise) times follow an almost sinusoidal pattern over the year. The actual formula is a little more complicated than that, and for those curious about these things, there is an excellent resource at this website with more details:
http://williams.best.vwh.net/sunrise_sunset_algorithm.htm
The beauty of the Arduino open-source community is that you’ll often find someone already implemented code to do something similar to what you are intending to do. This project is no exception (see “Credits” section at the end for more info), and fortunately for me, the good folks at swfltek.com produced the “Timelord” library:
http://www.swfltek.com/arduino/timelord.html
The “Timelord” library does a great job of calculating sunrise and sunset times for a given latitude/longitude and present time. The library also includes a handy automatic DST time conversion method that I used as well in this project.
The code must also take care of determining current time, driving the 7-segment display, and handle the time adjustment buttons. For the time-keeping function, I decided to use an inexpensive DS1307 Real Time clock (RTC) from ebay. The great thing about this item is that it is battery backed, so once time is set for the first time, it remains (relatively) accurate even if there’s a power failure. Some drift is expected over time with such a budget oscillator, but the time adjustment buttons should enable us to compensate that should it be needed. So far, it has proven quite accurate. There are also equivalent modules from Adafruit or Sparkfun that you could use.
The 4-digit seven segment display is driven in the common time-multiplexed way . For the manual (button driven) time adjustment, I chose a PLUS/MINUS three-speed button arrangement. This is my favorite (arguably most elegant) clock time adjustment method. My car uses it, and I liked it so much that I decided to replicate it in software. Basically the PLUS button increments the time whereas the MINUS decrements it. If you hold any of these buttons for longer than 4s, then it enters a second speed, and later on a third speed where the increment (decrement) is faster. It’s intuitive, simple, and works quite well.
Read More: Arduino Astronomical Clock