Summary of RC tank with a moving FPV camera using Arduino
This article guides readers through building a remote-controlled tank equipped with a First Person View (FPV) camera system. The project uses two Arduino boards to manage movement and camera control, addressing the issue of losing sight of the tank by adding a 2-servo pan/tilt mechanism. With a range of approximately 100 meters, the tank allows users to monitor their surroundings or pets from a distance using an Android smartphone as a display.
Parts used in the RC tank with a moving FPV camera:
- Arduino (x2)
- Chassis
- Smartphone with android
- NRF24L01 (x2)
- H bridge TB6612FNG
- Joystick (x2)
- Pan/tilt or 2 servos
- Led lights
- Batteries
- Screws
- 9V battery and 5x 1,5V battery or LI-PO 7.4
- Box for pilot
- Wires
- Tools including drill, soldering iron, and screwdriver
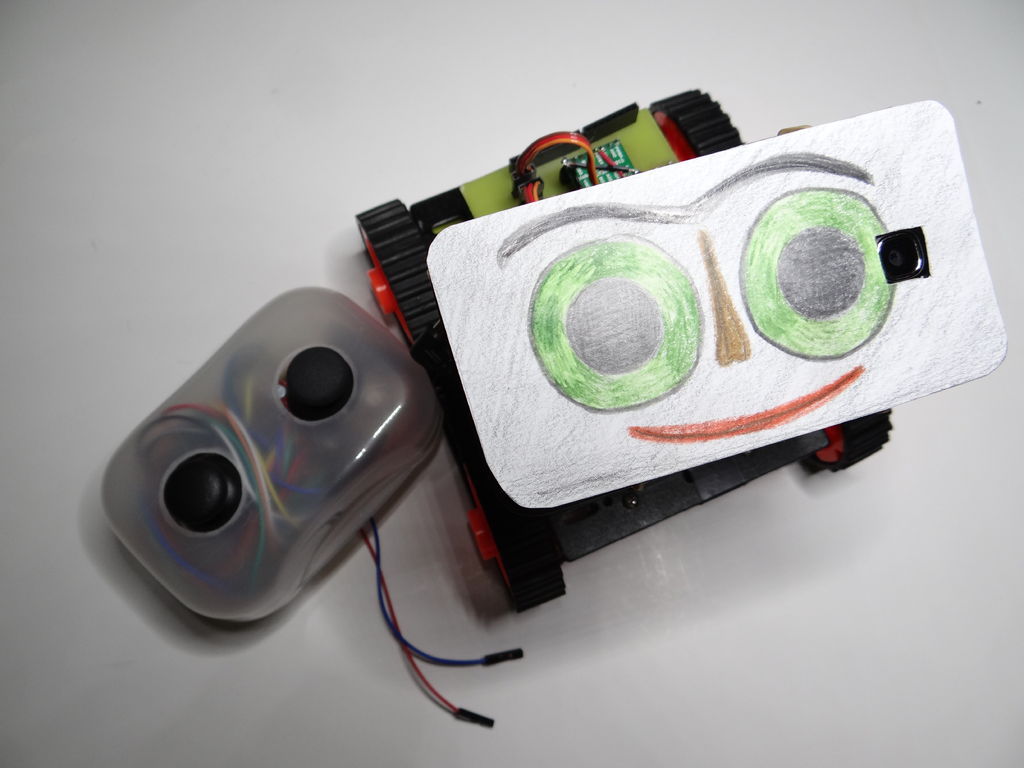
In this instructable I show you how to build remote control tank with FPV camera. At the beginning I build only RC tank without FPV camera but when I was driving it in the house I have not seen where it is. So I came up with that I will add to it the camera mounted on a 2 servos. The range is about 100m, you can also ride with it at home. With this tank you can see what your cat is doing when you’re not looking. You can see it on a video 😀
Explanation of acronyms for beginner:
PCB – Printed Circuit Board
GND – ground
VCC – power
RC – Remote Control
FPV – First Person View
Step 1: Parts
This is list with necessary parts. The total cost is $120
-arduino (x2)
-chassis
-smartphone with android
– NRF24L01 (x2)
-H bridge TB6612FNG
-joystick (x2)
-pan/tilt or 2 servos
-everything to do PCB you can read about it here
-leds
-batteries
-screws
-9V battery and 5x 1,5V battery or LI-PO 7.4
-box for pilot
-wires
-tools (drill, soldering, screwdriver )
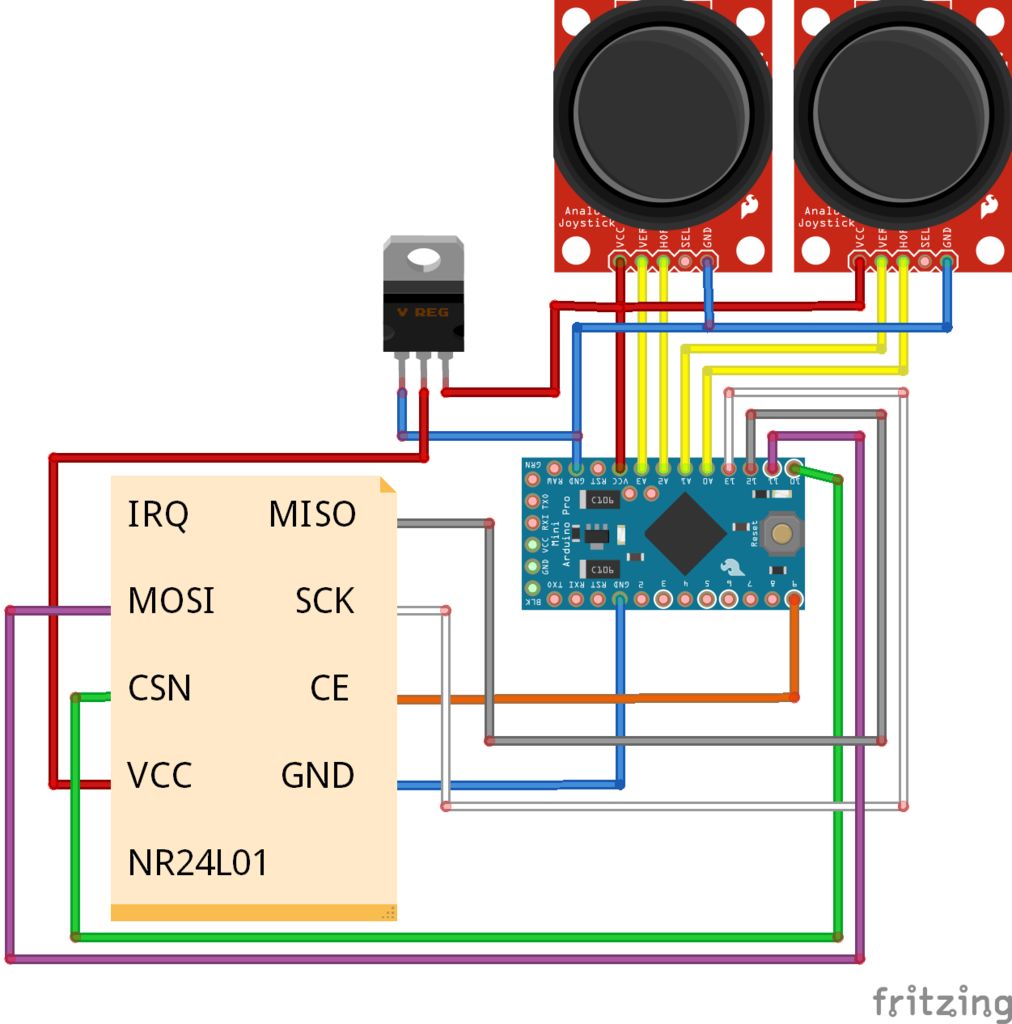
Step 2: Make PCB
Now we make the PCB you can read about this here. It’s my first PCB, but it is very simple and sure you can do it. I add the file from fritzing you must print it in laser printer on thick paper or photo paper. Then you have to put print on a copper board and ironed. Possible deficiencies toner refill with oil marker. Prepare acid and insert the plate in it. When the whole disc is yellow, you can pull it out and wash under running water. Now just clear toner with petroleum ether and drill hole.
P.S.
I changed a little H-bridge you can watch it on image. I connect all GND, STBY with VCC.
 pcb_etch_copper_top_mirror.pdf
 pcb.fzz9 KB
- What is the total cost of the project?
The total cost is $120. - How far can the tank be driven?
The range is about 100m. - Can I use this tank inside my house?
Yes, you can ride it at home. - What device serves as the video display?
A smartphone with android is used. - How many Arduino boards are required?
You need two Arduino boards. - What components control the camera movement?
The camera is mounted on 2 servos for pan and tilt. - Does the project include a printed circuit board?
Yes, the author built a custom PCB using Fritzing files. - What power options are suggested for the tank?
Options include a 9V battery, 5x 1,5V batteries, or a LI-PO 7.4 battery. - Why was the FPV camera added to the original design?
The camera was added because the author could not see where the tank was when driving it in the house.