Howdy Readers, Dispensers for pets are expensive and this fact is known to all of pet owners But as there is a saying there is always one or other solution to each of problems!
In this instructables we will go through detailed step by step instructions on how to make Automatic Food Dispenser from Arduino
ORIGIN OF IDEA
This idea came into my mind when i started to do research upon basic principle behind commercially available dispensers for pets
All work on same way but difference being controller used that adds a lot of monetary values to a particular kind of dispenser, One main point here is if you buy food dispenser that are readily available they are designed for specific applications
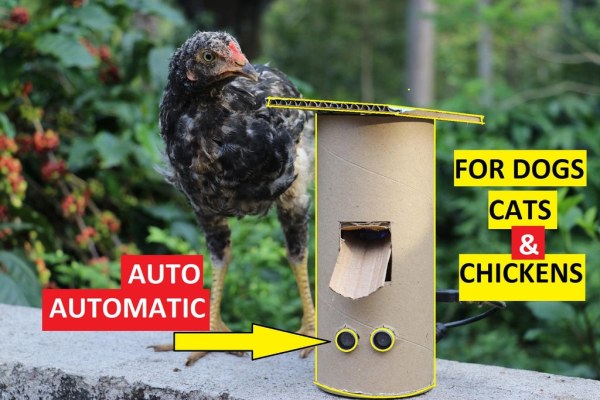
The above statement means dog dispenser is only for dogs so the same for cat dispensers
This project which we are going to make works best for all your pets this is happy news for other pet owners here!
Step 1: Supplies Required
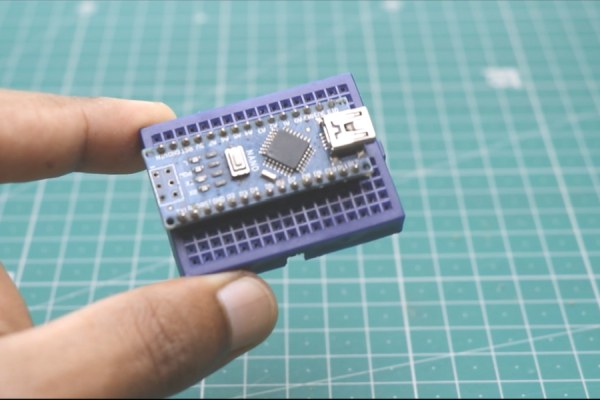
Here for main mechanism easily available arduino and its components are used
- Arduino nano or UNO
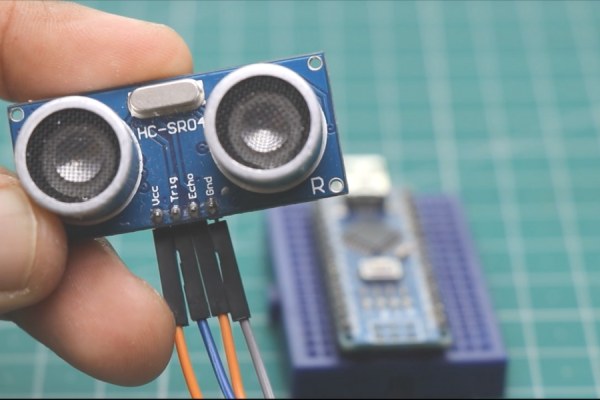
- HC-SR04 or ultrasonic distance sensor
- Plastic geared micro servo
- Breadboard along with jumper wires
- Powerbank
- Programming cable
Those were necessary electronic components after this we need parts that make body/frame
- Cardboard tube you can use Pringles box as alternative
- Aluminium foil
- Markers to mark measurements
- Cutter
- Hot glue for coupling as an alternative super glue works too
Gather all of them and we will move to build frames aka container that holds all this together
Step 2: Sponsor for This Project
Thank You NextPCB: This project is successfully completed because of the help and support from NextPCB. NextPCB is one of the most experienced PCB manufacturers in Global, has specialized in the PCB and assembly industry for over 15 years. Not only could NextPCB provide the most innovative printed circuit boards and assembly technologies in the highest quality standards, the fastest delivery turnaround as fast as 24 hours
Guys if you have a PCB project, please visit their website and get exciting discounts and coupons.
Only 0$ for 5-10pcs PCB Prototypes:https://www.nextpcb.com/?code=letsmakeprodd
Register and get $100 from NextPCB: https://www.nextpcb.com/register?code=letmakeprodd
more info about PCB Assembly Capabilities: https://www.nextpcb.com/pcb-assembly-services
Step 3: Building Phase 1
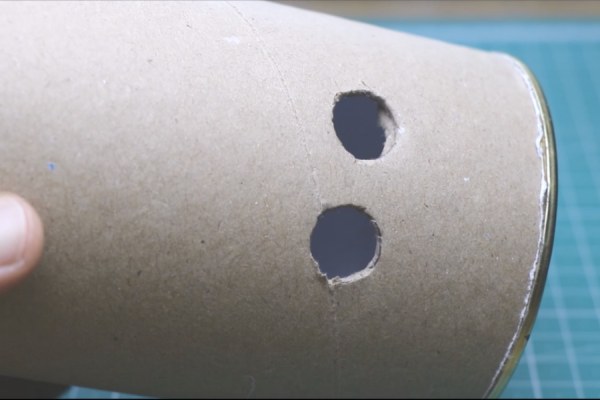
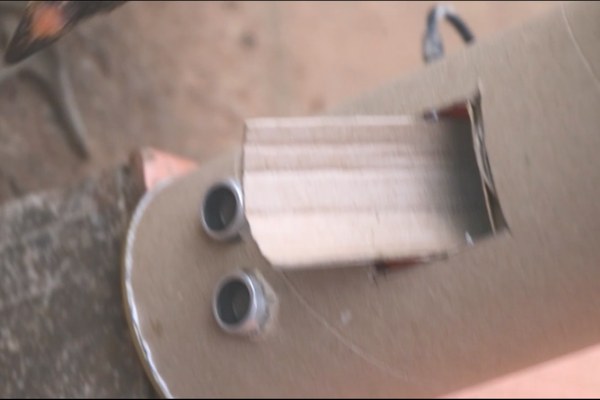
Body is our first step to start with to make this all you need is tube of cardboard, Just mark slot in which ultrasonic sensor will be placed using marker
To do this trace outline of sensor hardware on a cardboard and later cut using paper cutter
After this is complete make square slot the size of which depends on the type of food reservoir you want to keep i would recommend to use 1.5inch square that works for all kind of food
For lid to close food as i am using cylinder i marked same size circle and later cut them off
Step 4: Building Phase 2
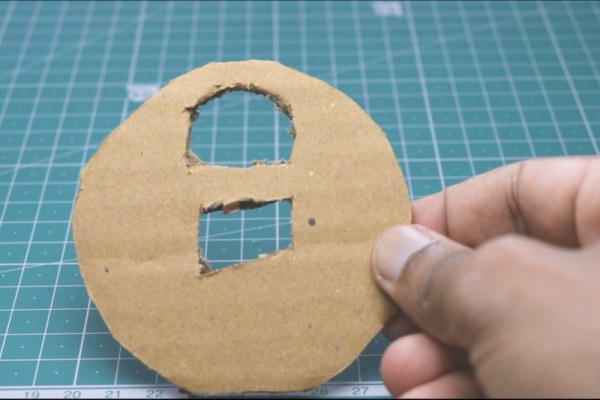
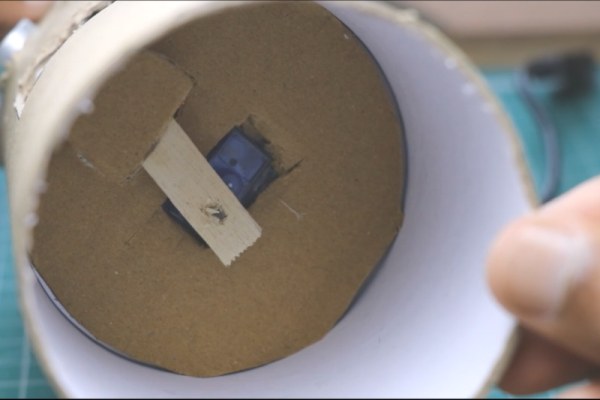
This is actual dispensing mechanism, this is made using cardboard disc which was cut so slightly smaller than shape of lid as mentioned earlier
Food dispensing out is controlled by micro servo which covers and uncovers hole as per signals received by it
To make this mechanism i made 2 holes at first one for holding micro servo and other to control flow of food
Micro servo is glued first later to its horn small piece of wood stick is added and upon which size similar to flow of food hole is made
Stick this firmly to wood stick as failing to bond properly will lead to leakage of food hence the big mess!!
Step 5: Codes and Circuit Diagram for Arduino Food Dispenser
Code for this project is available HERE also three is video link which shows working of this dispenser
Just copy and paste code into arduino ide and later upload it to board
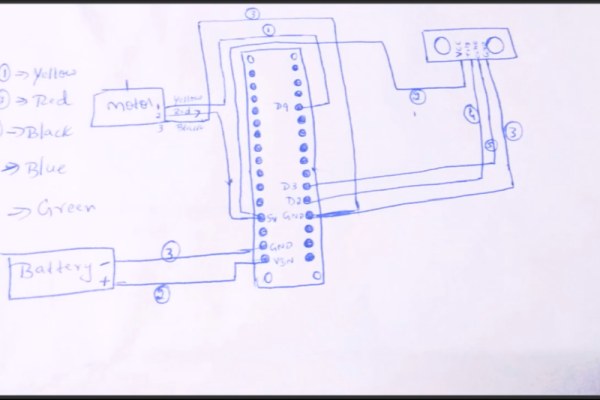
Circuit diagram is very easy to make and the best thing here is this code works with arduino uno too, so just follow this circuit diagram and make connections between all the components
I know here many are beginners and might difficulties to understand pi connections so i will help you out by giving explanation on how it’s made
Micro servo always has 3 pins out of which one will be for signal input and this signal pin will be connected to D9 pin of arduino board where as other pin to GND and +5v terminal in board
Ultrasonic trig and echo pins to D2 and D1 respectively while GND and +5v to power terminals of arduino
As i will be powering this from external usb source there is no need to make battery connections
If you don’t have power bank you can use batteries as in circuit diagram
Step 6: Installing Components
After all the circuit connections are made we can install everything into body that was made earlier, using hot glue makes the works easier if you are making body with some other material make sure it withstands heat of hot glue
We will make all the circuit to be fit perfectly inside this frame so there there will be no problem of misconnections while shakes when this is moved from one place to another
Begin by placing ultrasonic sensor first later breadboard setup inside the frame
Step 7: Dispensing Mechanism Setup
After all the hardware components is setup we will move onto installation part of most important part which is Dispensing mechanism setup
To do this carefully place this just below previously cut square part that was slot for food discharge
this unit should just be above that, To make it even more hygiene i added layer of aluminum foil some call it as kitchen foil to this part food will be filled so called reservoir
Lid will be add to which i colored clue!
Step 8: Working of Dispenser
Take this gadget out and try it out with pets this is completely safe device so you don’t need to worry about anything, one thing which should be worried her is regular filling of food as your pets will definitely love eating from this dispenser!!
As i don’t have dog and cats i tried it on chickens an results came out pretty well, as dogs and cats are even more smarter than chicks this will work best for sure
You can check working video of this project here
Definitely all of you who read till here might have loved this idea and definitely going to try it out, if you made this project let me know which makes me even more happy! Take care love you all 🙂
Source: Automatic Food Dispenser From Arduino