I have been working with Arduino and electronics for many years now, and I am still learning. In this ever-expanding world of micro-controllers, it is easy to get lost and run circles around yourself trying to find information.
In this Instructable, I will be showing you:
What an Arduino is and does.
Where to start with Arduino.
How to find useful resources.
These are all things I learned through experience, and are tried-and-true methods for success. I won’t deny that there are probably hundreds of different tutorials for starting with Arduino, but these are the things I found most useful in my early days. So follow along, and let’s explore the Wonderful World of Arduino.
Please note: Some of the pictures in this Instructable are screenshots. The images they contain are the property of their respective owners, and may be subject to copyright. I have compiled them here as peripherals to aid in the development of my Instructable as a non-profit educational resource, in accordance with the Fair Use doctrine.
Step 1: Arduino: What Is It, and What Does It Do?

Arduino is an open source electronics platform designed for creators, based around simple and easy-to-use hardware, and an interchangeable range of sensors, manipulators, and displays. The term, in the broader sense, is generally used to refer to a large field of micro-controllers based around Atmel microchips.
In layman’s terms, they are like simplified, miniature computers. As you might imagine, this is a huge, ever-expanding field, with hundreds of variations of micro-controllers, configurations, and sensor equipment. Here, I have narrowed it down to the basics.
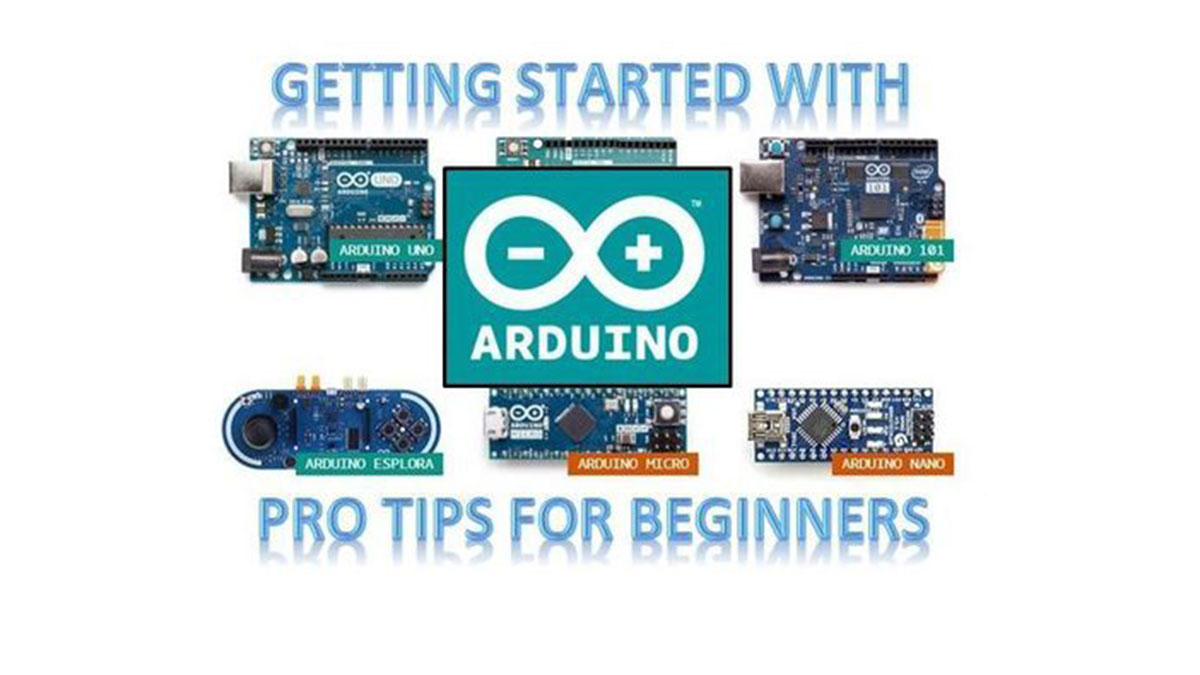
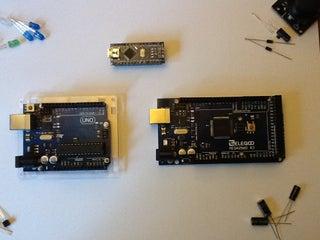
In this Instructable, I will go over 3 of the most popular Arduino boards (which also happen to be my favorites):
The Uno,
The Nano,
and The Mega
I will also go over the use of the IDE (the program we use to code the Arduino), shields, and sensors.
To learn more about specific boards, refer to the step ‘Resources’
—————————————————————————-
Useful Terms and Definitions:
Micro-Controller: Any programmable circuit based around a looped code of conditions and delays. Not to be confused with a micro-processor, which either refers to the control chip itself or a much more complex board such as the RaspberryPi.
Board: The hardware around which Arduino is based, generally used to refer to the micro-controller itself (“the Arduino Uno board”)
Shield: An extension of a board, usually designed to slot perfectly onto the pre-existing pin configuration, that augments the layout and adds functions not already built-in to the base board (e.g. the Motor shield allows control of motors, the Ethernet shield adds the ability to use internet functions, the Bluetooth shield adds bluetooth connectivity, etc.)
IDE (more specifically, the Arduino IDE): The software most commonly used to write and upload code to an Arduino board. There is also the option to use it for other, non-Arduino boards such as the RaspberryPi.
Library: an addition to the code as a separate file, used to add extra functions and allow compatibility with shields and components without the need to know extremely long and complex functions and algorithms.
Sensor: anything that can take physical input and transfer it to an electrical signal
—————————————————————————–
The Uno:
The Arduino Uno is by far the most iconic and probably the most popular Arduino board you can get. It has 14 digital I/O pins, which can vary between being On and Off, 6 of which are capable of using PWM, or Pulse Width Modulation, which varies the output voltage by turning the pin on and off vary rapidly (the ‘pulse’) at varying intervals (the ‘width’) to make the output higher or lower (the ‘modulation’). It also has 6 Analog Input pins. All of the pins can either be used as input or output, and some of the pins have special functions when used with specific shields and libraries.
Fun Fact:The Arduino Uno has more processing power than the room-sized computers used for the early Apollo moon missions, and it fits in your hand!
Most shields are based around and built for the Arduino Uno, and this is generally considered to be the best board to start with as a beginner. And I agree completely. The Uno might not be the most versatile, but it is certainly the easiest to set up and use, and most projects and tutorials for Arduino start with the Uno.
The Nano:
This thing, as the name implies, is a smaller board. It has less memory than an Uno, but otherwise shares most of the same functions in a much smaller package. The idea behind the Nano is wearable and miniaturized circuits for use in tight spaces or on weight-sensitive projects, such as drones. This has less overall pins due to the smaller size, but it is also cheaper than the Uno and will fit more places.
The Mega:
Again, the name says it all. This board is longer than the Uno, and has a total of 54 digital I/O pins, 15 of which are PWM capable, and 16 analog input pins. This board is for bigger, better, and bigger projects. And yes, I intentionally repeated myself. This board is huge, and it is compatible with most of the same shields as the Uno, because it shares the same initial pin configuration. It also has an increased memory, so it can run bigger programs more easily.
—————————————————————————–
The IDE:
The Arduino IDE is a relatively simple platform to use as far as coding goes. For Arduino boards, it utilizes it’s own programming language, but it shares many of the same characteristics as popular coding languages such as Java and C. The learning curve is very gentle, and there are hundreds of examples online and even built into the software that guide you through certain aspects of the code. I’ve been using this since I was 13, and I still don’t know half of what everything does, so don’t worry, you don’t need to be an ace to use Arduino.
Shields:
Different shields are used differently. Obviously. And they also have different sets of code needed to run them. But don’t hyperventilate yet, I’m not finished. For most of the shields you can currently buy, there is ethier a built-in example code already on the IDE, or a very nice tutorial online. All you have to do is find it. See “Resources” for how to do this.
Sensors:
Similarly to Shields, different sensors, manipulators, and displays will have different codes associated with them. The same process for finding examples applies.
So, now that you know a little more about Arduino, let’s move on to Where to Start.
Step 2: How and Where to Start With Arduino

As I mentioned in the last step, Arduino micro-controllers cover a huge range of different boards and equipment. In this step, I will give you some pointers on where to start, and what to get first.
Probably the most helpful advice I can give you up front is this: Start simple. Learning to use Arduino is a process that takes time, and if you try to do too much at once, you will only get frustrated. I started my hobby in Arduino by blinking LEDs. And you know what I like doing best, out of all of the things I use Arduino for? Blinking LEDs. So really, whatever your ambition for using Arduino is, I would seriously recommend first trying the Blink and the Fade examples in the Arduino IDE and playing around with those before you try anything complicated.
Where to start:
Ask yourself this: What do you want to use Arduino for? This question will determine what you should look for in an Arduino board before you get your first one.
If you don’t really know, or just have something simple like a small robot in mind, I would recommend the Uno. If you want to be making wearables or miniaturized circuits, I would suggest the Nano (or the Micro, depending on the complexity of what you want to do). If you want a big project, like a 3D printer, a large robot, or a sensor network, I would suggest the Mega. If heavy processing and data crunching is your project of choice, then the Zero or the Due would be a good idea. And if you want a computer interface, i.e. a custom keyboard, joystick, or mouse, then the Leonardo is for you. And the list doesn’t end there. There are an ever increasing number of Arduino boards out there, and the ones I’ve mentioned here are just the basics. There are boards like the Yún or the Tian that can run Linux, and basically act like small versions of full-blown computers, and a ton of variations on the other boards I’ve mentioned that add different features and specialties for a specific range of projects.
For more details on specific boards, and for a full list of boards, see my next step, ‘Resources’.
What to get first:
Start by getting the board itself. And don’t freak when you see the price-tags on the official Arduino site. While I can honestly say that the Arduino brand Arduinos are much higher quality and are guaranteed to be in working order, I really don’t like spending so much money on just one item. Take a hop over to Amazon, and they’ve got cloned versions of the Arduino, which are really the same thing made by different companies, for less than half the price. Or, I could get the same board and a kit of parts, for the same price I could get a genuine Arduino. However, if you have the money to spend, do buy from the official Arduino folks, because they are the guys who develop most of the new micro-controllers and support the software used to code them. The choice, really, is yours.
If you are planning on getting an Uno or a Mega, I would seriously recommend getting a starter kit. I’ve compiled a list of links to a few different ones in my next step. Starter kits will come not only with the Arduino itself, but also a whole ton of useful sensors and components, including every circuit-builder’s best friend: a breadboard. And the best part? The starter kits are actually cheaper than buying all of the components separately. By a lot. For instance, a project that would have cost me around €100 to build only cost me €50 because I found some good starter kits, and then I was able to build three more projects with the leftover components.
If you don’t get an Uno or Mega, I would still recommend a starter kit that just comes with the sensors and extra components, and not an Arduino board. By the way, this is something to watch out for. When buying a starter kit, make sure to check that it actually includes all of the components in the pictures, because some will say “for Arduino” and show an Uno, but not actually come with one.Usually there will be a parts list where you can verify the contents of the kit.
Once you have an Arduino, the next step is to download the IDE and find some good tutorials. Read on in my next step to find out the best places to get these.
Step 3: Resources

In this step, I will be pointing out some very handy resources for all DIYers who use Arduino, as well as how to find more. I will also include a list of good places to buy Arduino products and a few of my favorite starter kits.
The IDE:
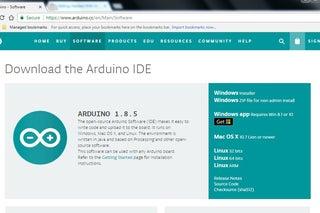
The IDE is central to all Arduino projects. Fortunately, it is also free to download, although you can make a donation to the folks who wrote it if you so choose. You can find all versions of it through this link. There is also a handy reference available here.
Libraries:
The Arduino IDE comes with a number of built in libraries for extended functionality, but I find I always have a few components that aren’t directly supported. When this happens, I usually Google the component with the search terms “Arduino Library” along side it, to find which library is most popular (and therefore probably most useful). Another way to find them is through the Arduino website, Arduino.cc. However, the best place to go for example codes and libraries is Github.com. These guys have everything when it comes to libraries, source code, variations on the IDE, or anything else software related.
Boards:
To find out about most of the Arduino boards and most popular shields, this page is the resource for you, with links to all of the specs, schematics and explanations for each Arduino component.
Code and Reference:
To find out what every line of code does, and how it is used, the reference section of the Arduino website is the place to go. The only limitation is that it does not include any of the special functions for libraries not made by Arduino.
Tutorials and Guidance:
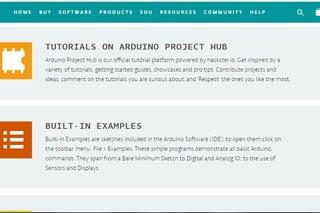
For tutorials on Arduino, the tutorials page is a good place to start. For more in depth tutorials and projects, https://learn.adafruit.com/ and https://create.arduino.cc/projecthub are good places to look, in addition to here on Instructables.
For guidance from experienced community members, the official Arduino forum is probably the best place to go.
Finding More Resources:
A lot of the time, the best thing to do is Google what you are looking for. Sometimes, though, information can be elusive. In these cases, I find myself poring over projects and tutorials, and the Arduino forum, looking for references to good resources. If I don’t find any, I just get on the forum and ask, because you had better bet that with all of the thousands of people running through the forum, someone will know how to help you.
Starter Kits:
Here are some of my favorite kits that I recommend to beginners learning Arduino. They have all of the components you will need to learn the basics (and some of the complexities) of coding and circuitry.
The best priced, highest quality kits I’ve found so far, with the most support and best customer service, are sold by a company called Elegoo. Although they also sell their kits through Amazon, I’ve linked the official site because it tends to have a better description of the included components in the kits. They are not official Arduino boards or kits, though, so keep in mind you aren’t supporting the Arduino site when you buy them.
If you have the money to spend, I would really suggest getting the official Arduino/Genuino Starter Kit. It has the best walk-through and documentation for beginners of any kit on the market, and the projects are pretty cool too.
The best place, other than Amazon, to get individual sensors, shields and such is the Adafruit shop. They are the highest quality, and each component has individual online documentation readily available.
Please note that these are my opinions and recommendations, not to be mistaken with fact. Any purchases you make are at your own choice, and I suggest doing research into different kits before buying one.
Source: Getting Started With Arduino: What You Need to Know
