A motion sensing soft-circuit interface. The following instructable will guide you through the construction of your own personalized Nama Instrument. I’d love to hear some feedback. Hope you like it and it serves you somehow! : )
Access http://www.viraseres.com/nama to download the project’s open source files and access the full description of the project.
INTRODUCTION:
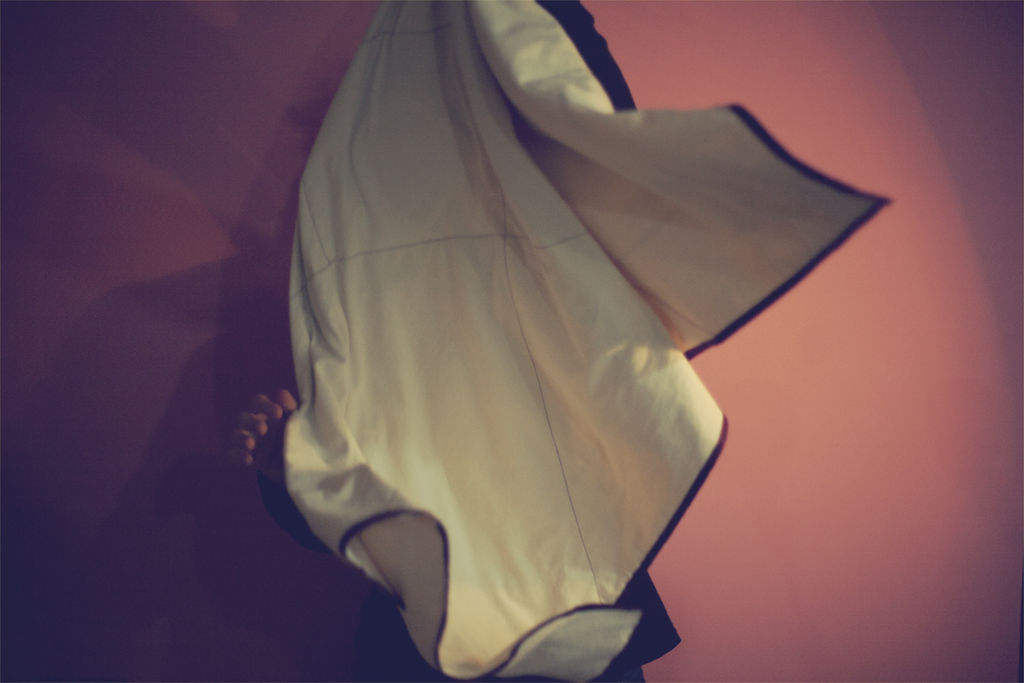
Nama Instrument is an open source hybridized textile interface that can transmit its own movement through serial data. A relational object that has open usage and ending, as it is able to be freely folded, twisted, tightened, and manipulated to generate real time open-data that can be transformed into audiovisual outputs, digital controllers, or any kind of ending the designer would like it to have. The central point underlining the instrument is the capacity of touching a possible virtual materiality to gather data to a digital system.
All of it is open source, free, and highly customizable. Using mainly a Lilypad Arduino sewed with conductive thread to accelerometers on a fabric support, it is possible to map the movement at several spots of the interface at a time. The following video should demonstrate how it works in general, as well as its possibilities:
Check also this video with a preview of the interface “in action”:
LIST OF MATERIALS & COMPONENTS:
– 1 LilyPad Arduino 328 Main Board.
– 5 LilyPad Accelerometers ADXL335.
– 1 LilyPad Xbee.
– LilyPad FTDI Basic Breakout – 5V.
– LilyPad LiPower.
– 2 XBee 1mW Chip Antenna – Series 1.
– XBee Explorer USB.
– Polymer Lithium Ion Battery (LiPo) – 1000mAh (good up to 8h running).
– LiPo Charger Basic – Micro-USB.
– Conductive Thread – 234/34 4ply.
– Needle set.
– Fabric of your choice.
* Thin wire + solder (optional).
* Textile glue + mounting tape (optional).
DOWNLOADABLE MATERIALS:
– Instrument 1.0: software bundle.
Arduino (.INO) files required to set up the Instrument, along with a Processing sketch (.PDE) created to receive and filter the data and a Fritzing (.FZZ) technical schematic of the interface.
Used versions: Processing 1.5 and Arduino IDE 1.0.1.
– Instrument 1.0: technical specifications & DIY guide.
A document containing a description, schematics construction and a step-by-step tutorial to build your own Instrument.
Step 1: Design
The main point of this beginning is defining the support of this interface. As noticed before, it can assume different soft shapes to follow the project’s goals. The designed Nama Instrument aimed to be manipulated freely by hand in an interactive installation.
You could, however, rethink its design by using the above schematic to build any kind of textile interface – such as on clothing, blankets, etc. Mine was as simple as it could get: a three-layered rectangle textile interface of about 1.5×0.8m.
So the first step is planning and projecting your own custom shape for Nama Instrument. The above illustrated schematic should guide you through the electrical part of it – the directions and place can be moved, however the connections must remain exactly as described above.
You could also use the following Fritzing project to help you on this. I’ve provided its link above, and it’s also available at the project’s website.
Link to a higher resolution illustrated schematic:
Step 2: Pre-configuration
1. Install Processing and Arduino software.
2. Upload the provided Arduino software (Instrument_Arduino.ino) into the Lilypad Arduino through the LilyPad FTDI Basic.
3. Configure your Xbees to communicate under the baud rate of 115200.
4. Cut the fabric at the exact size of your design, and draw into it the electrical layout of the interface.
Step 3: Interface sewing: main components
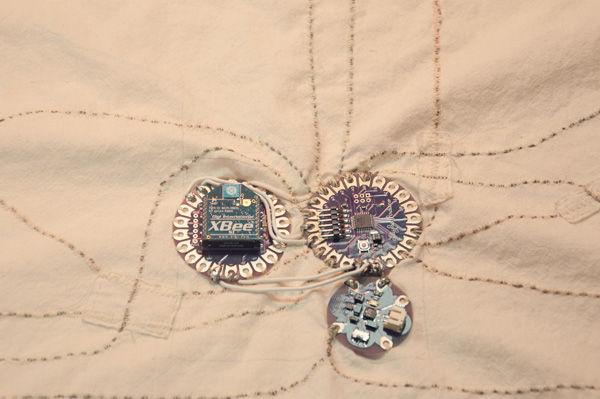
Sew the main components with conductive thread: Lilypad Mainboard, Lilypad Xbee (you can put one Xbee module in it now or posteriorly), and LiPo Charger (the LiPo battery can be placed afterwards). Be sure to ensure their strong connection – this is the most important part of the whole project, and the one that usually presents problems afterwards.
*. Depending on your final application, you can solder these parts with a thin wire to fully ensure a strong connection between these main components. If you opt on doing this (like I did on the image), you can sew then later to your fabric.