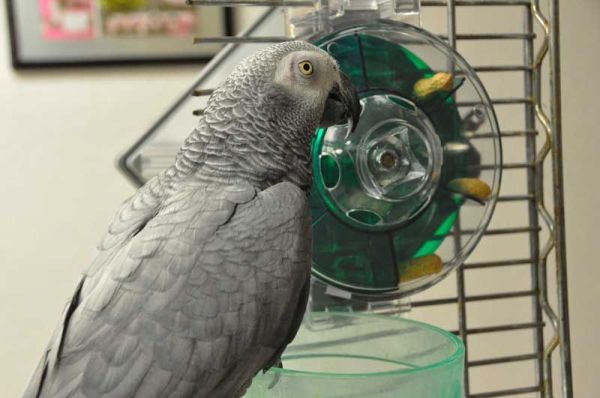
For my Digital Multimedia class final, I created a treat dispenser that is activated by pulling a chain, which starts a servo motor that spins a wheel to dispense treats to my to African Grey parrots.
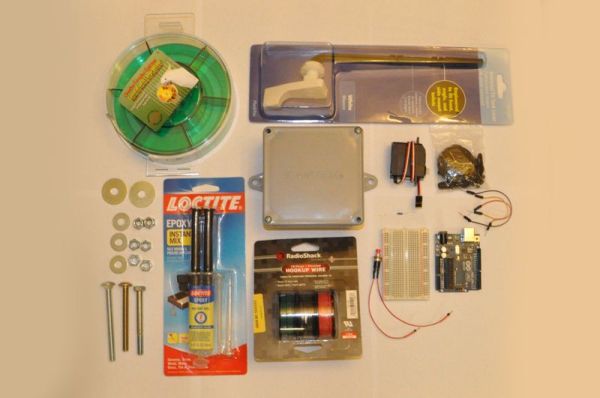
Step 1: Gather Materials
Materials you will need:
Order Online:
- Creative Foraging SystemsGeneration II Wheel (Link here)
- Servo – Generic High Torque Full Rotation, Standard Size (Link here)
Purchase at Radio Shack:
- Arduino Uno
- Standard wire
- Button
- Wire shrink tubing (optional)
- Break away strip male headers
- Soldering iron
Purchase at Home Depot:
- Toilet flush lever
- (1) 5/16in hex nut
- (1) 5/16in hex head bolt
- (1) 5/16in hex lock nut
- (4) 5/16in washers
- Spacers
- Epoxy
- Screen door rollers
- Plastic box to contain everything
- Some spare wood
Tools:
- Drill
- Forstner drill bits
- Saw
Step 2: Construct Button
1. Cut two strands of wire around 6in long.
2. Solder one of the ends of the wire to the connection points of the button.
3. Cover the soldering points with wire shrink tubing to protect the circuit from becoming accidentally crossed and shrink them using the side of your soldering iron.
4. If you’re using the shrink tubbing, cut two more pieces and add them to each of the wires.
5. Solder the remain ends of the wires to a break away male strip header.
6. Shrink the tubing around your soldering points using heat from the side of the soldering iron.
Step 3: Construct the Servo Connector
Since the servo connector is a female wire connector with three inputs, you will need to construct a male wire connector with three outputs or you can buy one.
1. Cut three strands of wire around 6 inches long. Using three different color wires (black, white, and red) will help you later to tell each wire a part (ground, power, etc.)
2. Solder three ends of the wires to break away male strip headers.
3. Apply shrink tubbing to these connections.
4. If you’re using the shrink tubbing, cut three more pieces and add them to each of the wires to be heated later.
5. Solder the rest of the ends of the wire to break away male strip headers and shrink the tubbing abound the soldering points.
For more detail: Arduino Button Activated Treat Dispenser