
Summary of Scheduled Relays
This project demonstrates how to use an Arduino MKR1000 with a Relay Proto Shield to control outputs via a web server. Users can set a specific alarm time through a browser interface, triggering the relays for five minutes when the scheduled time is reached. The system allows for automation tasks like gardening or smart home applications by leveraging IoT capabilities and potential weather integration.
Parts used in the Scheduled Relays:
- Arduino MKR1000
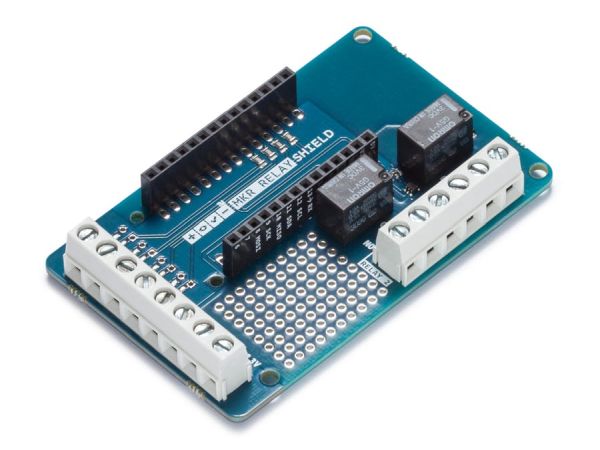
- Arduino MKR Relay Proto Shield
- Arduino Web Editor
- Arduino IDE
This project will show you how to schedule to drive the outputs on a MKR Relay Proto Shield using a MKR1000!
Things used in this project
Hardware components |
||||||
 |
|
× | 1 | |||
 |
|
× | 1 | |||
Software apps and online services |
||||||
 |
|
|||||
 |
|
|||||
Story
About this project
This project will show you how to drive in a programmed way the relays on a MKR Relay Proto Shield. In particular using web server hosted on the MKR1000 you will be able to set the alarm time using your browser!
Get started
To get started you have to:
- Put your MKR1000 board in top of your MKR Relay Proto Shield;
- Upload the code on your board;
- Open the serial monitor and copy the board’s IP address;
- Open your browser and paste the IP address. You should see a page similar to this:
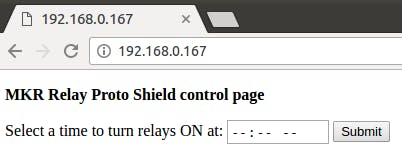
The control page
- Click on the — and use the arrows to set the time:
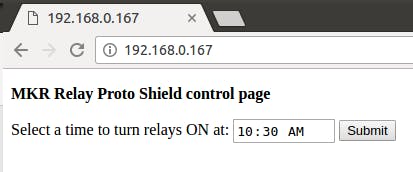
Set your time
- Click on submit!
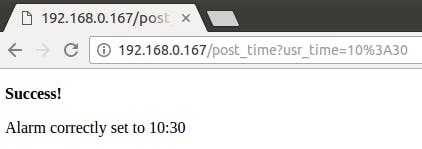
Success message
So when your time will be matched (in this example at 10:30 AM) the two outputs on your MKR Relay Protoshield will be driven HIGH for five minutes!
How to use and improve this example
You can use this example to make your own gardening system and small automation in general! Use the MKR1000 IoT capabilities to ask for weather forecast and use them to have a smarter ON/OFF policy.
Code
Source : Scheduled Relays
-
How do I start this project?
Put your MKR1000 board on top of your MKR Relay Proto Shield, upload the code, open the serial monitor to copy the IP address, and paste it into your browser. -
What happens when the set time is reached?
The two outputs on the MKR Relay Protoshield will be driven HIGH for five minutes. -
Can I change the time using this project?
Yes, you can click on the arrows to set the time and then click submit. -
What software is required to run this project?
You need either the Arduino Web Editor or the Arduino IDE to upload the code. -
How do I access the control page?
Open your browser and paste the IP address found in the serial monitor. -
Can this project be improved for other uses?
Yes, you can use it to make a gardening system or small automation by asking for weather forecasts to create a smarter ON/OFF policy. -
What component is used to host the web server?
The web server is hosted on the MKR1000.
