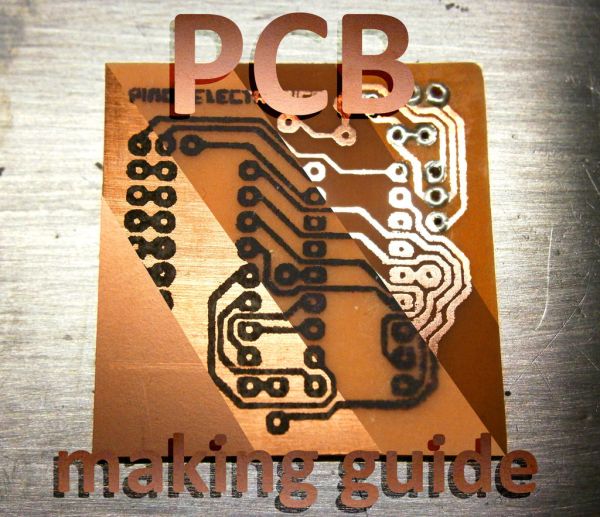
There are many ways to make your own homemade PCB’s, They all work, but some better than other, some faster than other, ones are cheap and others expensive….
After several attempts, i found the way of making PCB’s, which is the cheapest, easiest and fastest for me.
I hope this instructable will help you to decide what’s the best method for you, because there are so many to choose.
Step 1: Materials
For making the circuit you will need:
-A copper board.
-The design printed with a LASER printer on glossy paper, antiadhesive oven paper works the best!
-An iron or a laminator.
-The etching solution (Hydrochloric acid + Hydrogen peroxide).
-a plastic flat container.
-Steel wool or fine sandpaper.
-Acetone.
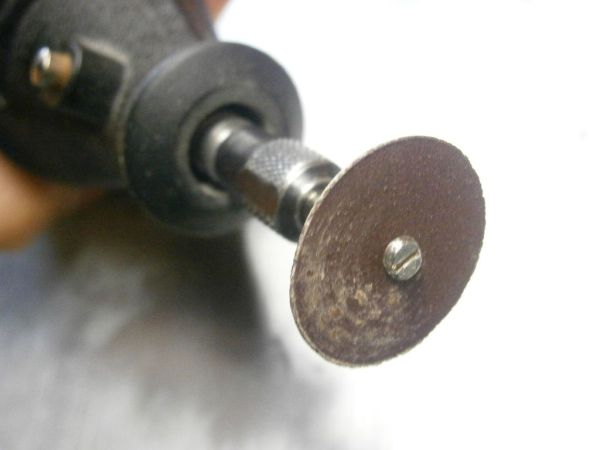
-A Dremel for the trough-hole components.
-The components.
-A soldering iron.
Step 2: The board
Firstly, cut a piece of board with the size of the circuit plus about 3mm per side.
Then scratch the surface with some sandpaper to make better the toner transfer.
Step 3: Toner transferring
Place the paper with the circuit design on the board and make sure it fits and there isn’t toner out the board.
Then fold the paper wrapping the piece and hold it together with tape.
Iron the toner side for about a minute or slide it 10-15 times in a laminator.
Step 4: Removing the paper
Put the circuit under the tap and wet it until the paper softens. then rub it off to expose the toner circuit.
Step 5: Etching
The etching is the most important step, so do it carefully.
First, fill the container with the etching solution (in my case Hydrochloric acid + Hydrogen peroxide).
Place the circuit floating in the solution with the copper facing down.
Check the circuit each minute to see how it goes.
When the last copper trace disappears, dry the circuit to stop the acid action.
For more detail: PCB making guide