The Arduino Yún is a curious addition to the Arduino family. There is a fairly widespread community surrounding the Arduino concept, platform and software. There’s another popular community dedicated to hacking and improving inexpensive wireless routers, which often run Linux. The Yún combines the two…it’s basically an Arduino Leonardo housed on the same PCB as an Atheros AR9331 wireless router (commonly found in TP-Link and other popular hackable routers). They’re connected through a serial port and run independently, but the Linino team has developed a few ways to make them team up on some tasks.
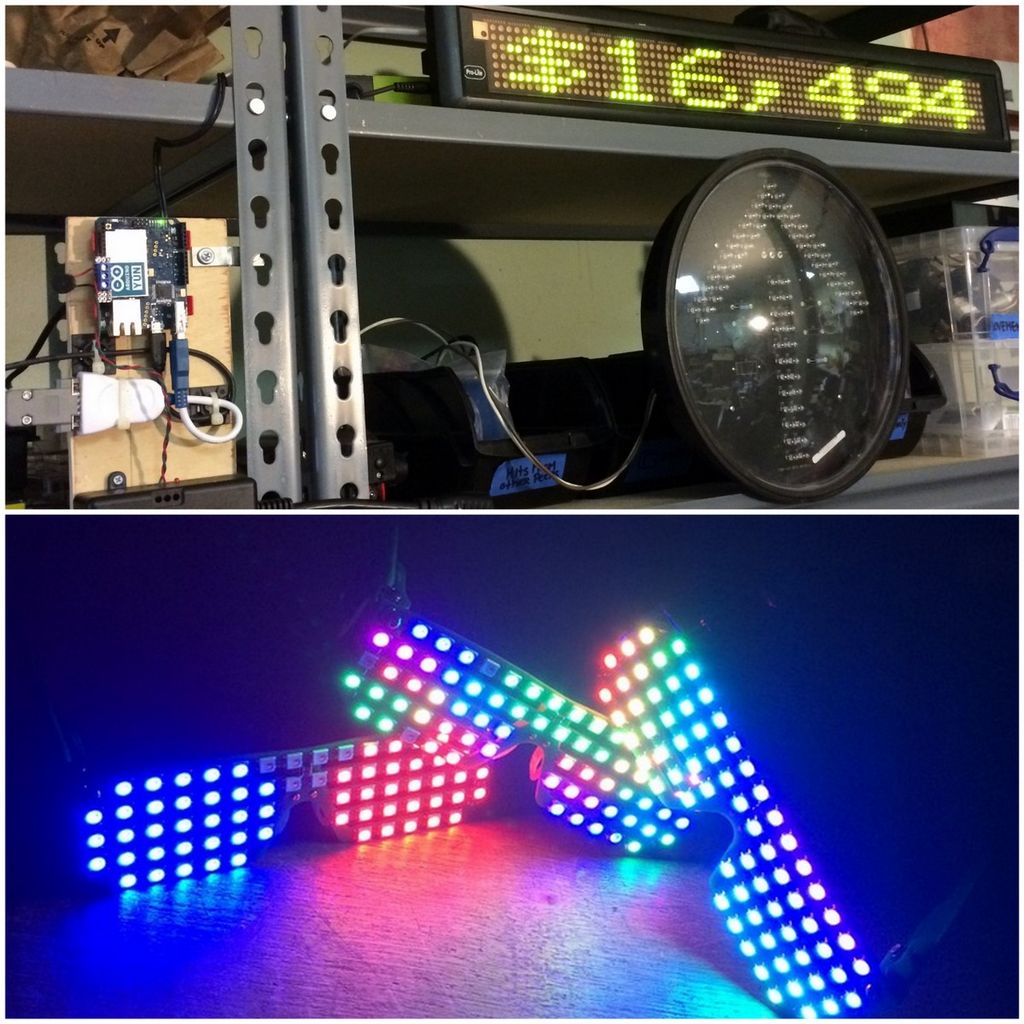
Recently, we created our first Kickstarter campaign (RGB LED Shades). It’s very exciting to see the “New Backer Alert!” emails roll in, and the notifications pop up on a smartphone. But we wanted to see our Kickstarter stats at a glance, and be notified whenever we have a new backer. The Linux side of the Yún can run scripting languages such as Python to scrape website data and control an LED marquee sign, and the Arduino side can control some I/O for an impossible-to-ignore new backer alert.
The following is a fairly complete guide to getting a Kickstarter tracking system up and running, as well as some details on using Python with the Arduino Yun.
Step 1: [Hardware] Statistics Display
We wanted to see the current total pledge amount, the current number of backers, and the percent our project was funded, so we needed some kind of display. We already had a Pro-Lite PL-M2014R LED Marquee display, a flea-market score with no remote, cables, or manual. It isn’t made anymore (this one was likely made around 1992) but with some cable hacking and an old Playstation 2 power brick, it works great. It has an RJ12 jack that is NOT a phone jack, it is an RS232 access port. Fortunately the communication protocol is well documented by people on the internet (what isn’t?). We built a DB9 to RJ12 adapter cable based on these instructions.
Step 2: [Hardware] Biggest Possible Alert Light
When we receive a new backer, we want to know about it right away. Enter another flea market score: a 120VAC green arrow traffic signal. These have to be visible during the day, so they’re extremely bright and easy to see across an intersection, let alone an office.
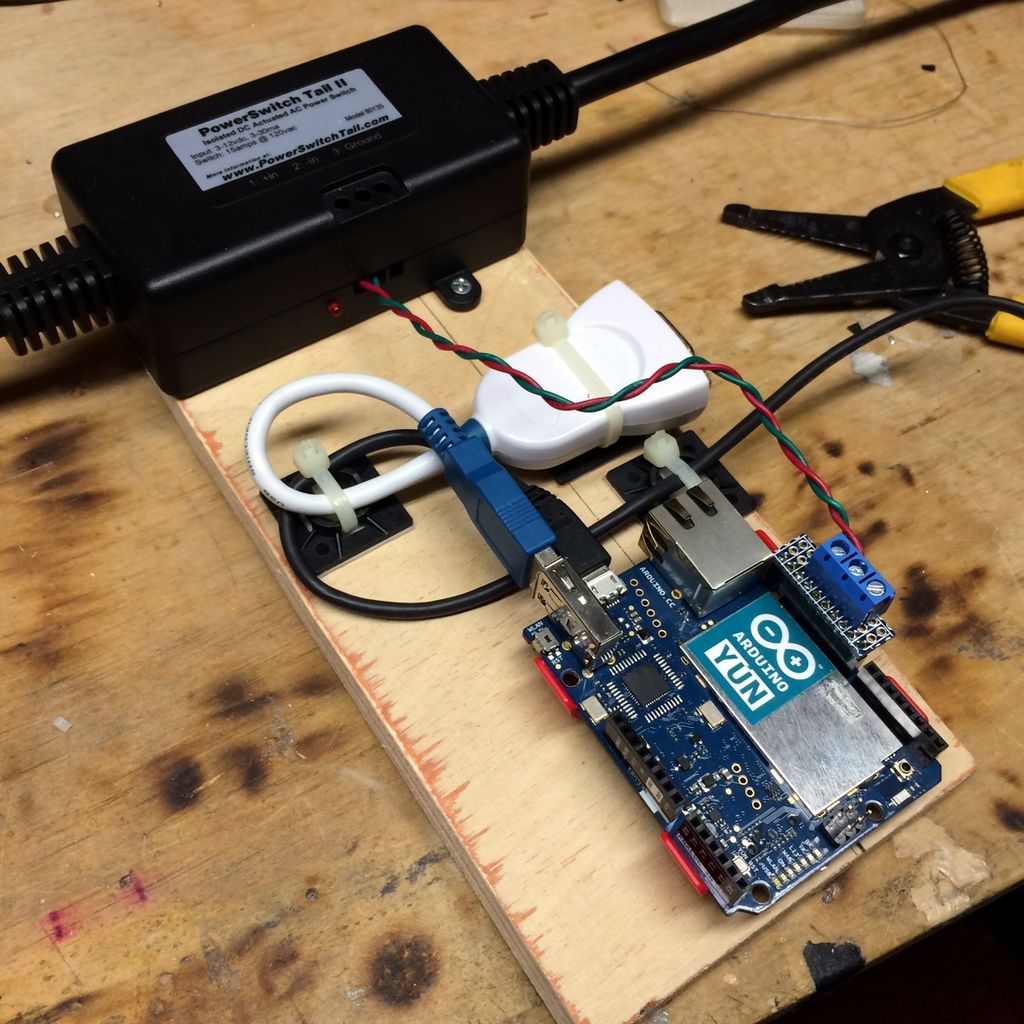
Arduino and Linux go together like peanut butter and jelly, but neither can directly control this LED monster. We used a PowerSwitchTail 2 from Adafruit (also available from the Maker Shed, Sparkfun, Jameco, and many others). This device can switch AC power from a microcontroller pin, with isolation and no exposed AC wiring.
Step 3: [Hardware] Arduino Yún
Finally, the brains of our project. The Arduino Yún will connect to the wireless network, access information about our Kickstarter campaign, format the data and put it on the LED marquee, check whether there are new backers, and if so alert us to that fact. It’s available from a wide range of distributors including Adafruit, Sparkfun, and the Maker Shed. We’re securely mounting it to a piece of scrap plywood with screws and zUNO Clips from Digilent.
Step 4: [Hardware] FTDI Cable, Piezo, and Wiring
We’re at a fork in the hardware planning process: the Pro-Lite sign could be controlled from either the Arduino side, or the Linux side. The Arduino has TTL-serial ability, so we’d need to build or buy an RS232 level converter, but the Yún’s Ethernet port may be too tall for some premade shields. Linux on the Atheros chip can handle serial communications, but it doesn’t have any pins available for that. However, it does have a USB host port. The simple/fast solution was to plug a USB-to-RS232 cable with FTDI chip into the USB host port.
We also wanted some audio notification, and rummaged through a junk box to find a small piezo speaker salvaged from an old computer.
With that solved, it’s a matter of mounting and wiring everything correctly.
Output to LED marquee sign: FTDI USB-to-RS232 cable plugged into Yún USB host port. DB9 to RJ12 adapter cable runs from the FTDI cable to the LED marquee’s RJ12 jack.
Output to LED traffic signal: PowerSwitch Tail “+in” wired to Yún digital pin 12, “-in” wired to Yún GND. We built a small WingShield-like terminal adapter using a piece of PCB cut from a failed prototype. The PowerSwitch Tail is plugged into a wall outlet, and the LED traffic signal is plugged into the other side of the PowerSwitch Tail.
Output to Piezo speaker: Piezo wired between Yún pin 10 and Yún GND.
USB Power Cable: The preferred power input to the Arduino Yún is a micro-USB cable. We have this running to a USB phone charger plugged into a wall outlet. This cable needs to be supported securely with no stress on the micro-USB connector, as the Yún’s connector is prone to twisting off from the PCB (permanently).
For more detail: Kickstarter Backer Alert with Stats Scroller, using Arduino Yun


