Summary of How to Update Arduino IDE to the Latest Version
This article provides detailed instructions for updating the Arduino Integrated Development Environment (IDE) on Mac OS X and Windows 10. It explains the in-app update procedures and alternative methods like using Homebrew on Mac or the full installer on Windows. The built-in updater is recommended for simplicity, while alternative methods offer more control and troubleshooting options. Regular updates ensure access to the latest features, improvements, and bug fixes for a stable development environment.
Parts used in the Arduino IDE Update Project:
- Mac OS X system
- Windows 10 system
- Arduino IDE software
- Homebrew package manager (Mac alternative method)
- Arduino IDE installer executable (Windows alternative method)
The Arduino Integrated Development Environment, or IDE for short, is constantly improved, updated, and features Update Arduino IDE with new features and bug fixes. Keeping your IDE up to date ensures you have the latest capabilities and a stable development environment. This tutorial will guide you through the various procedures for updating the Arduino IDE on Mac OS X and Windows 10 operating systems. By the end, you will know how to proceed to avoid any difficulty when updating to the latest Arduino IDE.
How to Update Arduino IDE on Mac
Updating the Arduino IDE on a Mac system is a straightforward process that only takes a few minutes. Here are the basic steps:
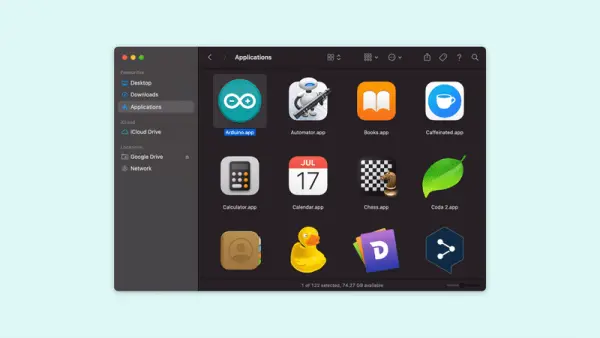
- Open the Arduino application folder. The Arduino IDE application is automatically saved in your Applications folder if you download the software. To access it, you first go to the top of the screen on your Mac click the magnifying glass icon that appears, and type “Arduino”. Next, right-click on the option that says Arduino and click on it twice.
- Check for updates. For this case, assuming that the IDE is the default Arduino software, upon opening it go to the menu bar on top of the screen and click on “Arduino” then check for updates”. This will make a connection with the website of Arduino and will clarify whether any new IDE is available to download.
- Download and install updates. If an update is available, you’ll see details on the new version number and features included. After you are on the update page, press the “Install” button to initiate the downloading process of the update package. There may be some more instructions on the screen on the final installation of the program then follow that instruction. The IDE will automatically close and reopen once the update is fully installed.
- Verify successful update. When the Arduino IDE launches again after the update, you can verify the process was successful by going back to the “Arduino” menu and checking the application version number listed under “About Arduino”. It should now reflect the newest release version you installed.
That covers the basic in-app update procedure for Mac. The Arduino IDE makes it very straightforward to keep your version current with just a couple of clicks. Let it check online whenever you open it to install any waiting updates.
Alternative Method for Mac Updates Using Homebrew
While the built-in Arduino IDE update works well, some users may prefer to manage Arduino and other command line tools through the Homebrew package manager on Mac. Homebrew allows installing and updating multiple applications from the terminal.
To update Arduino IDE using Homebrew, first, ensure you have Homebrew installed by opening Terminal and typing “brew –version”. If it’s not found, install Homebrew by pasting the one-line installation code.
Once Homebrew is ready, check for Arduino IDE updates with:
brew update
brew upgrade Arduino;
This will check Homebrew’s package indexes for any updates, then specifically upgrade the Arduino package if a new version is available.
To completely uninstall and reinstall Arduino IDE:
brew uninstall arduino
brew install arduino
The Homebrew method offers more control over Arduino IDE and related tools from the command line. Some prefer this for development environments that manage multiple programs. But the built-in Mac IDE updater works well for most users.
How to Update Arduino IDE on Windows 10
Updating the Arduino IDE on Windows follows a very similar process to Mac, just with some minor modifications for the Windows interface. Here are the basic steps:
- Open the Arduino application folder. The Arduino program files are stored in your user profile AppData folder by default. Navigate to C:\Users[Your Name]\AppData\Local\Arduino15 to find the Arduino application folder.
- Run the Arduino application as administrator. Click with the right button over the Arduino icon and then choose “Run as administrator” from the appearing list. This gives the program permission to modify files during the update.
- Click on “Check for Updates”. Upon loading the JDK IDE, from the GUI that opens, click on the “File” option from the menu bar and then click on the “Preferences” option. Next, go to the window and locate the check for updates button in the bottom left corner of the preferences window.
- Install any available updates. If an update is found, you’ll see details on the newest version. Click the blue “Install” button to start downloading and updating your IDE installation files.
- Verify successful update. After the IDE closes and reopens, check the “About Arduino” menu item under “File” to confirm the application version number has changed to the latest release.
That covers the basic process for updating the Arduino IDE within the application on Windows 10. Be sure to run as administrator so it can properly replace program files. Let it check online whenever you launch it going forward as well.
Alternative Method for Windows using the IDE Installer
Another option for updating Arduino IDE on Windows is downloading and running the full installer executable directly from the Arduino website. This provides a fresh installation of the latest version.
To update this way, follow these steps:
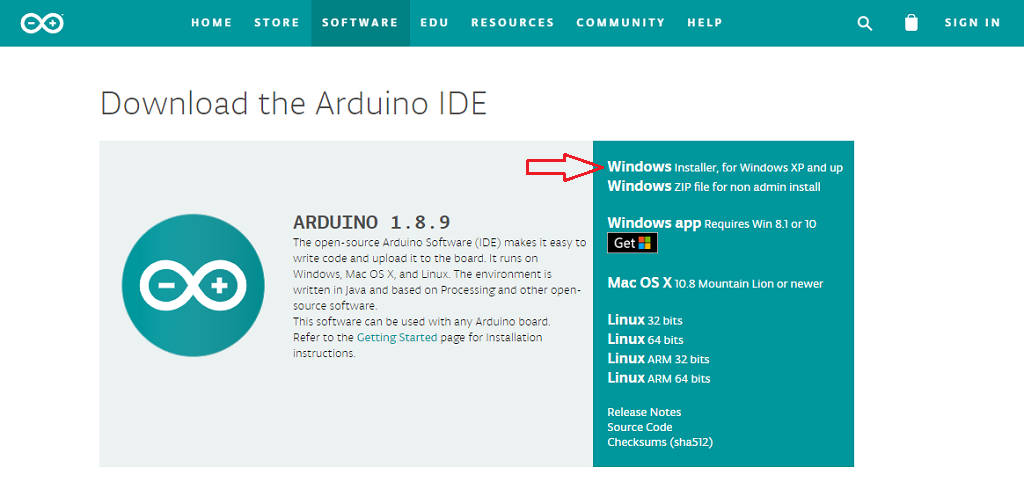
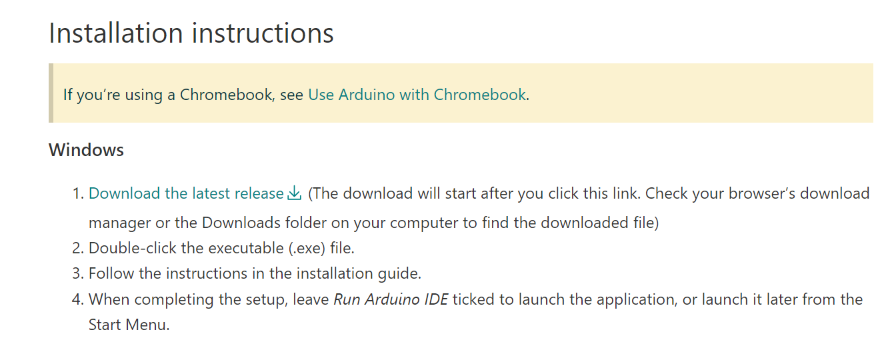
- Visit www.arduino.cc/en/software and click the “Download” button for your Windows version.
- If the setup was downloaded, a file named Arduino-windows-installer-xxxx is in the download folder depending on the date of download. exe file you downloaded a few minutes ago.
- If necessary, put the cursor upon the file, then, by the right key click it and select “Run as Administrator”.
- On the dialog box of <Specify Package Source> that appears on the screen, click on the next button to run the installer and finish the updating steps.
- The IDE files will be fully replaced with the new version. No leftovers from previous releases.
While a bit more involved, some find performing a clean installation with each update keeps their environment neatly versioned. It also ensures absolutely no compatibility issues carry over from older IDE code.
The Best Method for Updating Arduino IDE
Both the built-in updater and fresh installation methods work well for keeping your Arduino IDE current. For most users though, letting the application handle updates on its own is preferable. Here’s a breakdown of the pros and cons:
Built-In Updater Pros:
- Simple and automatic – just click a button
- Minimal disruption, files are replaced incrementally
- Keeps projects/preferences from previous versions
Installer Pros:
- Ensures completely clean install of latest code
- Can help resolve stubborn issues carried over
- More control over file management and locations
Built-In Updater Cons:
- Possible glitches if files aren’t replaced cleanly
- Traces of older versions could cause issues
- Needs internet access each time
Installer Cons:
- More involved multi-step process
- Risk of configuration loss like preferences
- Potential compatibility issues with existing projects
Therefore, unless you’re running into specific problems that fresh installation may solve, the built-in IDE updater is generally the best approach. It keeps things simple and lets the application update seamlessly in the background when launched.
Save the full installer method as a troubleshooting alternative. But for most use cases, just let the Arduino IDE update itself on each platform using its in-app functionality. Check online occasionally or whenever a new Arduino core release occurs to keep your environment current.
Conclusions and Summary
Keeping the Arduino IDE up to date ensures you have the latest features, improvements, and bug fixes available for development work. This article covered the straightforward built-in updating process for both Mac and Windows platforms within the Arduino application menu. We also looked at alternative methods like using Homebrew on Mac or running the full Windows installer executable. While these provide more control, the in-app updater is usually the easiest and best primary approach.
By following the simple steps outlined for your OS, you can quickly and easily update the Arduino IDE to the newest available version whenever needed. Just let it check online regularly from within the program interface.
Always save older IDE installations if possible before updating as a precaution as well. But in general, embrace new versions for all the benefits regular updates provide. An up-to-date Arduino environment keeps projects progressing smoothly.


