
Summary of Trinity Assembly
This article guides users through assembling the Trinity Synth (Version 1.0) by Bastl Instruments. It emphasizes soldering components from both sides, ensuring parts sit above their silkscreen labels, and notes variations in SQNCR and Mozzi kits. The process involves placing resistors, a protective diode, chain connectors, an Atmega socket with an audio jack, and finally bending a slide switch.
Parts used in the Trinity Synth:
- PCB board
- Resistors (including 220R, 4.9k, 39R, 1k, and 15k values)
- Protective diode
- Chain connectors
- Atmega socket
- Audio jack connector
- Slide switch
Hey dudes! Lets build the trinity synt!
!
More information about the synth at: www.bastl-instruments.com
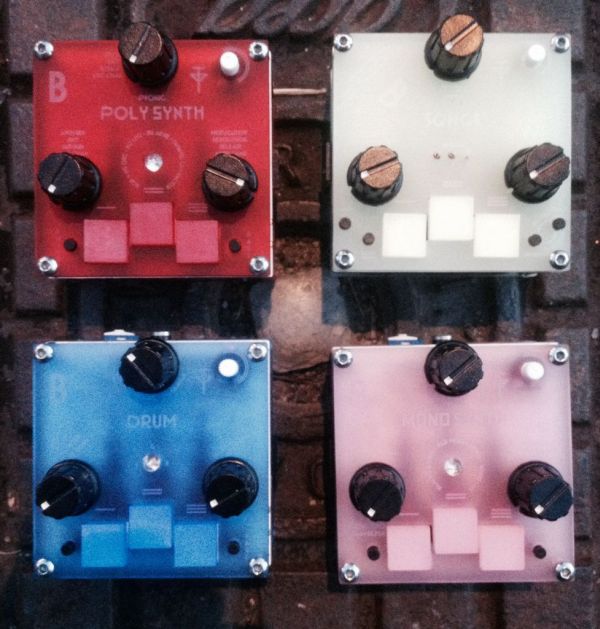
Before you start: the board solders from both sides and the component goes always above its printed sign so it hides the sign!
You should know that there are some differences between some of the versions.
SQNCR has more buttons and 3 small leds insteas of the rgb led and therefore different resistors too.
Mozzi library development kit has no casing and the small buttons are not tall.
This instructable is for trinity board version 1.0
Step 1: Placing Resistors
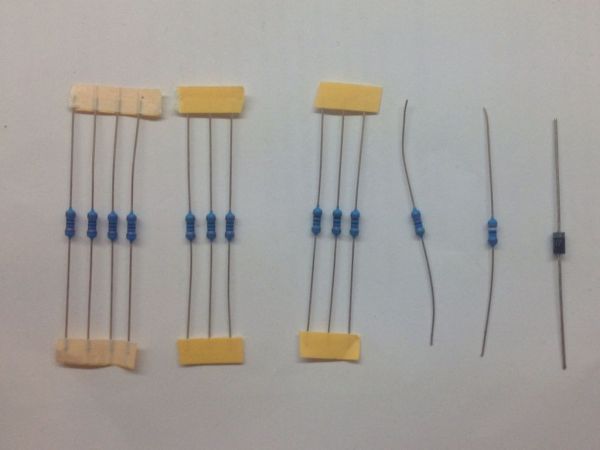
First lets solder all components on the component side of the pcb.
Different slots for resistors have different values of resistors. Read the color stripes or measure the values with multimeter.
-4x 220R – red red brown ( on board 1.1 three of these 220r are labeled zOhm)
-1x 4.9k – yellow white white brown (4.7k also works yellow violet red)
-1x 39R – orange white black
!!!
-3x xOhm are 1k brown black red !read the board carefully!
-3x yOhm are 15k brown green orange BUT on SQNCR they are 1k brown black red !
Step 2: Place the protective diode
Care of the polarity indicated by the stripe
Step 3: Solder
Bend the legs or the components slightly and turn the board upside down and solder each connection properly. Than cut the legs.
Step 4: Chain Connectors
Take these an solder now. Tip: it is always good to solder the least tall parts first.
Step 5: Atmega Socket and Audio Jack
On the chip socket mind the polarity indicated by the notch. On the audio connector try to solder it the way that there is NO gap between the connector and the pcb. Than cu the remaining legs of the jack. Double check that you solder from the correct side of the pcb!
Step 6: Bend The Switch
Carrefully bend the legs ! ONE BY ONE ! of the slide switch into right angle. It does not matter to which side you bend them, but by not gentle bending you might damage the switch.
For more detail: Trinity Assembly
- How should components be oriented on the PCB?
Components must always go above their printed sign so they hide the sign. - Does the SQNCR version use the same resistors as the standard board?
No, the SQNCR version uses different resistors, specifically using 1k for slots labeled yOhm instead of 15k. - What is the recommended order for soldering tall parts?
It is always good to solder the least tall parts first. - How do I ensure proper polarity for the Atmega socket?
You must mind the polarity indicated by the notch on the chip socket. - What is the best way to install the audio connector?
Solder it so there is no gap between the connector and the PCB. - Can I bend all legs of the slide switch at once?
No, you must carefully bend the legs one by one into a right angle to avoid damage. - What happens if I solder from the wrong side of the PCB?
The instructions warn to double-check that you solder from the correct side of the PCB. - Are there differences between the versions mentioned?
Yes, the SQNCR has more buttons and three small LEDs instead of an RGB LED.
