Smart Distance Measuring Tape v2
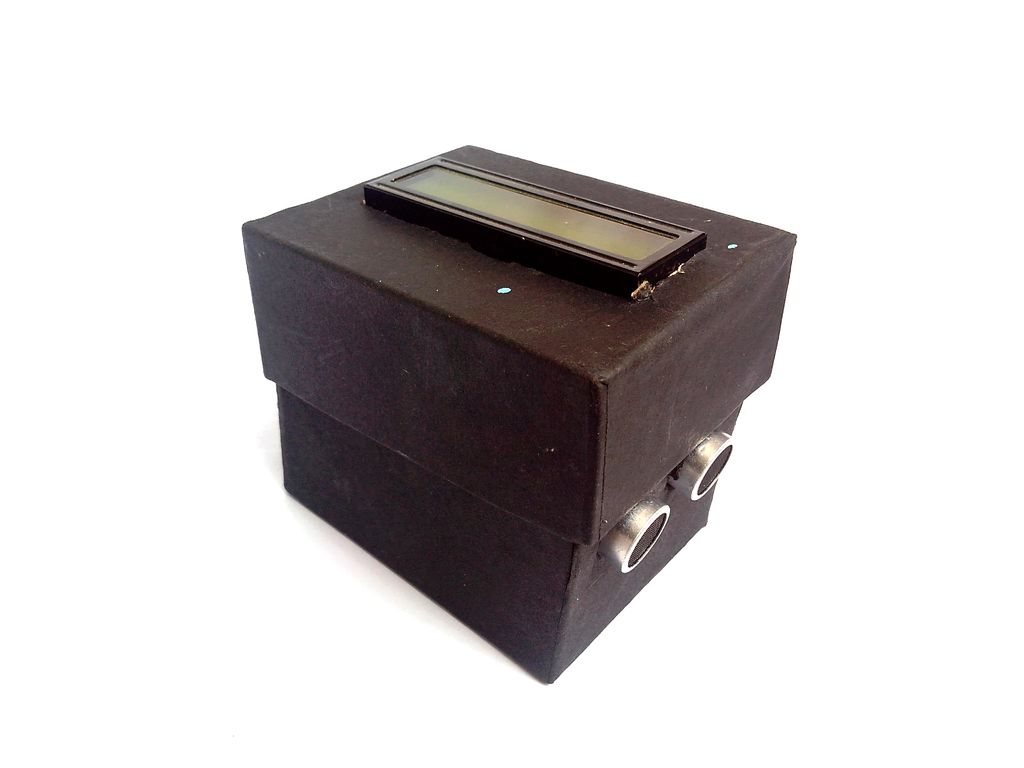
After posting up the v1 of my project many people requested an more detailed instructable. So i decided to start with a new one with a little upgrades to my previous instructable. What does this thing do? Well its quite simple it is just an replacement for an distance tape. It can also measure temperature, […]
Smart Distance Measuring Tape v2 Continue Reading