Summary of Control anything remotely with Infrared signals using Arduino
This article demonstrates controlling Arduino peripherals like servos and LEDs using a standard TV remote. The project involves receiving infrared signals via an IR receiver diode, decoding button values with specific code, and executing actions based on the input. It emphasizes finding affordable components and utilizing open-source libraries for signal processing to create custom remote-controlled devices.
Parts used in the Arduino TV Remote Control Project:
- 1x Arduino
- 1x Servo
- Jumper wires
- 1x Infrared receiver diode
- 4x AA Battery and holder
- 1x TV remote
 Arduino.skp141 KB
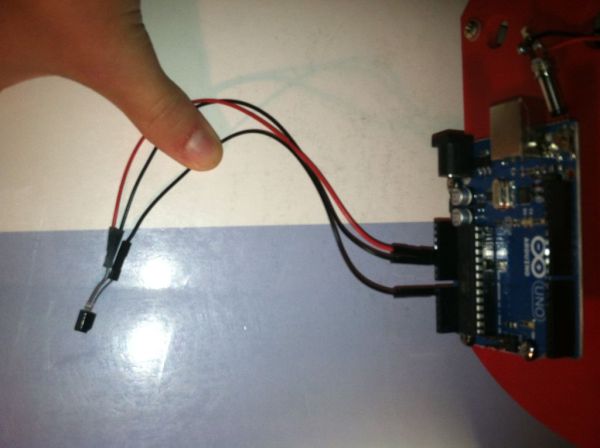
Step 1: Setup and Materials
The setup for this is quite basic. The real challenge is finding neat products for this and writing the code.
Materials.
1x Arduino
1x Servo available @ Hobbyking Sparkfun etc.
Jumper wires
1x Infrared receiver diode available @ Sparkfun Allelectronics Radioshack etc.
4x AA Battery and holder Ebay is the cheapest for the holder
1x TV remote
Anything that you want to control
See the attached sketchup for the setup. If you do not have sketchup you can download it here.
http://sketchup.google.com/intl/en/download/
Step 2: Values
The first thing to do is load the below code on to the arduino and open the serial monitor.
Next press a button on the remote aimed at the receiver to see the value printed. Ignore the first value that you see as it may by off.
#include <IRremote.h>
int RECV_PIN = A0; // Analog Pin 0
IRrecv irrecv(RECV_PIN);
decode_results results;
void setup()
{
Serial.begin(9600);
irrecv.enableIRIn(); // Start the receiver
}
void loop() {
if (irrecv.decode(&results)) {
Serial.println(results.value, HEX);
irrecv.resume(); // Receive the next value
}
}
Step 3: Code
Now that you have the values for each button on your remote you can control the servo. Below is also code that you can do without a servo and instead just control the LED on digital pin 13.
You will need to download the infrared library from http://www.arcfn.com/2009/08/multi-protocol-infrared-remote-library.html if you do not have it already.

You may recognize some of this code, and that is to keep everything simple. I am using code widely available on the internet largely from arduino.cc and http://www.arcfn.com/2009/08/multi-protocol-infrared-remote-library.html so that if anyone has questions they can look it up for more reference.
LED code
Jumper wires
1x Infrared receiver diode available @ Sparkfun Allelectronics Radioshack etc.
4x AA Battery and holder Ebay is the cheapest for the holder
1x TV remote
For more detail: Control anything remotely with Infrared signals using Arduino
- How do I find the value for each button on my remote?
Load the provided code onto the Arduino, open the serial monitor, press a button aimed at the receiver, and read the printed HEX value while ignoring the first potentially incorrect reading. - Can I control an LED instead of a servo with this setup?
Yes, you can use the provided LED code to control the LED on digital pin 13 without needing a servo. - Where can I download the necessary infrared library?
The infrared library is available for download at http://www.arcfn.com/2009/08/multi-protocol-infrared-remote-library.html. - What analog pin is used for the infrared receiver?
The code specifies that Analog Pin 0 (A0) is assigned as the RECV_PIN for the infrared receiver. - Is there a recommended source for buying the battery holder?
Ebay is mentioned as the cheapest place to find the 4x AA battery holder. - What should I do if I do not have SketchUp installed?
You can download SketchUp from the provided Google link to view the attached setup file. - Does the code require any specific serial communication settings?
Yes, the setup function initializes serial communication at 9600 baud rate using Serial.begin(9600).