Everyone has a certain Gait-Rythtm! ..influenced by architecture and our surrounding. This Project should Tack your Gait and find yours.

Things used in this project
Hardware components |
||||||
|
× | 1 | ||||
 |
|
× | 1 | |||
|
× | 1 | ||||
|
× | 2 | ||||
|
× | 1 | ||||
|
× | 1 | ||||
Software apps and online services |
||||||
|
||||||
Hand tools and fabrication machines |
||||||
 |
|
|||||
Story
The Basic idea is to track your Gait because it is very Special and individual. A friend of mine tried this earlier with different sensors but they always brake. The big Problem with programming was that the library for virtual shields was not compiling without error on MKR1000. So use the latest Version! The second problem was that the app from Microsoft, which you can download from the store is not working! So you need a win10 computer with visual community 2015 to sideload the app on your phone! Don’t overstress the Bluetooth-Connection -> no realtime data visualizing because the Bluetooth module hangs up!
The first Thing was to build the sensors:
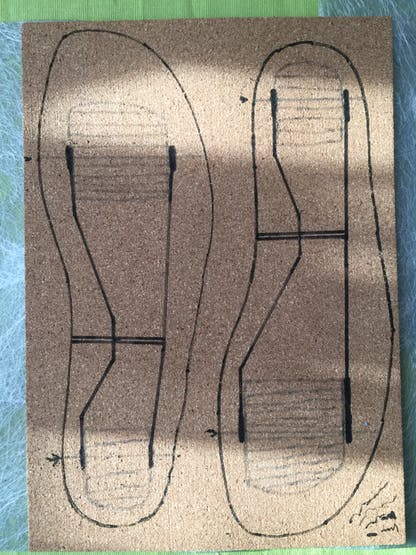
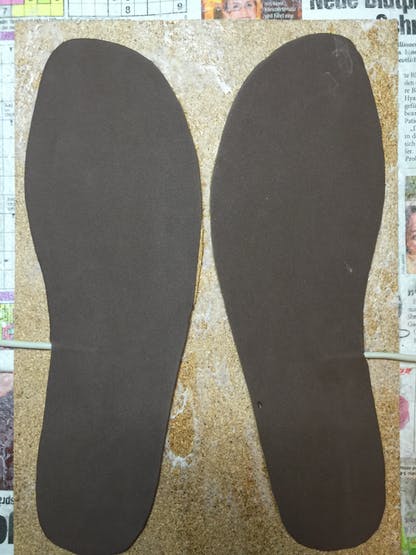
the basic layout on cork 2mm
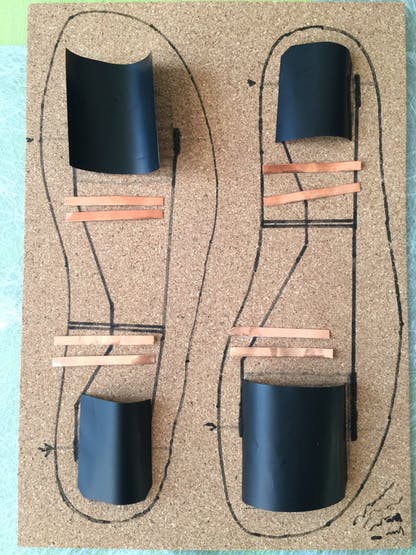 the velostat-foil and copper-stripper
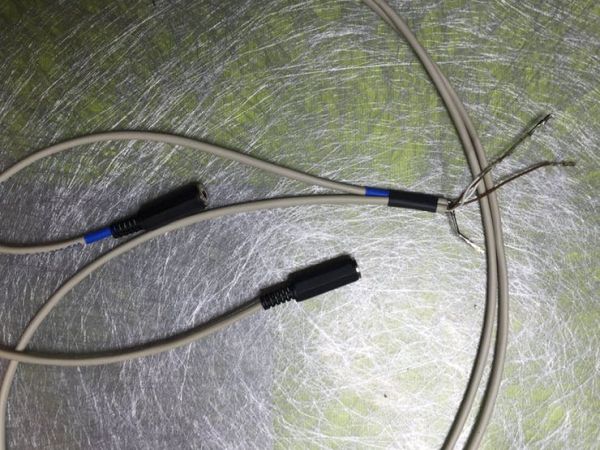
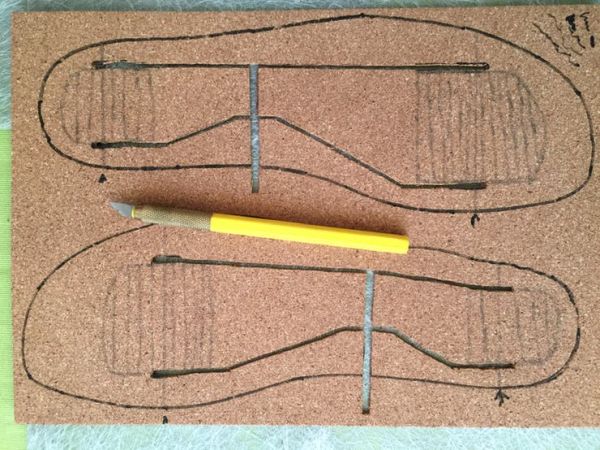 cutting out for cabeling
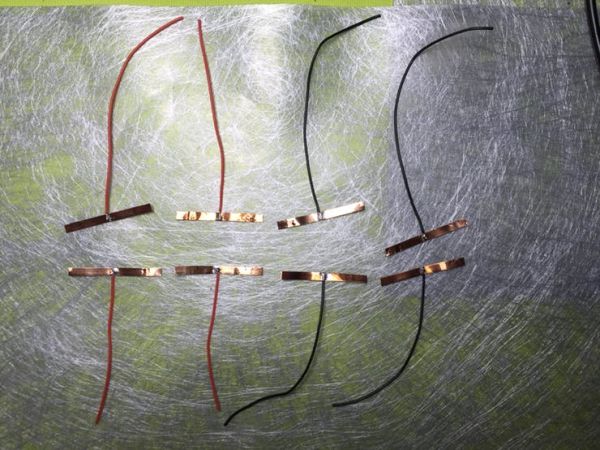 copper stripes with cabels
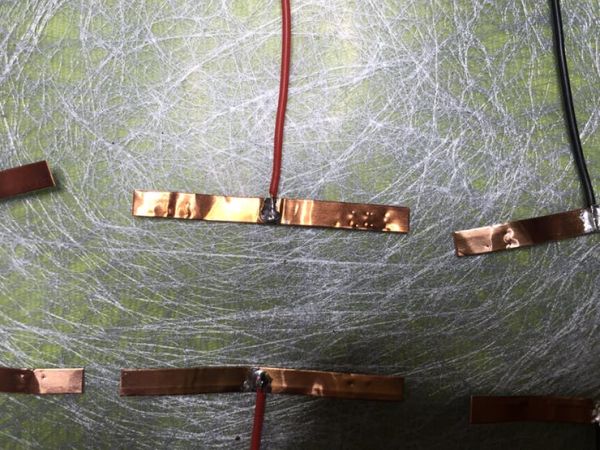 detail of soldering
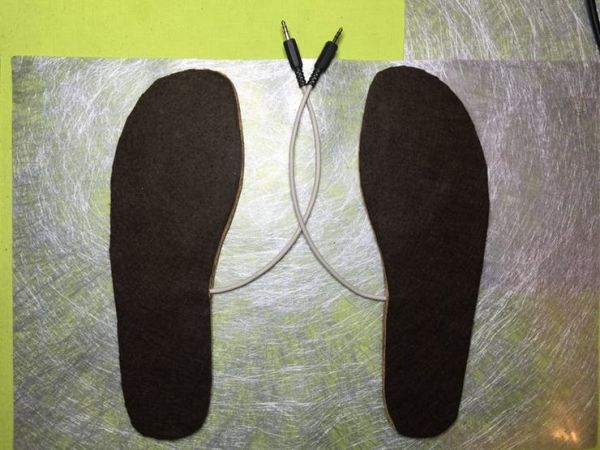
 build up sensors for left and right! cabeling sealed with silicon!
 gluing on 2nd cork 2mm
 finished up side with fizmatte
 finished down side with moosgummi
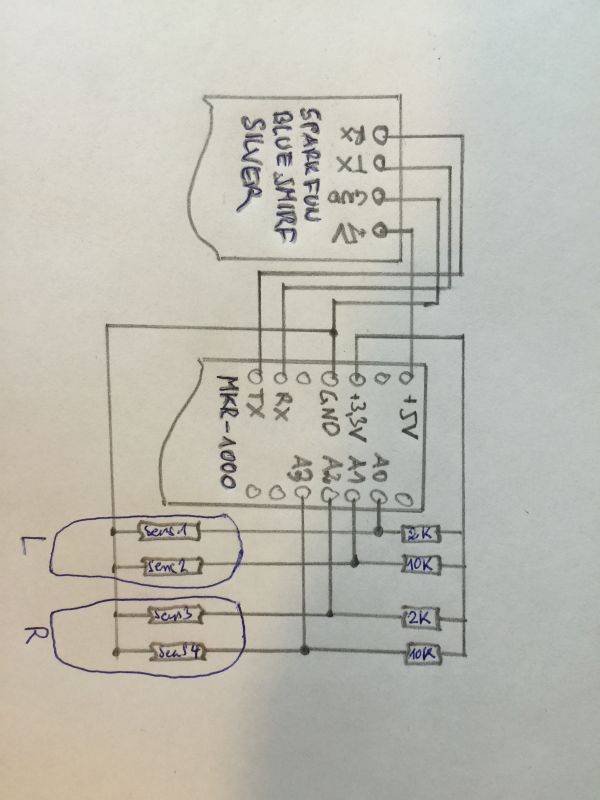
The second Thing was cabeling to arduino:
Making a Little circuit-board for connecting sensors and Bluetooth-Module to sensor:

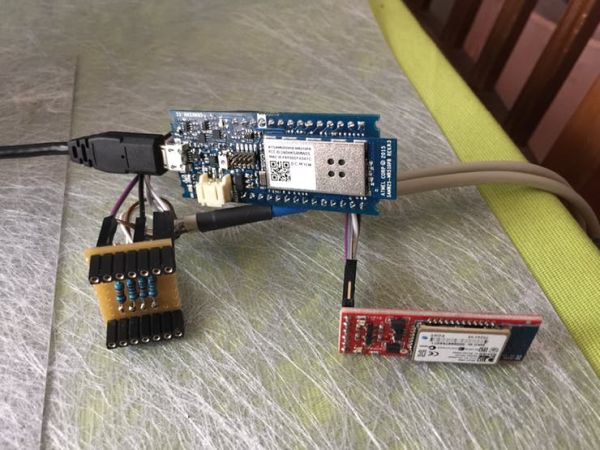 Add-On-Board, Arduino and Bluetooth-Module
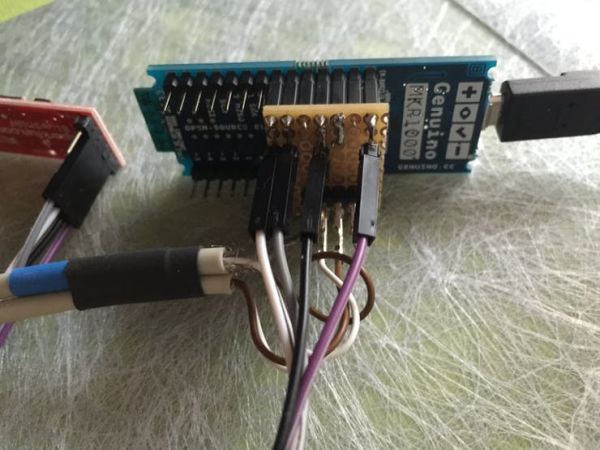 mounted circuit board
…and at last programming, hook up to phone and testing!
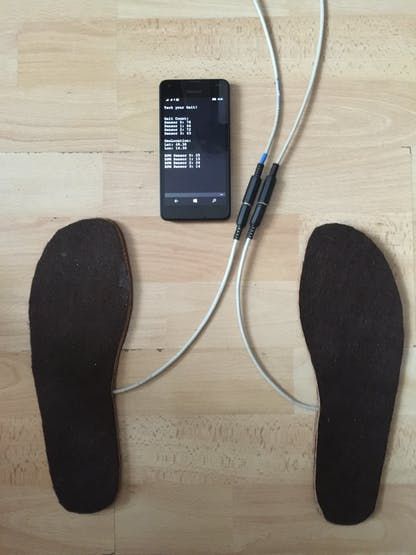 sensors with phone!
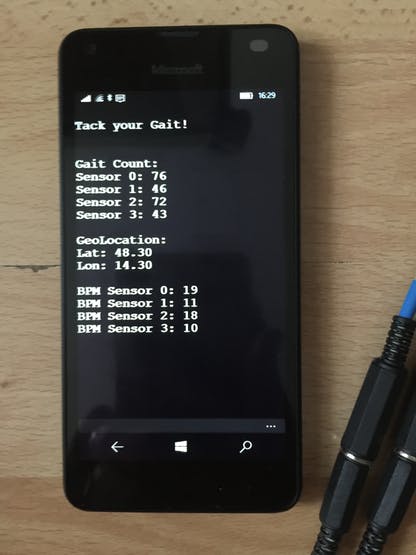 details of output
…and at last programming, hook up to phone and testing! With the project so far you can Count your steps and calculate Steps per Minute……..and it Shows your GPS-Position! In the next step i hook up a SD-Card-Slot and write the data to a SD-Card for protocol. So you can use Google to trace your route on a map and make a mid-track with processing!
But for this the time was to short and the Problems too much 🙂
Schematics
circuit diagram
Code
Source : Tack your Gait!