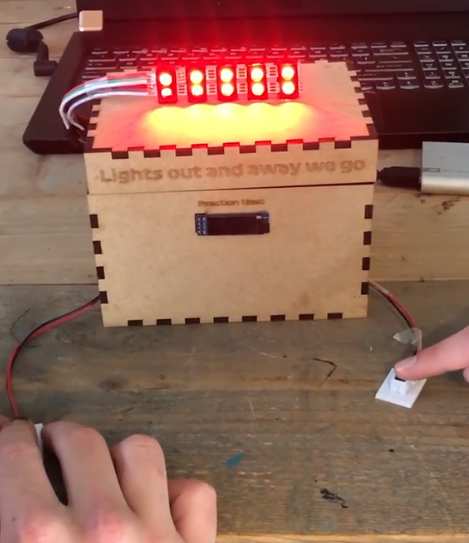
This project is a small game you can play with another player. You can time your reaction speed and compete with your friend. The game is inspired by the start lights of a formula 1 race.
Earlier Iterations:
The images above are of earlier iterations of certain components and the casing.
In the original idea, the powerbank was located inside the casing. But in the final product, I placed it outside so that the user can charge or swap it out easily.
The starting lights used to be on top, but that prevented the lid from opening, so I moved the cables through the backside.
The buttons used to be without casing which made them kind of difficult to press, so I made a casing for them.
Supplies
Hardware:
- 1x Arduino Uno.
- ~20x jumper cables.
- 1x Piezo buzzer.
- 2x WS2812B LED strip 5 leds.
- 1x OLED Display 128*32 pixels.
- 2x 6x6x4.3mm TACT Switch Push Button for Arduino.
- 1x USB-A to USB-B cable.
- 1x USB Powerbank.
- 2x Paperclips
- A lasercutter
- A 3D printer
Step 1: Cut Out the Casing
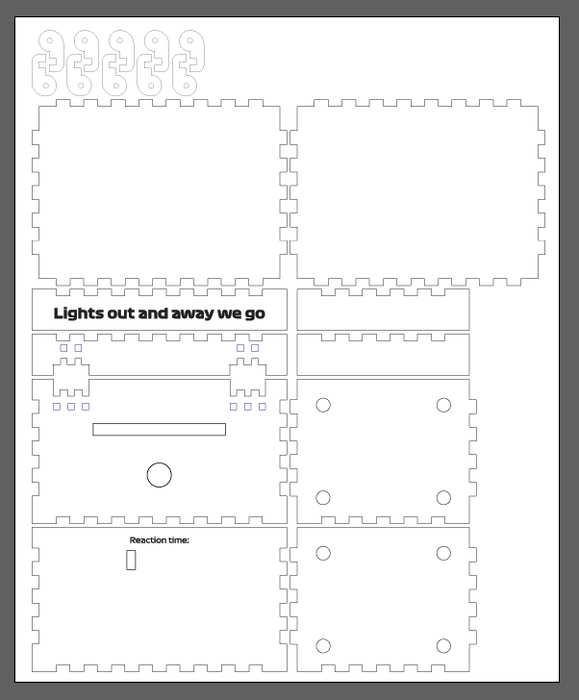
Use the attached file called “Startlights Case Lasercutter.ai” to cut out the casing.
The design was made for 4mm MDF.
When all the pieces have been cut out, glue them together and place a paperclip through the hinges so that they will not seperate when turning the lid.
Step 2: Print the Startlights and Buttoncasing
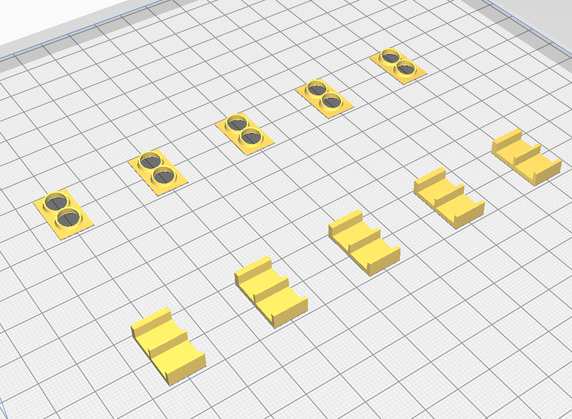
Use the attached files to print out the startlights and the buttoncasing. You will need 5 startlights and 2 buttoncasings.
Each startlight has a front and a back that will have to be glued together after printing.
Step 3: The Circuit
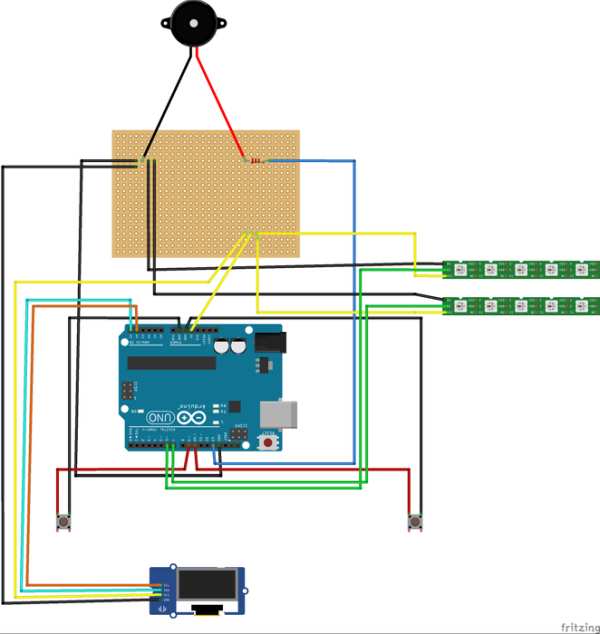
Use the image above to create the circuit and put it all inside the casing as follows:
- The Arduino and PCB go inside the box.
- Put the buzzer in the circular hole in the back.
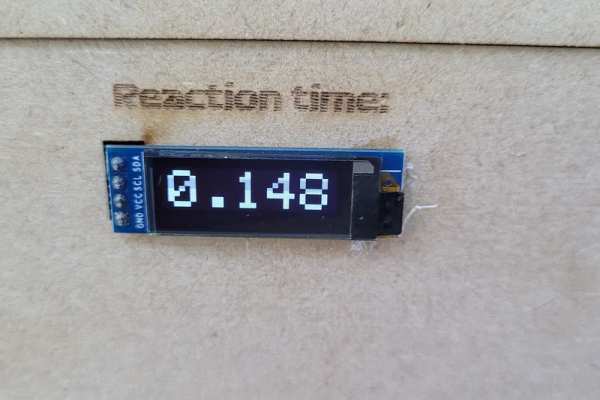
- Pull the cables for the OLED display thorugh the rectangular hole in the front. (Under the text “Reaction time:”)
- Pull the 2 cables for the buttons through the lower-front holes of each side respectively.
- Put the buttons in the 3D printed button casings like in the image above.
- Pull the cables for both LED strips through the rectangular hole in the back. You can now put the LED strips through the 5 starting lights like in the picture above.
Step 4: Gluing Components
There are a couple components that have to be glued to the casing.
- Glue the 5 starting lights to the top of the box.
- Glue the OLED display to the front of the box, under the text “Reaction time:”
Source: Race Lights Reaction Timer