Summary of How to Make an Interactive Sound Wave Print
This tutorial demonstrates creating an interactive sound wave print that plays music when touched through a picture frame. Using a Touch Board and Printed Sensors, the project detects proximity to trigger audio playback. The process involves generating a sound wave image, uploading code and a song to the board, and assembling the sensor behind the print within a frame for a seamless experience.
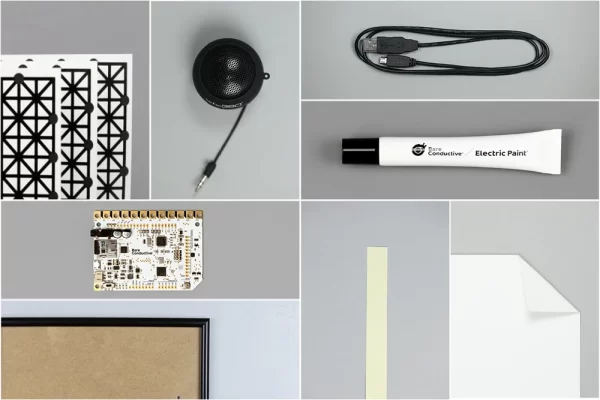
Parts used in the Interactive Sound Wave Print:
- Touch Board
- Electric Paint
- Printed Sensor
- Paper
- USB cable
- Speaker
- Picture frame
- Masking tape
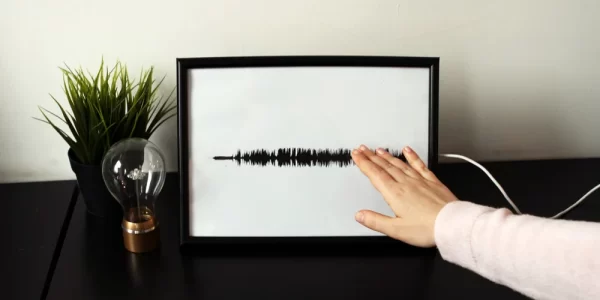
In this tutorial we are going to show you how to make an interactive sound wave print within a picture frame, so you can see and hear your favourite song at the same time! When you touch the print through the glass of the frame, it will play the song shown in the sound wave image. Printed Sensors behind the print act as a proximity sensor and are connected to a Touch Board and speaker behind the frame.
Step 1: Preview
Click here for a preview !
Step 2: Materials
–
Paper
USB cable
Speaker
Picture frame
Masking tape
Step 3: Create Sound Wave Print
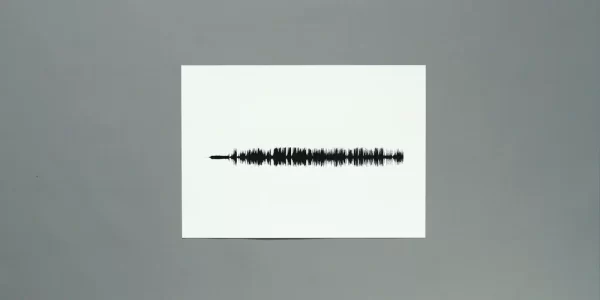
First, you need to create your sound wave print. We used this website here to generate a sound wave from a song. Simply upload the song you want to use, download the generated wave and design your sound wave print. We recommend printing the sound wave on card instead of paper, so the sensor pattern doesn’t show through.
Step 4: Upload the Code and the Song
If you haven’t set up your Touch Board yet, do so now by following this tutorial here .
In this project, we used our Proximity_MP3 sketch. In order to detect touch through glass and paper, the sensors of the Touch Board need to be more sensitive. Therefore, the Proximity_MP3 code is more suitable than the Touch_MP3 code. Simply open the Proximity_MP3 sketch, which is located under File > Sketchbook > Touch Board Examples > Proximity_MP3 and hit upload! You also need to upload your song to the Touch Board. Read this tutorial here if you haven’t changed the sounds on the Touch Board before. We will use electrode E0 to trigger the song, so upload your chosen song named TRACK000.mp3 to the SD card.
Step 5: Prepare the Printed Sensors
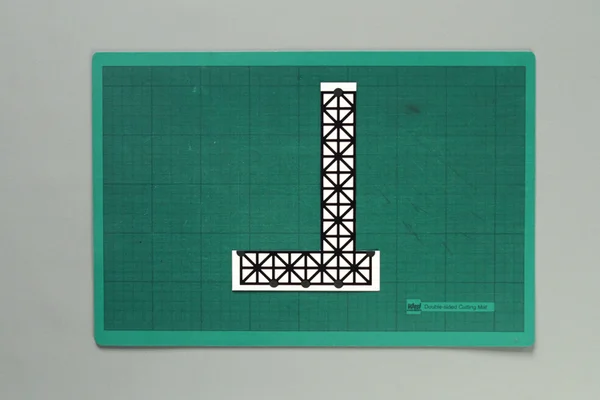
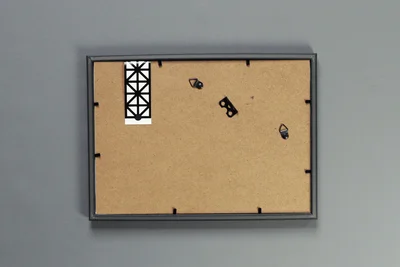
Attach a strip of the Printed Sensors to the back of the picture frame, where we’ll connect it to the Touch Board. Cables aren’t necessary, as the Printed Sensors can be bent. Carefully cut away part of the Printed Sensor so you are left with a reversed L-shaped sensor. Make sure that the long part of the sensor has an access node, as this is where you are going to connect the board.
Step 6: Assemble Sound Wave Print Frame and Sensor
Source: How to Make an Interactive Sound Wave Print
- How do I generate the sound wave image?
Upload your song to the recommended website to generate and download the wave design. - What material is best for printing the sound wave?
Card is recommended over paper so the sensor pattern does not show through. - Which code should be uploaded to the Touch Board?
The Proximity_MP3 sketch is required to detect touch through glass and paper. - How do I prepare the song file on the SD card?
Name your chosen song TRACK000.mp3 and upload it to the SD card to trigger electrode E0. - Can I use cables to connect the Printed Sensors?
Cables are not necessary because the Printed Sensors can be bent directly. - What shape must the Printed Sensor be cut into?
It should be cut into a reversed L-shaped sensor with an access node on the long part. - How do I secure the sensor behind the frame?
Use Blue Tack or double-sided tape to stick down the bent Printed Sensor.