There is a lot of buzz going around Arduino and the series of boards. One of the most used board from the Arduino series is the Arduino Uno. But what many people don’t notice is that there is a board similar to Arduino UNO but has many more features. That board is called Freescale K64F.
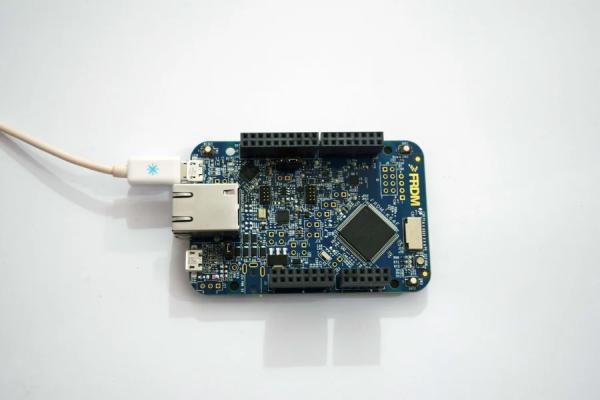
In this Instructable I’m going to show you how to get started with the K64F and I will explain a little about the classes used.
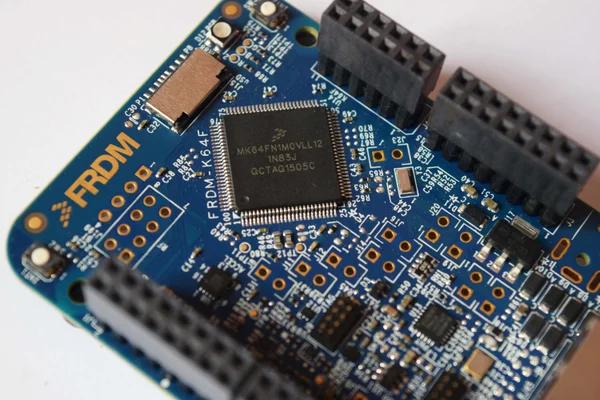
The K64F is a low power consuming device with a standby current of 150nA usage, it supports drag and drop programming, and has an on board accelerometer and has a lot of GPIO pins. Here is some technical specification of the board.
- High performance ARM® Cortex™-M4 Core with Floating point unit and DSP
- 120MHz, 256KB RAM, 1MB FLASH
- USB OTG FXOS8700CQ – 3-axis accelerometer and magnetometer
- Ethernet 2 push buttons
- RGB LED Micro SD card slot
The K64F supports mbed operating system with interchangeable boot-loader.
Step 1: Components and Skills Required
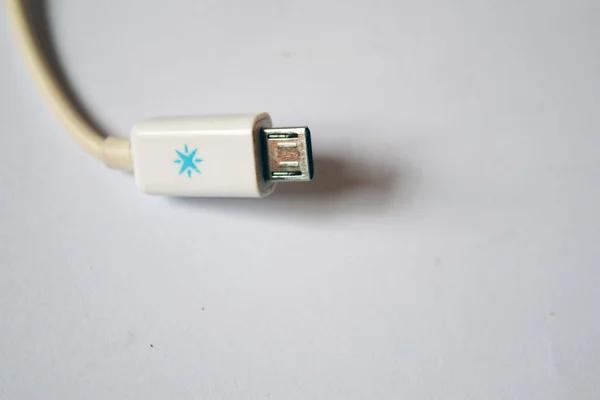
The things you need to know to get started with the board is-
- C Programming experience
- A Micro USB cable
Also, it would be helpful if you have used an Arduino before, but that is not a major requirement.
Note- The classes in Arduino and that of the K64 are different. If you have an experience with Arduino, it would simply make it easy for you to understand this better.
Step 2: Plug It In
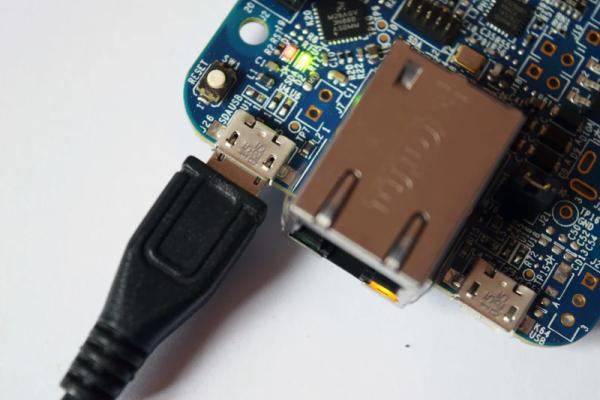
Now that you have everything ready, the first thing to do is to plug in the Board to your computer.
Now it’s time you take the board out of the box and get yourself a micro USB cable. Plug in the USB cable into the Open SDA port. Now the board would flash Red, Blue, Green colors in a loop to you and in your computer, you should see that a mass storage device has been connected with about 1 mb of free space.
The device would be named MBED CMSIS-DAP if you open up your Control Panel => Hardware and Sound => Devices and Printers in Windows PC or just type in ‘lsusb’ in Linux (It is named NXP LPC1768 in Ubuntu).
If the above steps go fine then you have connected your K64F successfully.
Step 3: Creating an Mbed Account
it’ll contain a file named mbed.html.
it’ll contain a file named mbed.html.
Once you have connected your K64F to your computer, you’ll find a folder named MBED in your computer. If you open this, it’ll contain a file named mbed.html.
Open this file in a web browser which will redirect to mbed.org.
Here, if you already have an account you need to login to your account. If you don’t have an account, create a new one. Then after a successful login, on the top right corner you would find Compile, click on that to start the online SDK or IDE.
This is similar to the Arduino Web IDE.
Step 4: The Blink Program
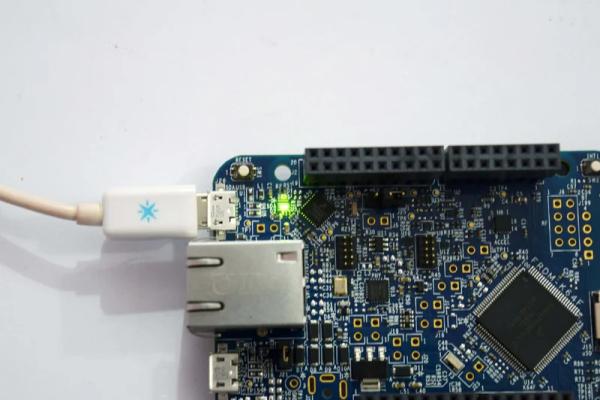
Like all other micro controllers, the first program to test out here is the blink example.
Right click on My Programs and enter in what you want to name your application in the dialog box. The default program should already been written for you, hit compile on the top of the screen. Now a few dialog boxes will appear and you will see a file which starts to download.
The file would have an extension of .bin which stands for binary and I have also attached the file which you can download if you want.
Step 5: An External LED
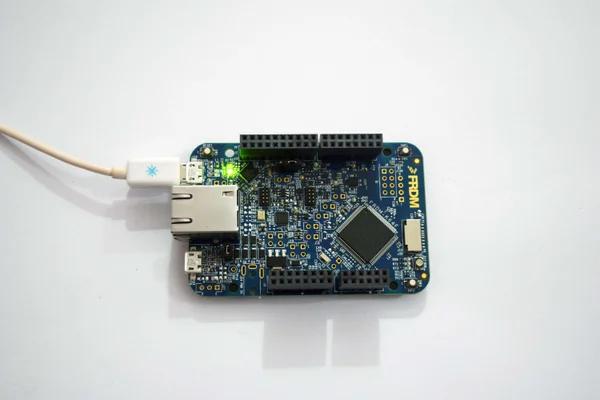
So far we’ve made the on-board LED to blink. Now let’s try to make an external LED connected to the board blink at our required frequency.
In this example code, 2 LEDs light up alternatively, one on the board and other in K64F GPIO pin 12.
This is the code:
#include "mbed.h"<br>DigitalOut gpo(D0);
DigitalOut led(LED_RED);
int main()
{
   while (true) {
         gpo = !gpo; // toggle pin
         led = !led; // toggle led
         wait(0.2f);
    }
 }
